Framasoft published a roadmap for version 3 of Peertube and you can contribute.
Category: open source
Categories
DeGoogle my life
According to Wikipedia to DeGoogle is the act of removing Google from your life. As the growing market share of the internet giant creates monopolistic power for the company in digital spaces, increasing numbers of journalists have noted the difficulty to find alternatives to the company’s products. This is my experience to purge my life of Google and I can assure you it’s difficult but if we don’t act soon it will become impossible.
I uploaded my sixth remastered Solvespace video to PeerTube.
If you’re new to the Fediverse you should know about ActivityPub and why it gives the Fediverse an edge over other social networks.

YouTube has a monopoly on video and this is bad news. Read what’s so bad about it and why PeerTube is a good alternative.
Categories
Giving OpenShot another try
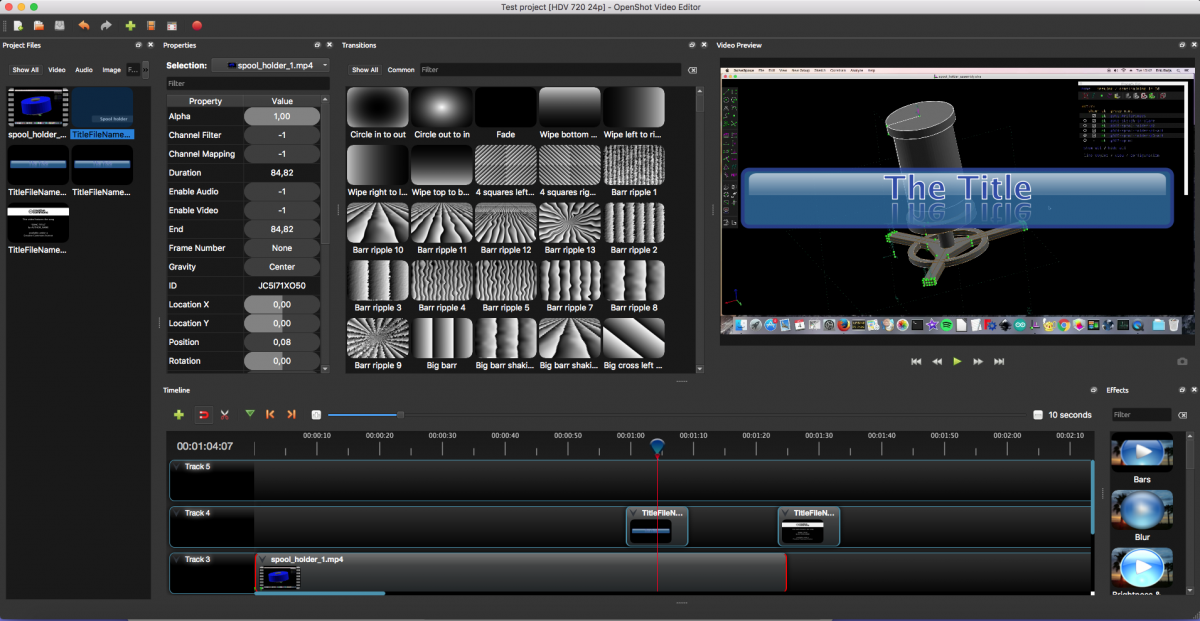
After iMovie completely let me down I gave OpenShot another try and it didn’t disappoint.
This article describes how to maintain a Squeezebox server (or Logitech Media Server). All software used for this project is free and open source.
Create your own Squeezebox server (aka Logitech Media Server, aka Slimserver) with a Raspberry Pi and a HDD in six steps.

Learn how to create an animated GIF that’s small enough to upload but with a decent quality.
With G+ closing in a couple of months community owners are searching for alternatives. I provide a number of FLOSS options.