Categories
open source PC

Giving OpenShot another try
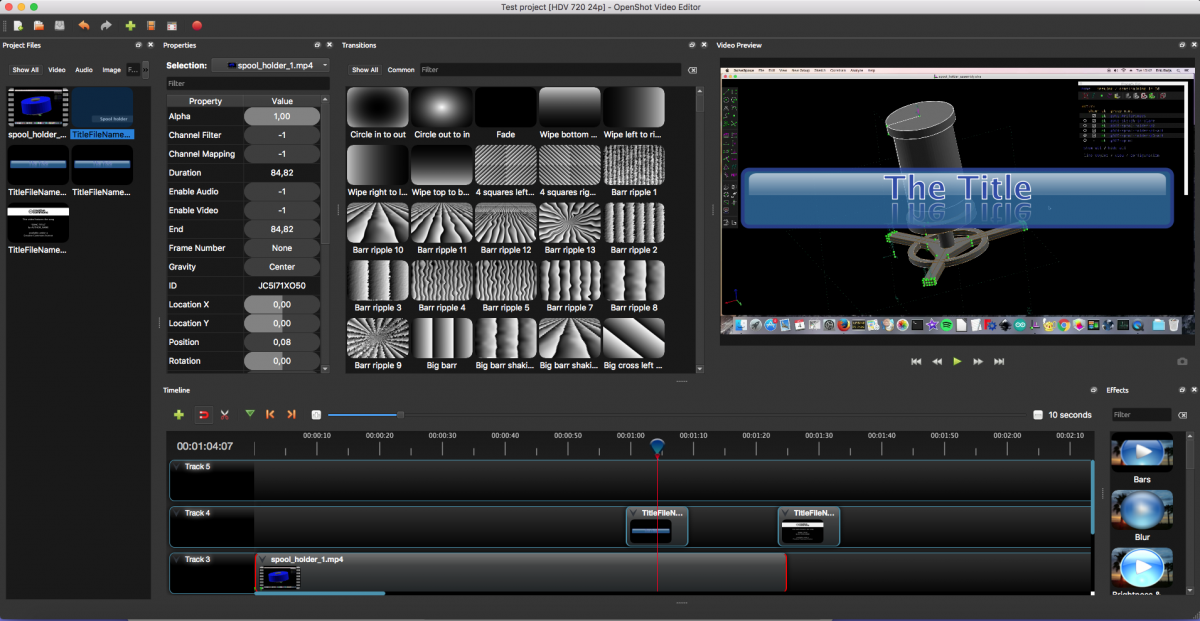
I’ve been using iMovie for ages to create videos, both to document my family life and for my YouTube channel. Over the years I’ve create dozens of movies with iMovie and I kind of liked the simplicity of the program. I only wished it was free and open source software instead of proprietary.

The last couple of years I tried several free and open source alternatives notably OpenShot and Shotcut (both GPL v3 license). I was willing to jump to one of them but they were both rather unstable on my OSX system. OpenShot was the worst and crashed every few minutes making it impossible to work with. So in the end I kept using iMovie.

Recently I updated OSX to Sierra (10.12) and when I opened iMovie I noticed that everything worked except that I couldn’t render anymore. This is a disaster. All my carefully crafted movies are locked in iMovie and I’m unable to get them out of it. I really wanted to kick someone at Apple for this.

Since I couldn’t find a solution (apparently a widespread problem as I read on the web) I had no other alternative than to install OpenShot again (version 2.4.4). I didn’t have high hopes but to my surprise it was stable. I worked several days with it and it didn’t crashed once.

What I like about OpenShot is that it’s, like iMovie, very easy to use. The interface looks modern and unlike some other video-editing programs I could easily find my way around. The word intuitive springs to mind. This may give the impression that OpenShot is a very basic video-editor. OpenShot certainly can’t compete with the feature-rich major video-editors in the market but I was surprised that all basic features are included and there is more under the hood. To name just a few, the interface can easily be changed to my liking, the handling of titles is great and OpenShot enables the user to create animation which is handy.

It also offers a lot of control over the export of a video with every format, codec and quality setting available. This is probably because the video backend of OpenShot is linked to FFmpeg, IMHO the best video-converter around. (I wrote about FFmpeg earlier)

The coming weeks I will do further tests and will decide if this is my new go to video-editor. A bonus is that OpenShot is available for Linux, Windows and OSX so I can also use it on my Linux desktop.

UPDATE : 12 December 2019. After having done some projects I’ve noticed an issue with OpenShot. OpenShot tends to be very resource hungry in both memory and cpu load. This creates problems in more complex projects where the program becomes very slow. This forces me to restart OpenShot and continue. Also on my humble 2011 iMac it’s impossible to get smooth video and sound in the preview window.

UPDATE: 26 Februari 2020. I updated to version 2.5.0 (from 2.4) and it appears that this latest version is a little less resource hungry. With more complex projects with multiple sound tracks mixed I still experience stuttering in sound which is annoying when trying to edit the video. This could however be due to the 2011 iMac that I’m currently working on.

Categories
open source social

Create animated GIFs from MP4 with FFmpeg

Animated GIFs are after all these years still pretty popular. FFmpeg is a good FLOSS tool to create these animated GIFs. FFmpeg is available for Windows, Linux and OSX. A word of warning FFmpeg is a command line tool that’s very versatile but it’s not for everybody. In fact suppose this post is more for users that like to tinker a lot with their animated GIFs. Below I will explain not only how to create a animated GIF from an mpeg4 movie but I also provide instructions to improve the quality.

The basic command to create an animated GIF from a mpeg4 is:

ffmpeg -i input.mp4 output.gif

where the name of the input file is input.mp4 and output.gif is the name of the output file. Unfortunately gif images are large due to their lossless data compression. So you’ll end up with a file that’s much bigger than the original mpeg4 and probably something that exceeds the upload limit of Diaspora*, Friendica or Mastodon.

In order to reduce the size of the file we can reduce the size of the images or we can reduce the number of frames per second. To achieve this we need the following command:

ffmpeg -i input.mp4 -r 12 -s 320x180 output.gif

This command reduces the framerate to 12 per second and resizes to 320×180 pixels. For the size of the GIF make sure that the aspect ratio remains the same or the resulting GIF will be distorted.

When we look closely at the resulting GIF we clearly notice some shortcomings in the animation. This is due to the default GIF encoding in FFmpeg. Because GIFs only uses 256 colors the number of colors from the mpeg4 needs to be reduced. FFmpeg by default uses a generic palette of 256 colors that covers the widest range of content. This is in general not optimal for the specific video that you want to convert. Luckily FFmpeg allows us to create a custom palette for our specific video. To create this palette type:

ffmpeg -i input.mp4 -filter_complex "[0:v] palettegen" palette.png

When we look in the folder of our mpeg file well noice that a file ‘palette.png’ has been added. This is our newly created 256 color palette for our specific video which is generated by the palettegen filter. To use the new palette with our mpeg video type:

ffmpeg -i input.mp4 -i palette.png -r 12 -s 320x180 -filter_complex "[0:v][1:v] paletteuse" prettyOutput.gif

FFmpeg needs two input files (streams) in this case test.mp4 and our newly created palette.png. The paletteuse filter takes the two streams as input specified by [0:v] and [1:v] where v stands for video and the preceding number for the number of the stream. The output file is renamed to prettyOutput.gif to differentiate it from the earlier output.gif. The resulting video should be much … prettier. If your resulting video is still too large either reduce the frame rate or resize even further (or just reduce the length of the video of course).

Further reading:
http://blog.pkh.me/p/21-high-quality-gif-with-ffmpeg.html
https://engineering.giphy.com/how-to-make-gifs-with-ffmpeg/