If you, like me, own one or more Squeezebox players you can either choose between the service mysqueezebox.com, that streams music from the internet, or set up the Squeezebox Server on your own network. The Squeezebox Server software (aka Logitech Media Software, aka Slimserver) being free and open source software guarantees that you’ll take control of your Squeezebox players and the music that you’re streaming.
There many hardware options for the Squeezebox Server software but I decided to use the Raspberry Pi 2 that I had lying around because of it’s small footprint and massive support for the Pi. Within a couple of hours I had the Logitech Squeezebox Server up an running with my music playing.
Below I’ll show how to set up the Logitech Squeezebox Server on a Raspberry Pi in five steps. I got some important steps from the Variax Firmation website but I tested everything successfully.
Step 1: Ripping CD’s and writing them on an HDD (choosing an audio format)
For this project I used a small USB-HDD that was also lying around. I formatted the HDD. Next I collected all my music CD’s and ripped them. As ripping software I used the Asunder software on my Linux laptop but I guess that there are good alternatives (fre:ac appears to be an free and open source alternative that is also available for OSX and Windows). As audio format I choose MP3. If I buy a larger drive I’ll probably move to FLAC.
Step 2: Installing Raspberry Pi OS
Next install Raspberry Pi OS (previously called Raspbian) on the Raspberry Pi by first downloading the image and writing the image to the micro SD card using these instructions for OSX (or these instructions for Windows and Linux). I chose the Lite version of Raspberry Pi OS because I don’t need the desktop software and it makes the server as lightweight as possible. I had no problems booting the Raspberry Pi and connecting it to my network using Ethernet. To avoid potential problems connect the Pi to a monitor with an HDMI cable and make sure that it boots properly.
NOTE: If you do install the Lite version of the OS make sure to enable SSH via raspi-config. This enables you to access the Pi remotely later on.
Step 3: Mount the HDD on the Raspberry Pi
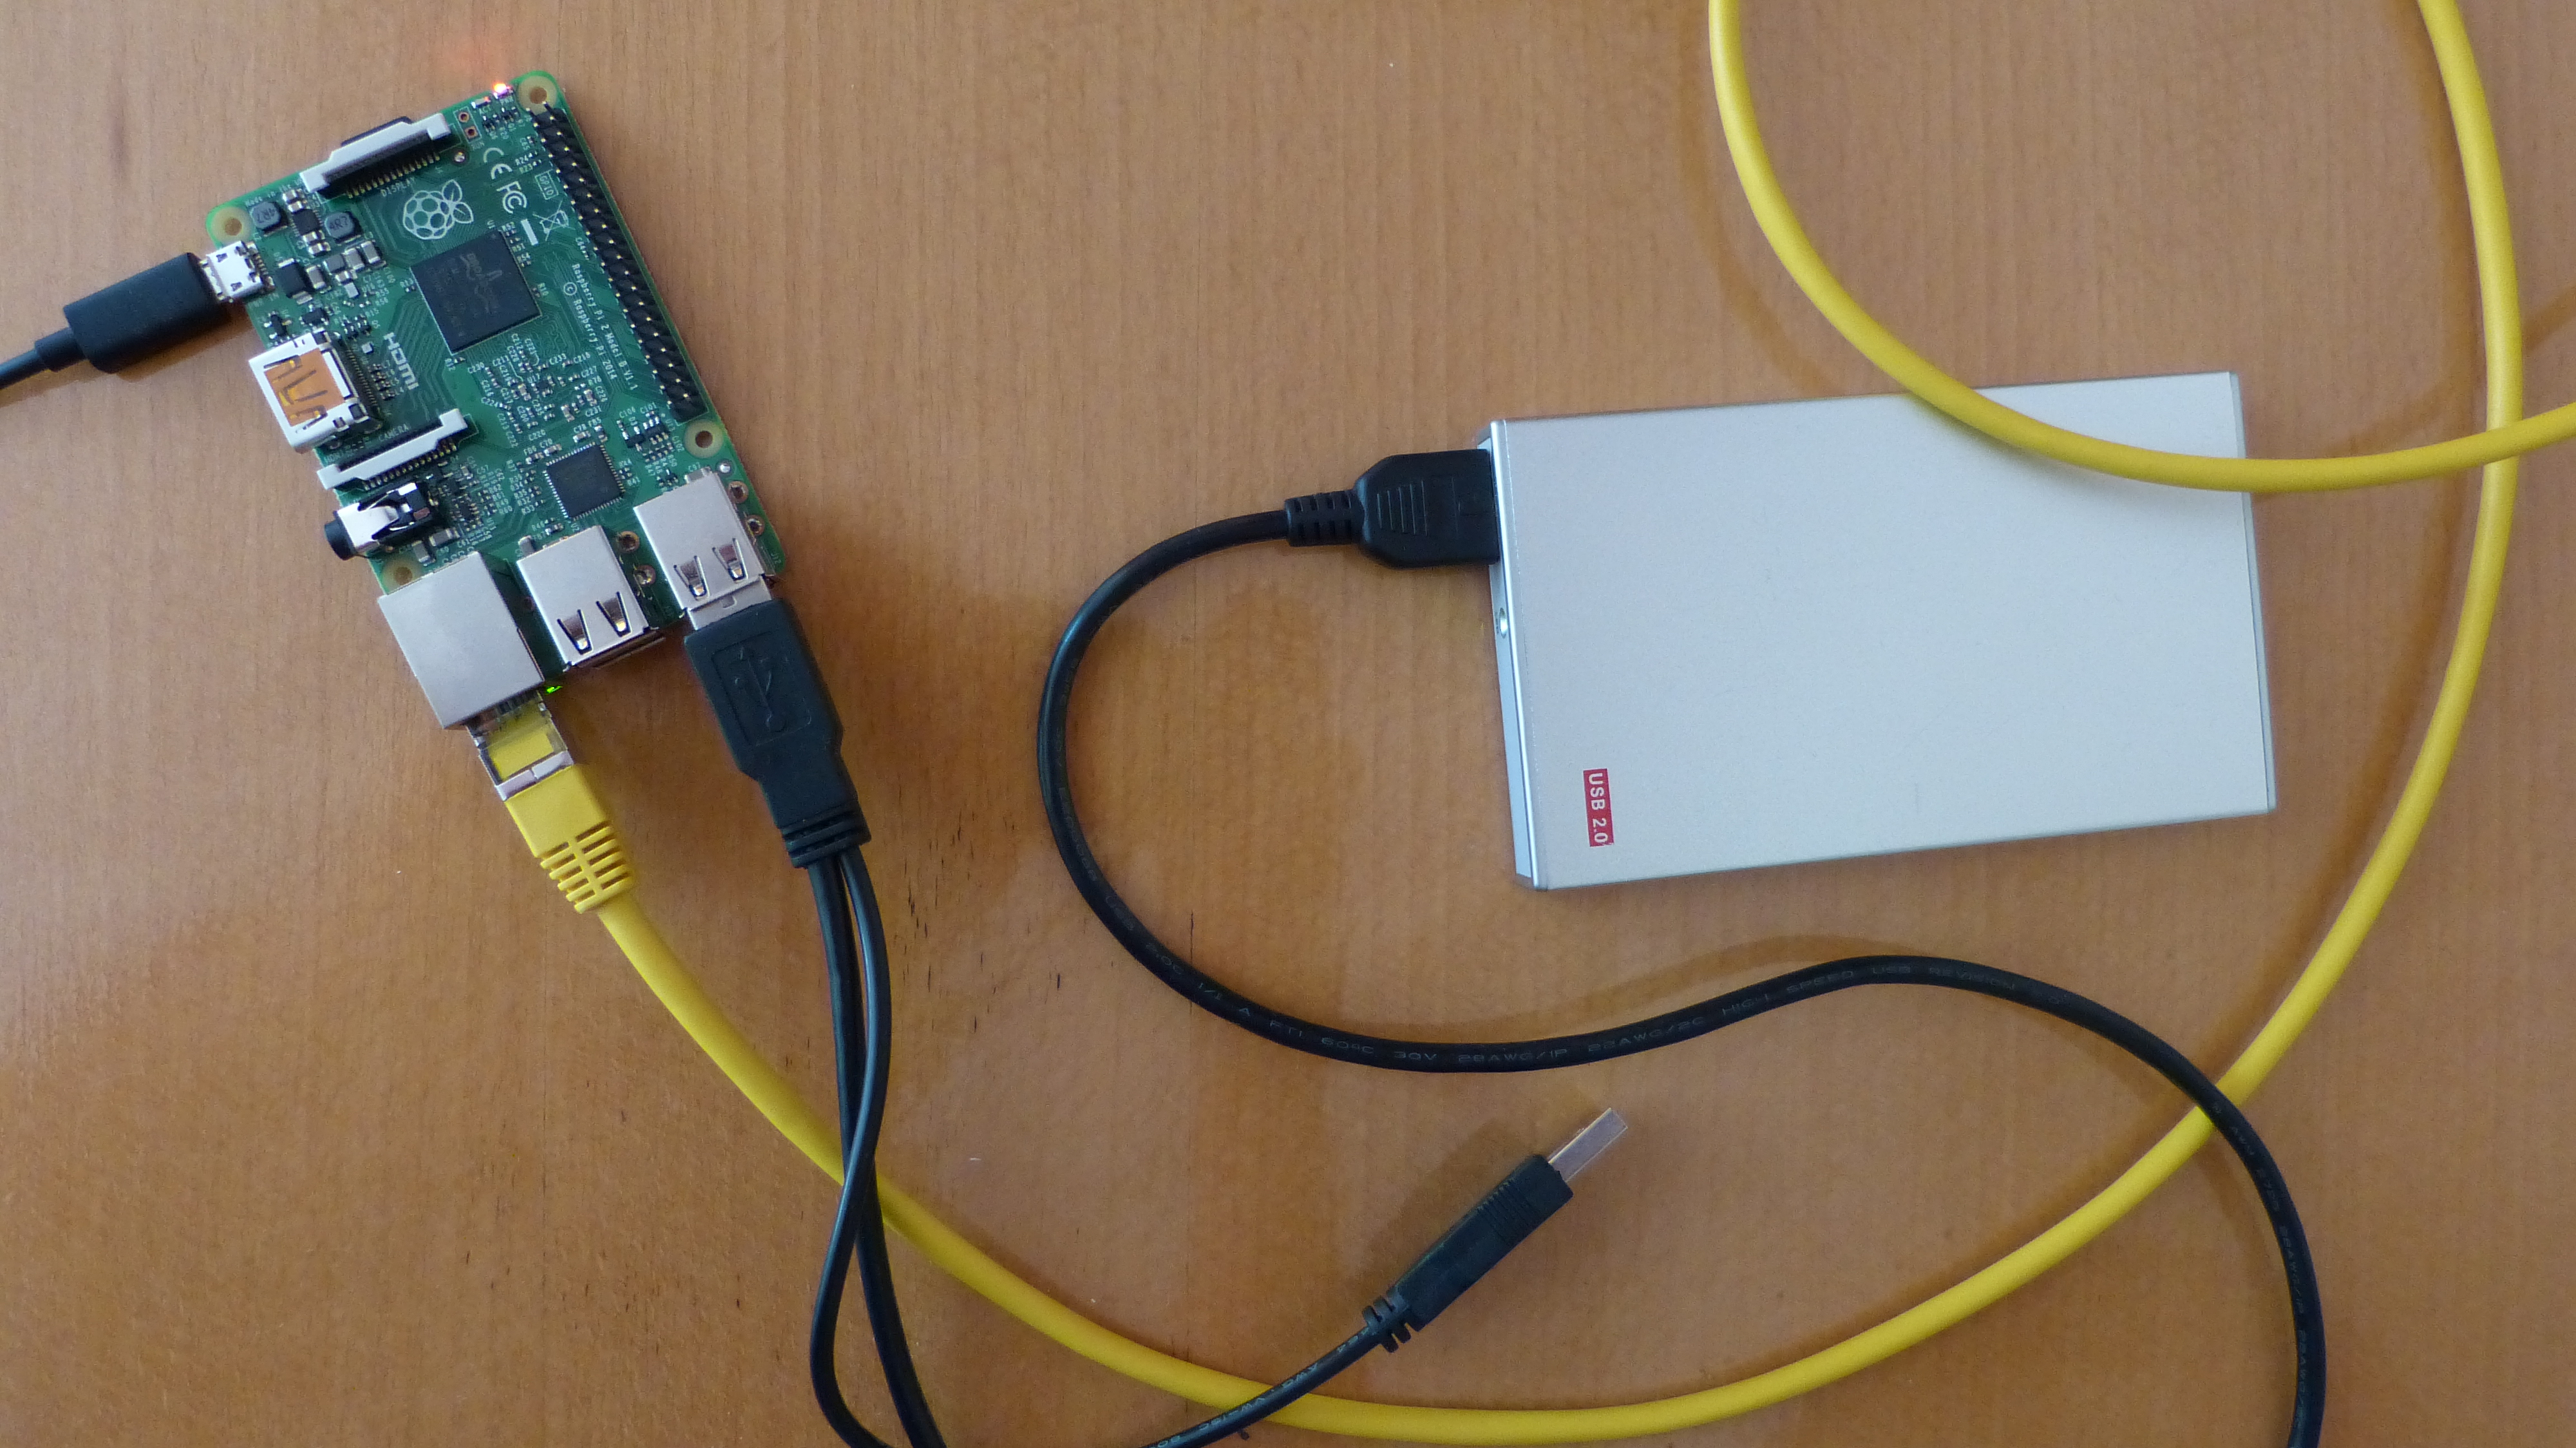
Now with Raspberry Pi OS installed I mounted the HDD that we prepared in step 1. For this first connect the HDD to the Raspberry Pi (in my case I connected the HDD through a USB port of the Raspberry Pi), login remotely and retrieve the name of the drive. To login remotely we need another computer e.g your local PC (Windows, Linux or OSX). Open a terminal (Windows users either need to install Putty or for Windows 10 users enable the SSH client) and type:
sudo ssh pi@Raspberry_Pi_ip_address (in my case 192.168.178.69)The default password is raspberry. Then type:
sudo fdisk -l Then look for the HDD that is just connected. This was /dev/sda1 in my case (but this may differ in yours). To make the files on the HDD accessible to the Raspberry Pi we need mount the drive. But before that we need to make a mounting point (in this example at ~/media/usb-drive).
sudo mkdir ~/media/usb-drive and mount
sudo mount /dev/sda1 ~/media/usb-driveYou should hear some HDD activity. Now type:
cd ~/media/usb-drive && ls -land a list of your music should be visible.
To unmount the HDD do:
sudo umount ~/media/usb-drive
Step 4: Installing Logitech Media Server on the Raspberry Pi
First we need to install a library to play audio files. Since you want mp3 only do:
sudo apt-get install -y libsox-fmt-allThis installs SoX, a command line utility that, among other things, plays various types of audio files. If you want to add flac support you’ll probably need to do this
sudo apt-get install -y libsox-fmt-all libflac-devNow with the audio libraries in place the Logitech Media Software can be downloaded. We want the latest version which at the moment of this writing is 8.5.1. First with your local PC go to https://lyrion.org/getting-started/ to download the latest version of Logitech Media Server for Raspberry Pi.
After downloading the file it’s easiest to use something like FileZilla (or another ftp client) to move the file from your local PC to the Raspberry Pi. Set Filezilla to the sftp protocol, enter the hostname (e.g 192.168.178.69), your username and password of your Raspberry Pi and connect. Now move the downloaded .deb file to the Raspberry Pi.
Now again move to the Raspberry Pi with SSH. Before installing the file on the Raspberry Pi we first need to install a dependency.
sudo apt install libcrypt-openssl-rsa-perlNow install the server software with:
sudo dpkg -i logitechmediaserver_arm.debAnd then reboot the Raspberry Pi. With all the software installed we’re ready to go.
NOTE: with a recent fresh install of both Raspberry Pi OS (formerly Raspbian) and Logitech Media Server a problem occurred. Apt complained about some unmet dependencies. However after apt –fix-missing update all problems were solved and after a reboot the server worked as before.
Step 5: Working with Logitech Media Server
To enter the web interface of the Logitech Media Server on the Pi we need a computer and a browser. In the browser URL we type:
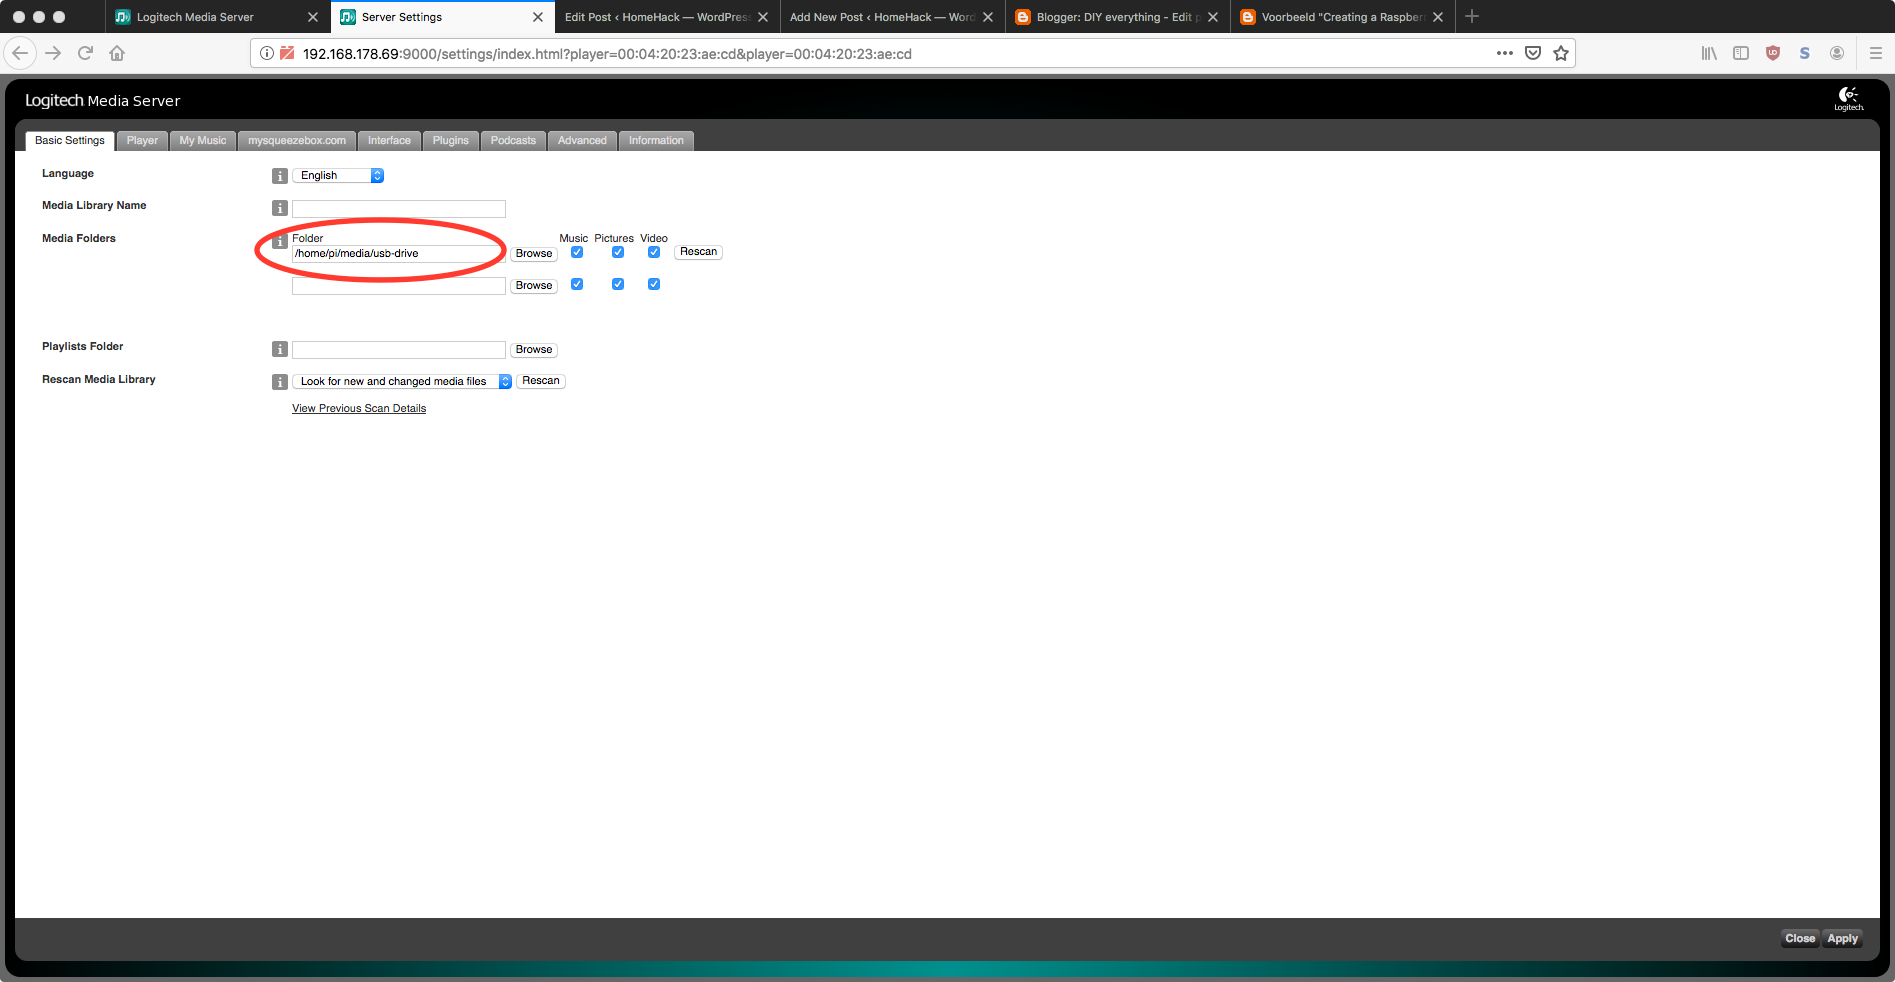
<your_Raspberry_Pi_ip_address:9000> (in my case 192.168.178.69:9000)The Logitech Media Server is started for the first time and a script is started to set it up. Important is that the mounting point of the HDD (in my case ~/media/usb-drive) is entered. This way the Media Server is able to retrieve all the music files. This is done in the web interface by entering the path of the mounting point under Media Settings under Media Folders.
The Logitech Media Server is now ready and every time the Raspberry Pi boots the Logitech Media Server is automatically started however the HDD is not automatically mounted so we need to change that. This is done by editing (with nano) the fstab system configuration file that can be found at /etc/fstab
sudo nano fstaband add the following line
/dev/sda1 /media/usb-drive vfat& defaults 0Save the file and exit nano. Reboot the Raspberry Pi. Now the installation is complete.
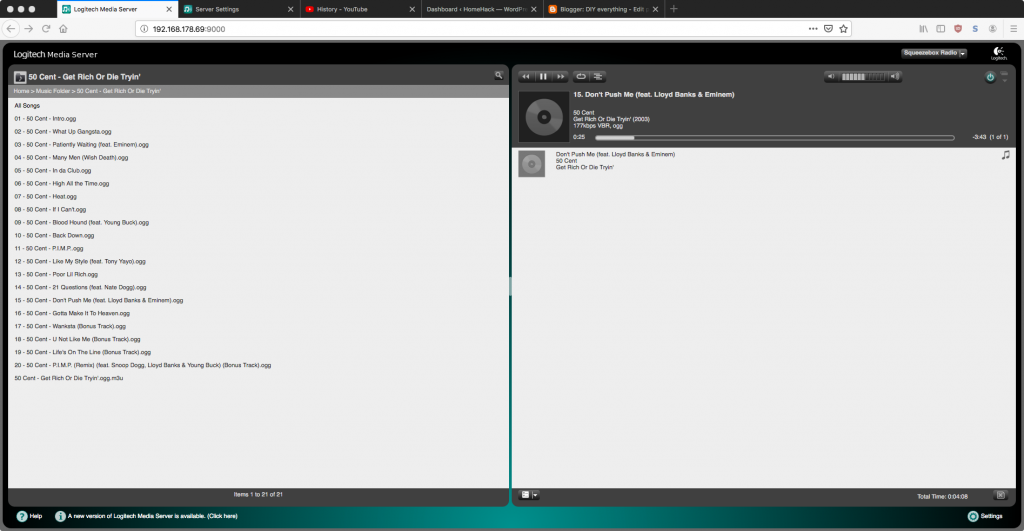
The music can be controlled from the web interface (see above), with the remote controls that come with the Squeezebox devices, with apps for Android, such as Squeezer, or with iPeng for iOS. The Squeezebox Radio and the Squeezebox Boom also have controls on the device to play the music. So, plenty of options.
Step 6: Change the web interface to Material Skin (optional)
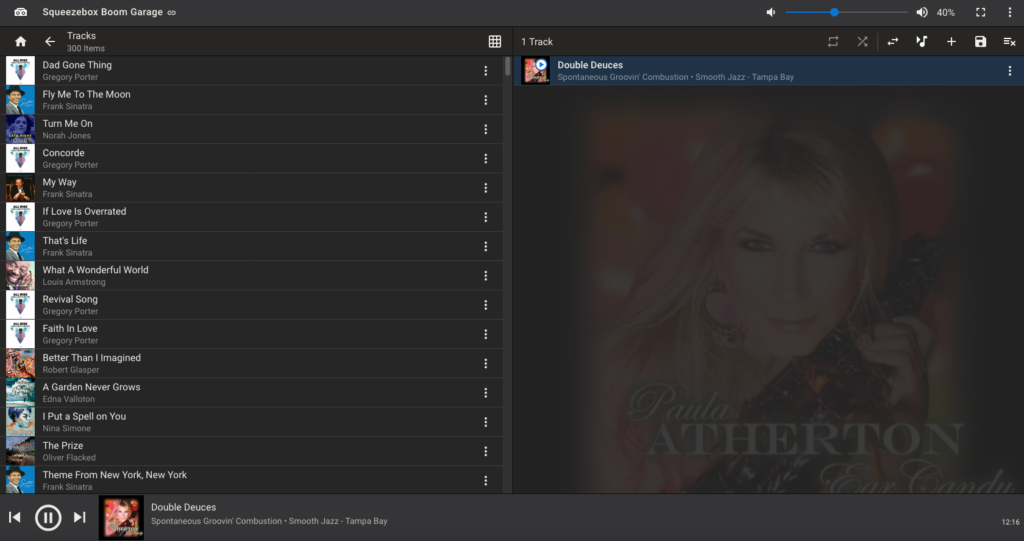
The default web interface of the Logitech Media Server looks outdated. Luckily, thanks to the plugin architecture, the server and its user interface are highly customizable. In the list of third party plugins of the default web interface you’ll find the Material Skin plugin (an excellent community effort led by CDrummond). Enable this plugin, select it and voila the web interface looks awesome.
What’s next
In a future blog entry I’ll explain how to maintain the Logitech Media Server e.g how to add music to the server remotely.
Thanks for reading!
One reply on “Creating a Raspberry Pi Squeezebox Server”
[…] the Raspberry Pi 3B as the server with files on LVM disks attached to RPi.Notes: https://homehack.nl/creating-a-raspberry-pi-squeezebox-server/: sudo wget -O logitechmediaserver_all.deb $(wget -q -O – […]