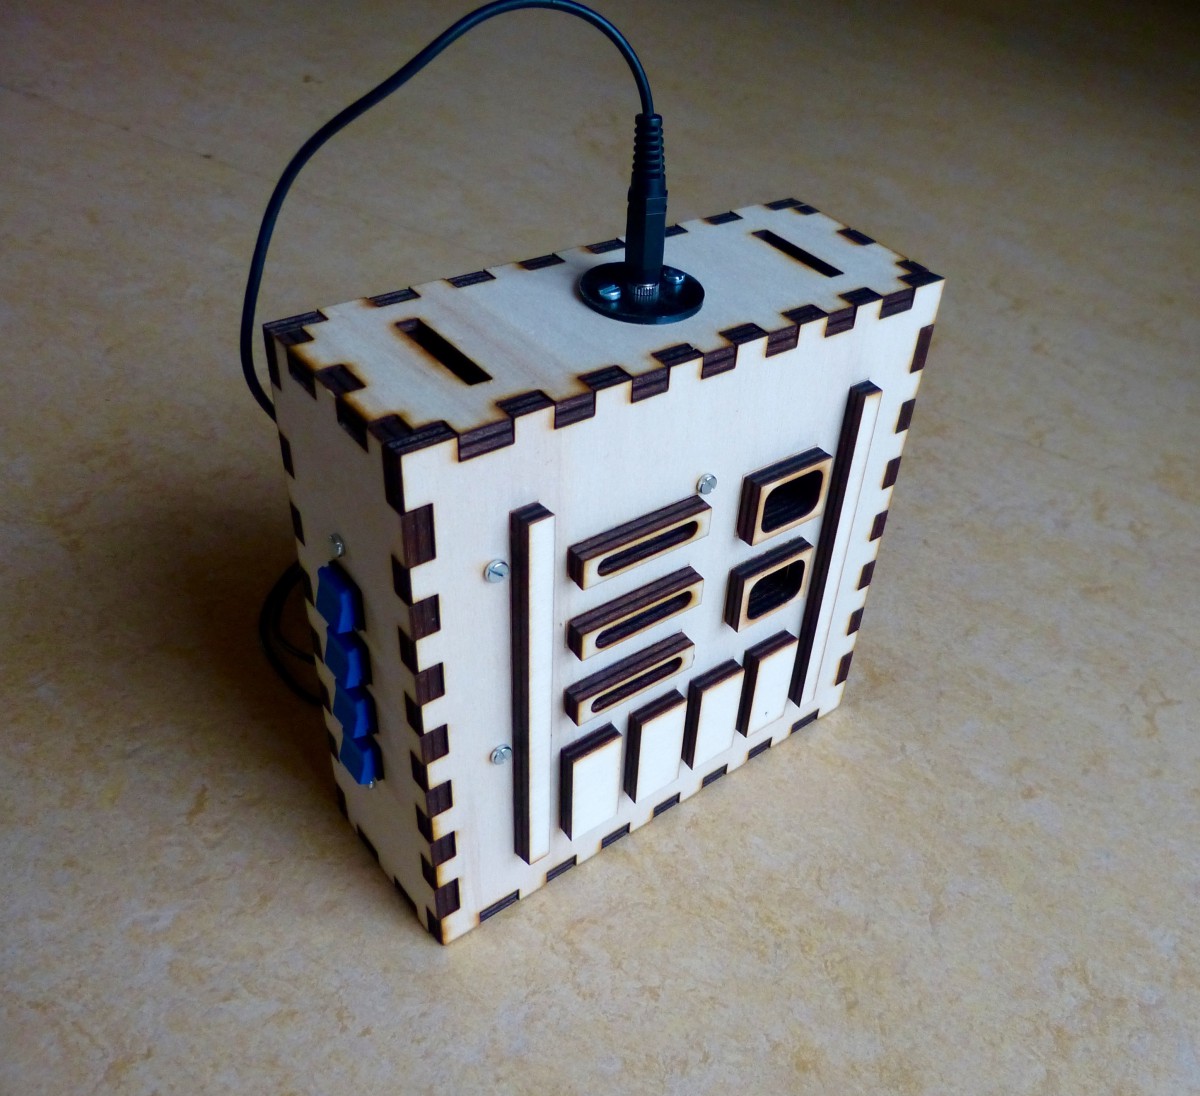
This is the last of a series of five where I design and build a Darth Vader chest box. See the bottom of the this to links to the previous parts. The main features of the Darth Vader chest box are:
- enclosure laser cut plywood (6mm)
- easy control with four push buttons
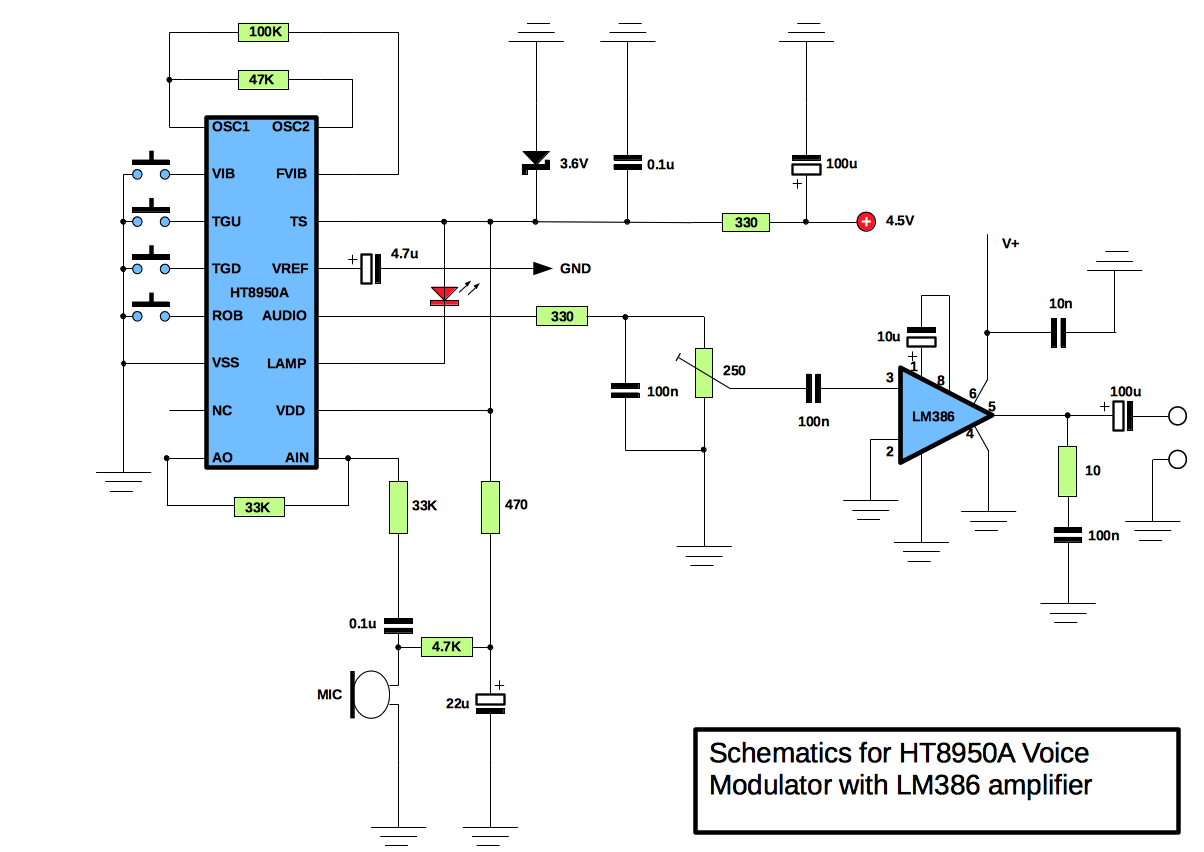
- DIY voice changer circuit with Holtek HT8950A
- LM386 amplifier
- build-in speaker
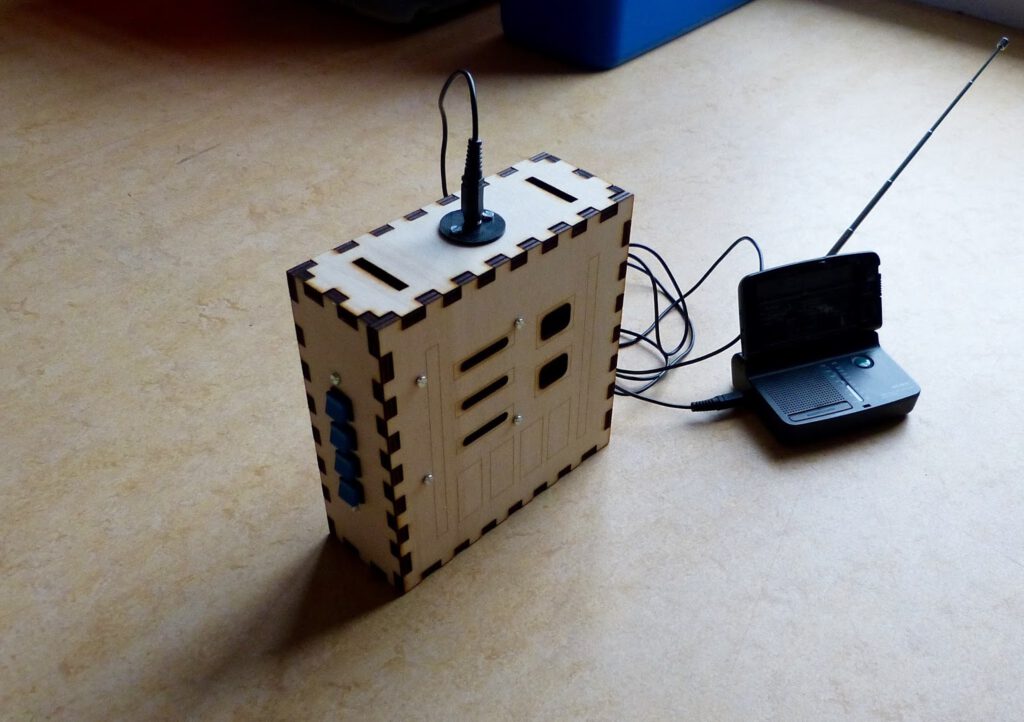
- audio-in (3.5mm)
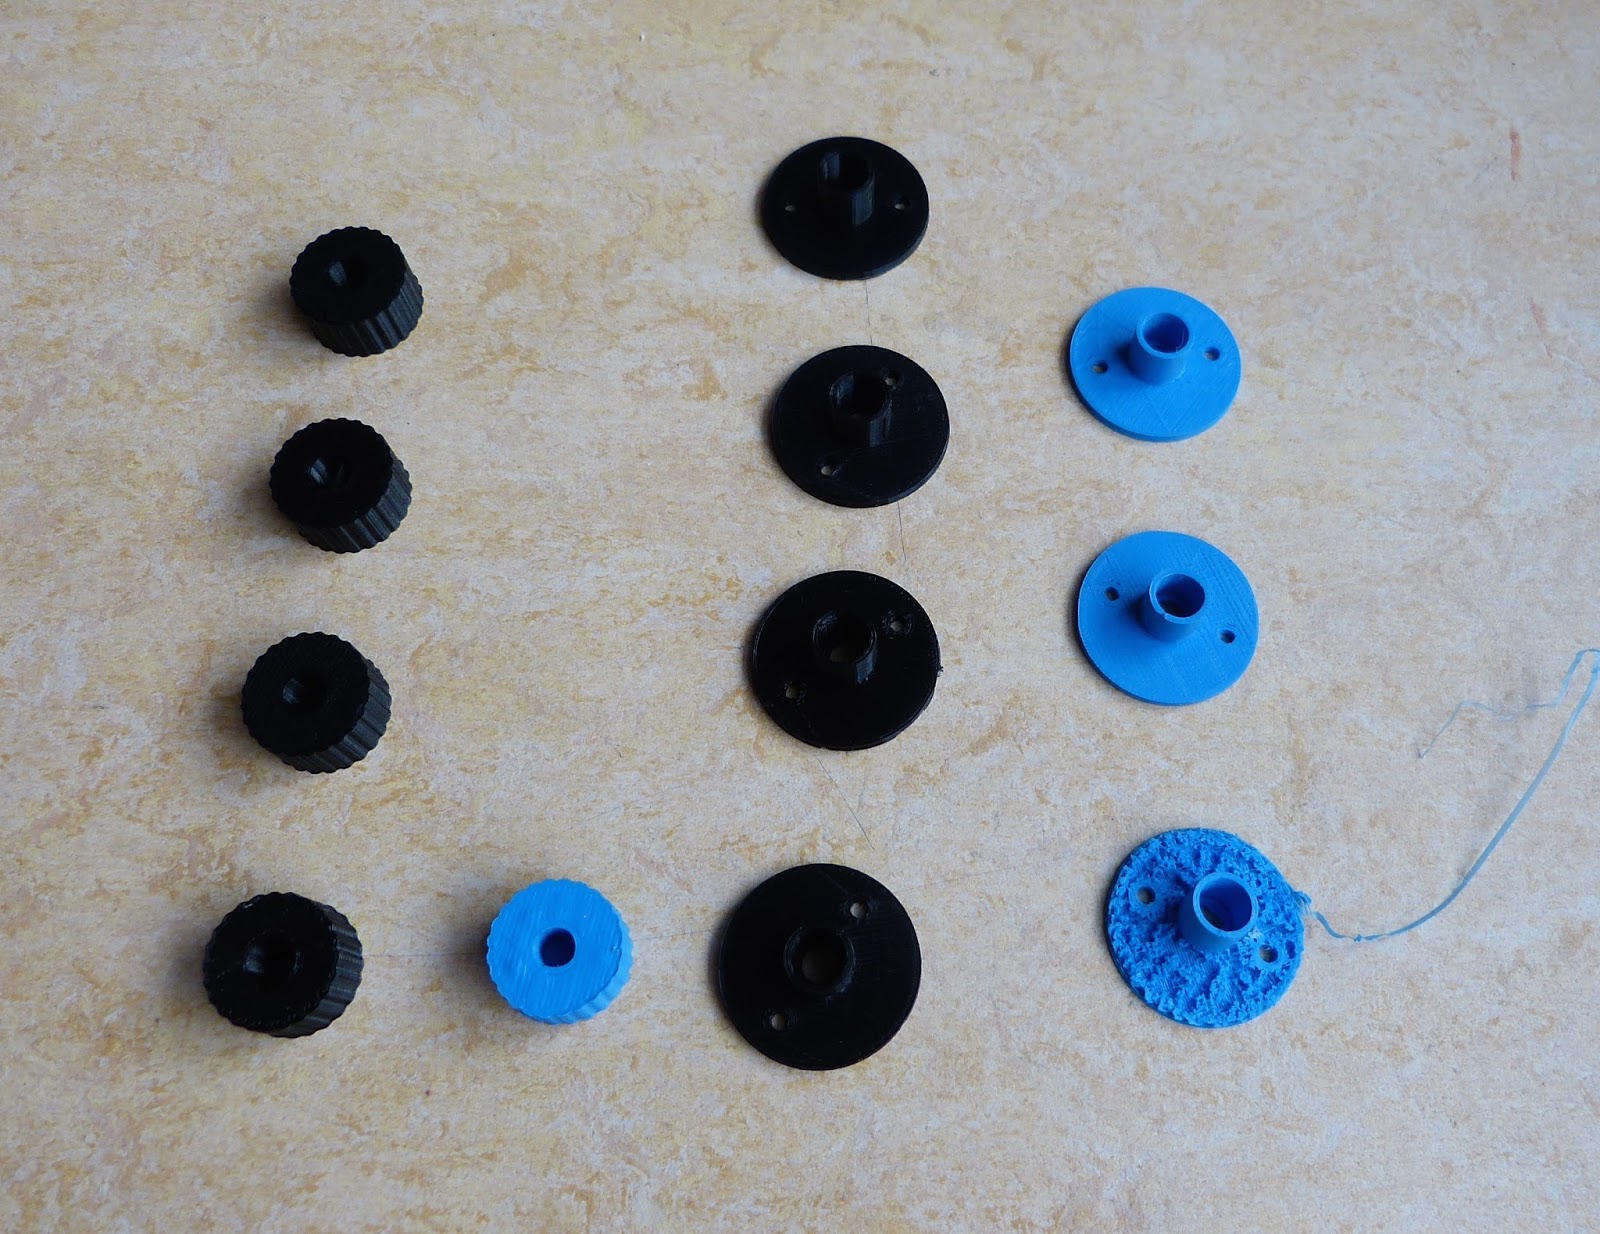
When I started the Darth Vader chest box early December 2015 I didn’t expect it would take me almost two months. Finally this week I finished it and I’m happy to say that it works great. For a couple of weeks it was almost finished but there always seemed to be some work to be done. A major problem was that I couldn’t get the 3D printed container for the audio-jack right. I tried it several times at my local fablab but it just didn’t fit. Finally I ordered the container from 3D Hubs and it had a perfect fit.
Next I made all the external connections to the perfboard, always a delicate job. I mounted the perfboard and all other components to the laser cut plywood parts.
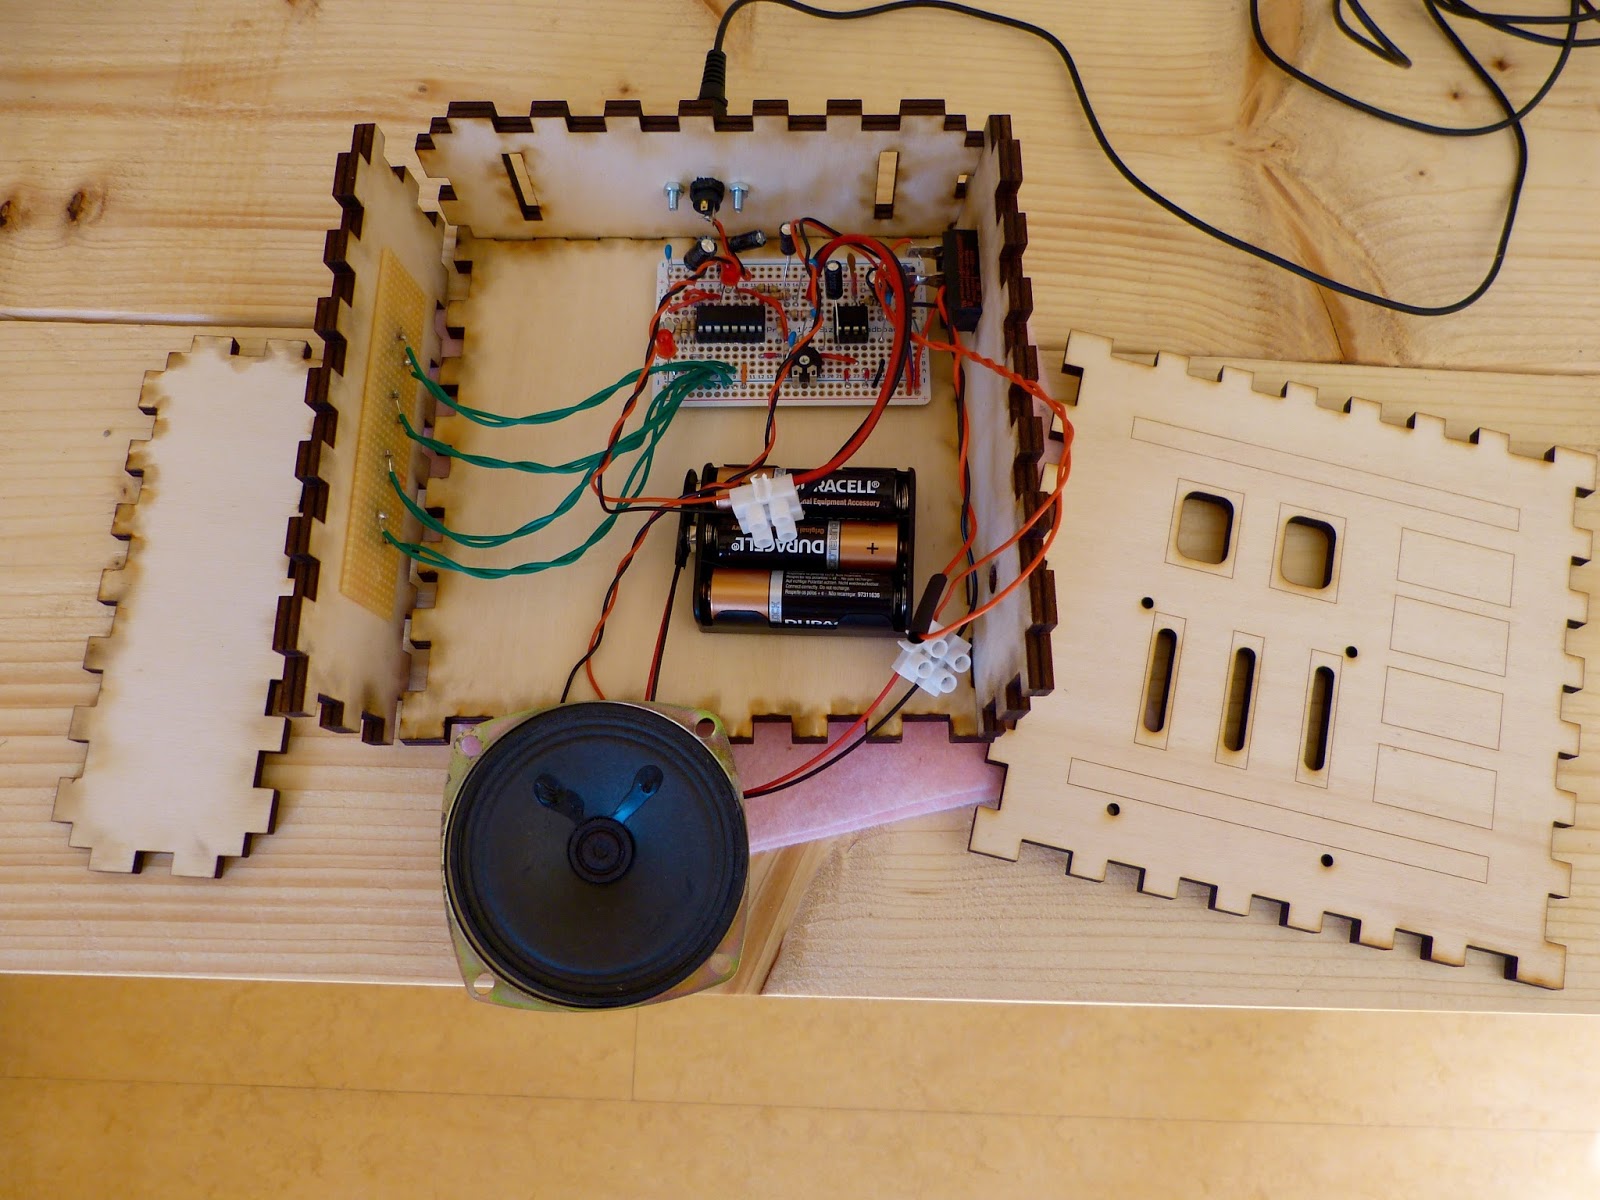
Finally I glued all laser cut parts together with regular wood glue except for the front panel. When the batteries need replacement or some other kind of problem occurs I still have access to the inside of the chest box.
The files to laser cut the plywood can be found here. I included a .svg file and an .eps file depending on the laser cutter that you’re using.
Finally here is a video of me demonstrating the Chest box.
Here are the links to all blog posts I wrote about this chest box:
- Darth Vader voice changer 2.0 (HT8950A) part 1, demonstrates the voice changer on the breadboard: https://homehack.nl/darth-vader-voice-changer-2-0-ht8950a/
- Darth Vader voice changer 2.0 part 2: designing the case: https://homehack.nl/darth-vader-voice-changer-2-0-designing-the-case/
- Homemade Darth Vader Voice Changer 2.0 (work in progress) part 3: https://homehack.nl/homemade-darth-vader-voice-changer-2-0-work-in-progress/
- The Darth Vader chest box part 4: almost finished: https://homehack.nl/the-darth-vader-chest-box-is-almost-finished
- Darth Vader voice changer 2.0 part 5: finished: https://homehack.nl/darth-vader-chest-box-finished/
Thanks for reading!