Last week I made a electronics workbench from scaffolding wood and galvanised steel. When working with electronics you need a lot of storage space. Therefore I wanted to make shelves, preferably in the same style as the workbench. I like the workbench but the price of the galvanised clamps was steep. Luckily I found an online supplier that offers the clamps for 1/3! of the price that I paid at my local hardware store. The total price of the shelves was $30 using some scaffolding wood that was left over from the bench.
I sanded the wood thoroughly carefully removing all splinters, drilled two 28mm holes for the steel pipes in each shelf. Next I applied three successive layers of oil to the wood. I cut the steel to the desired length and assembled the clamps. Each shelf is hold in place with 28mm lock rings. I fastened the whole construction to the concrete wall. Below is some imagery of the shelves and the workbench.
 |
| The now populated electronic workbench and much needed shelves. |
 |
| Finished scaffolding wood, galvanised pipes, clamps and locker rings. Time to assemble the shelves. |
 |
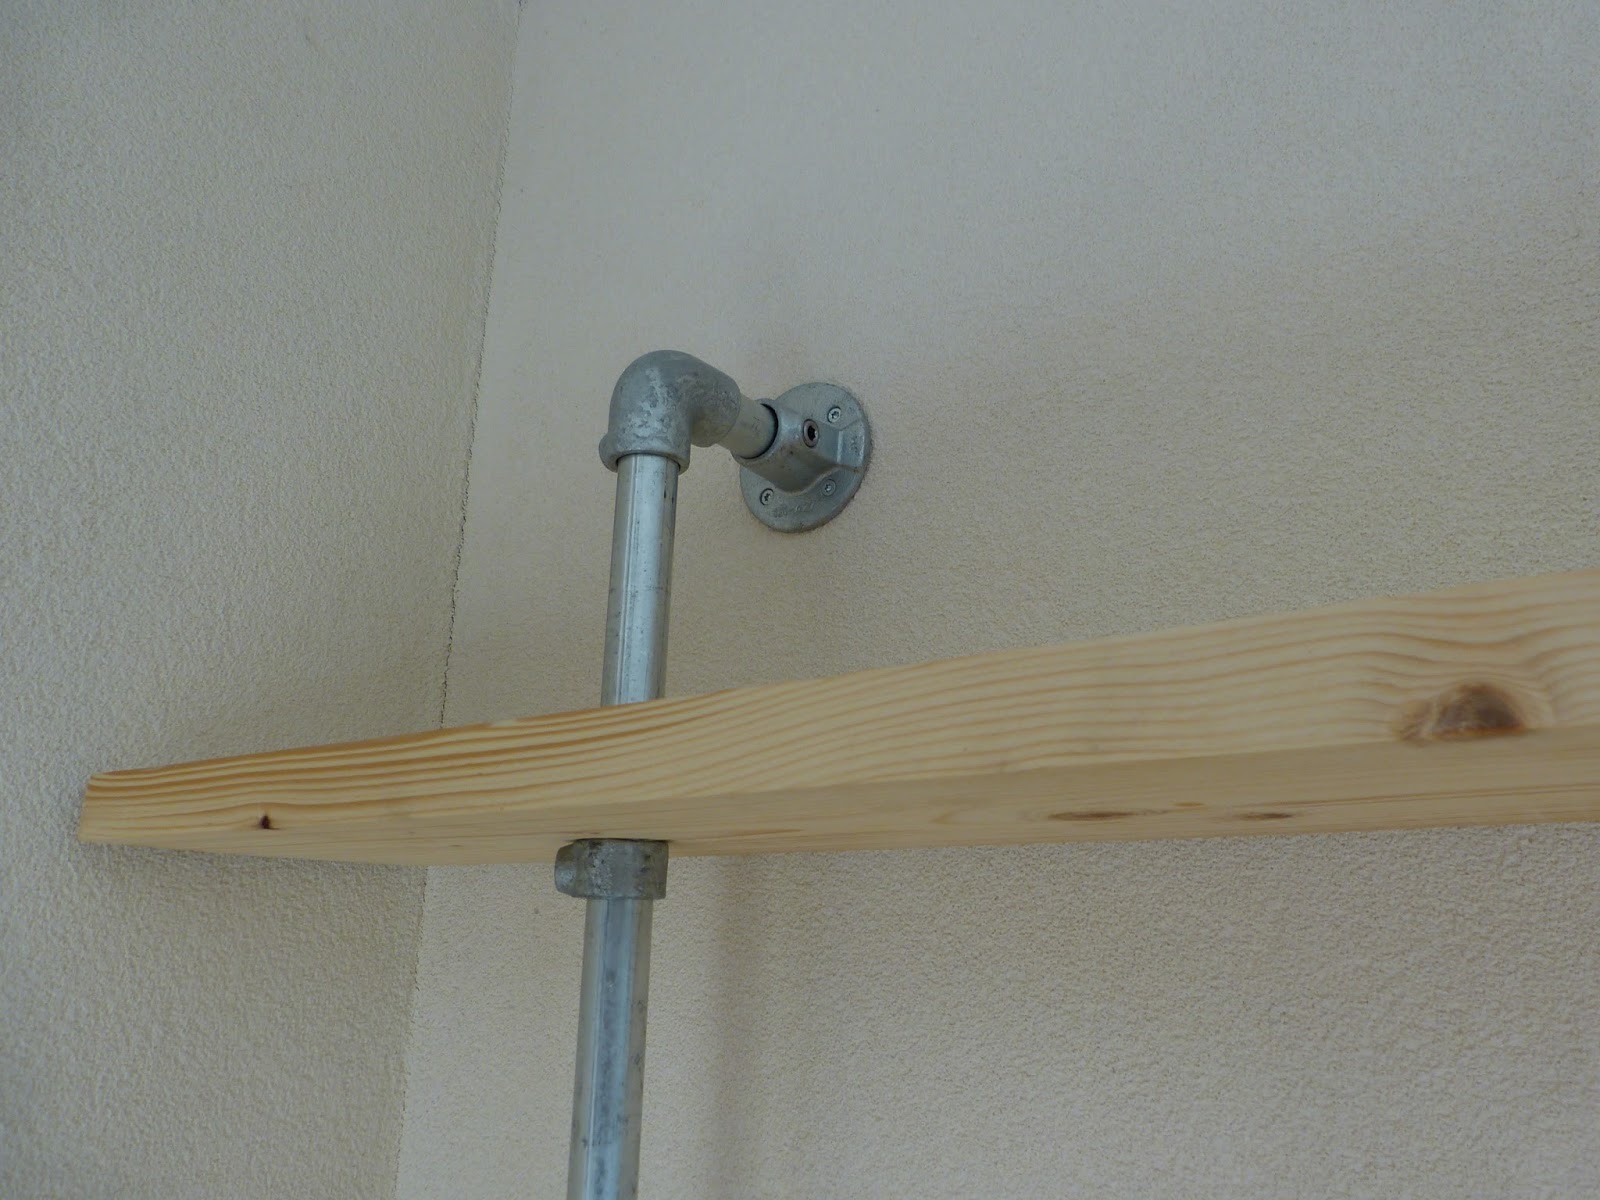
| Top shelf with the clamp and lock ring visible. |
 |
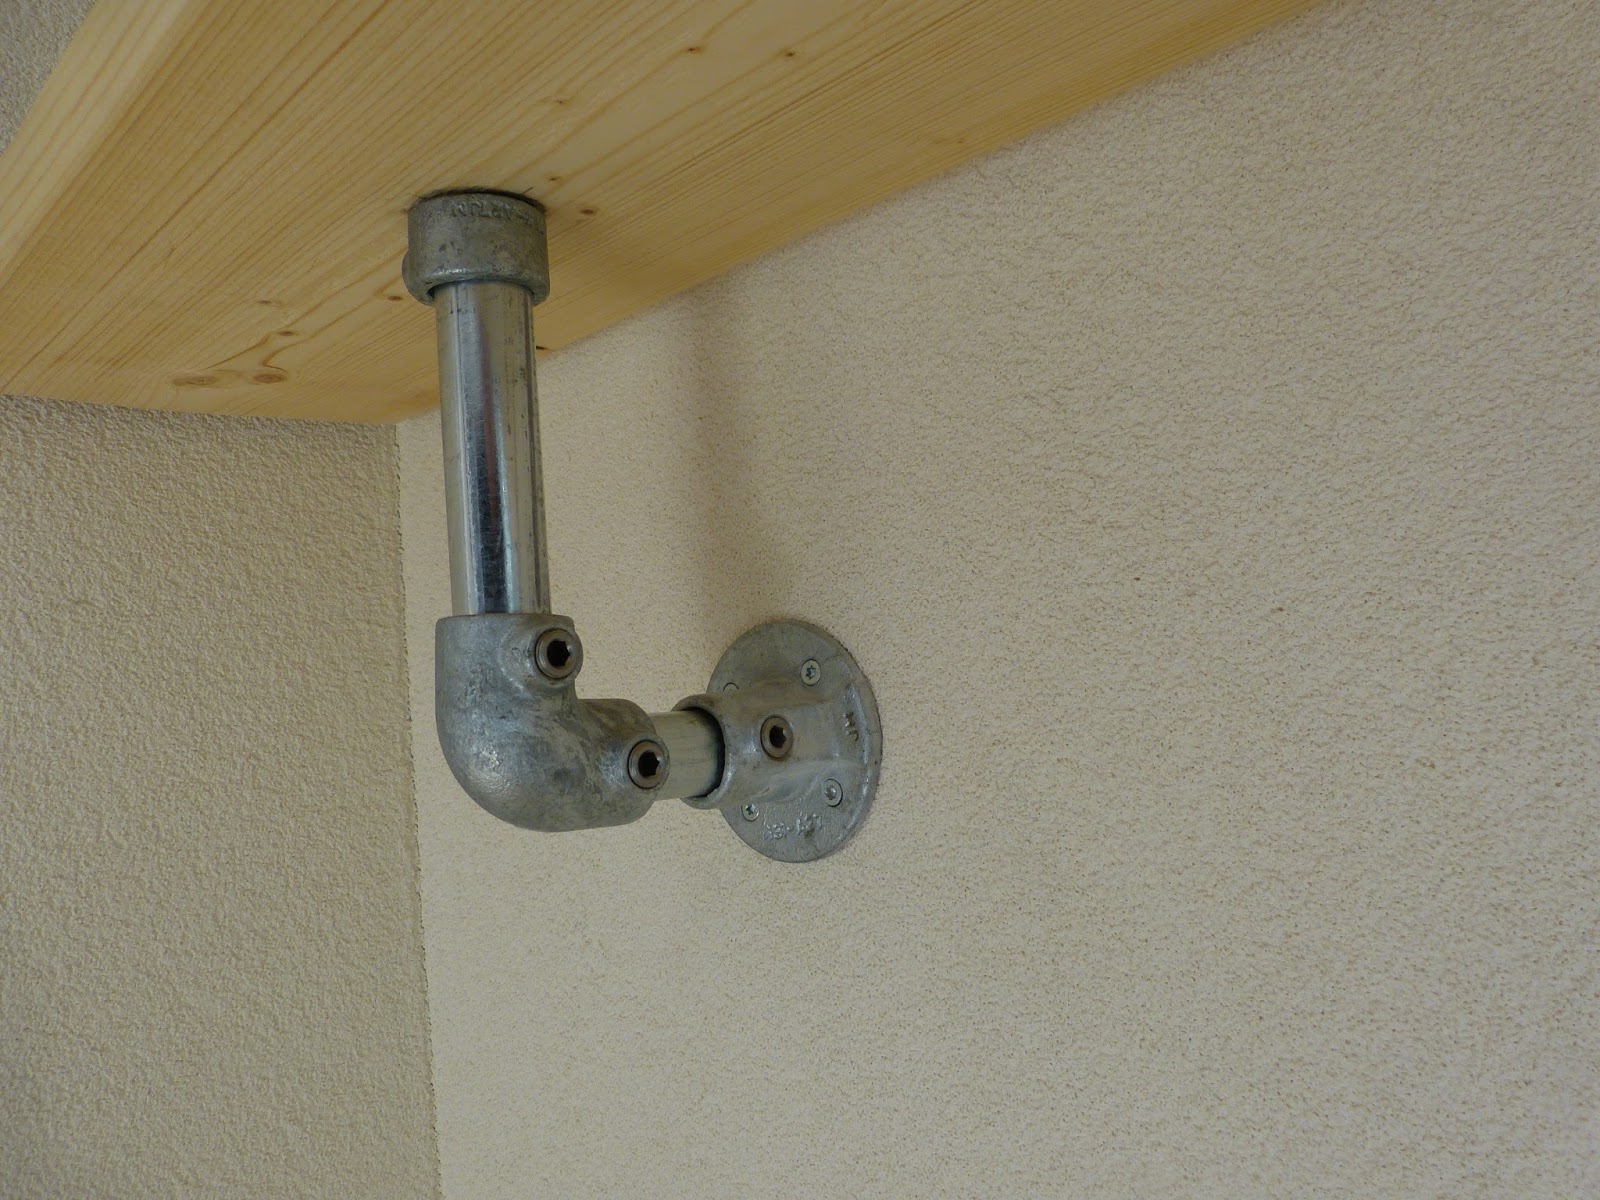
| Detail of the bottom shelf. With the socket screws it’s very easy to adjust the construction. |
 |
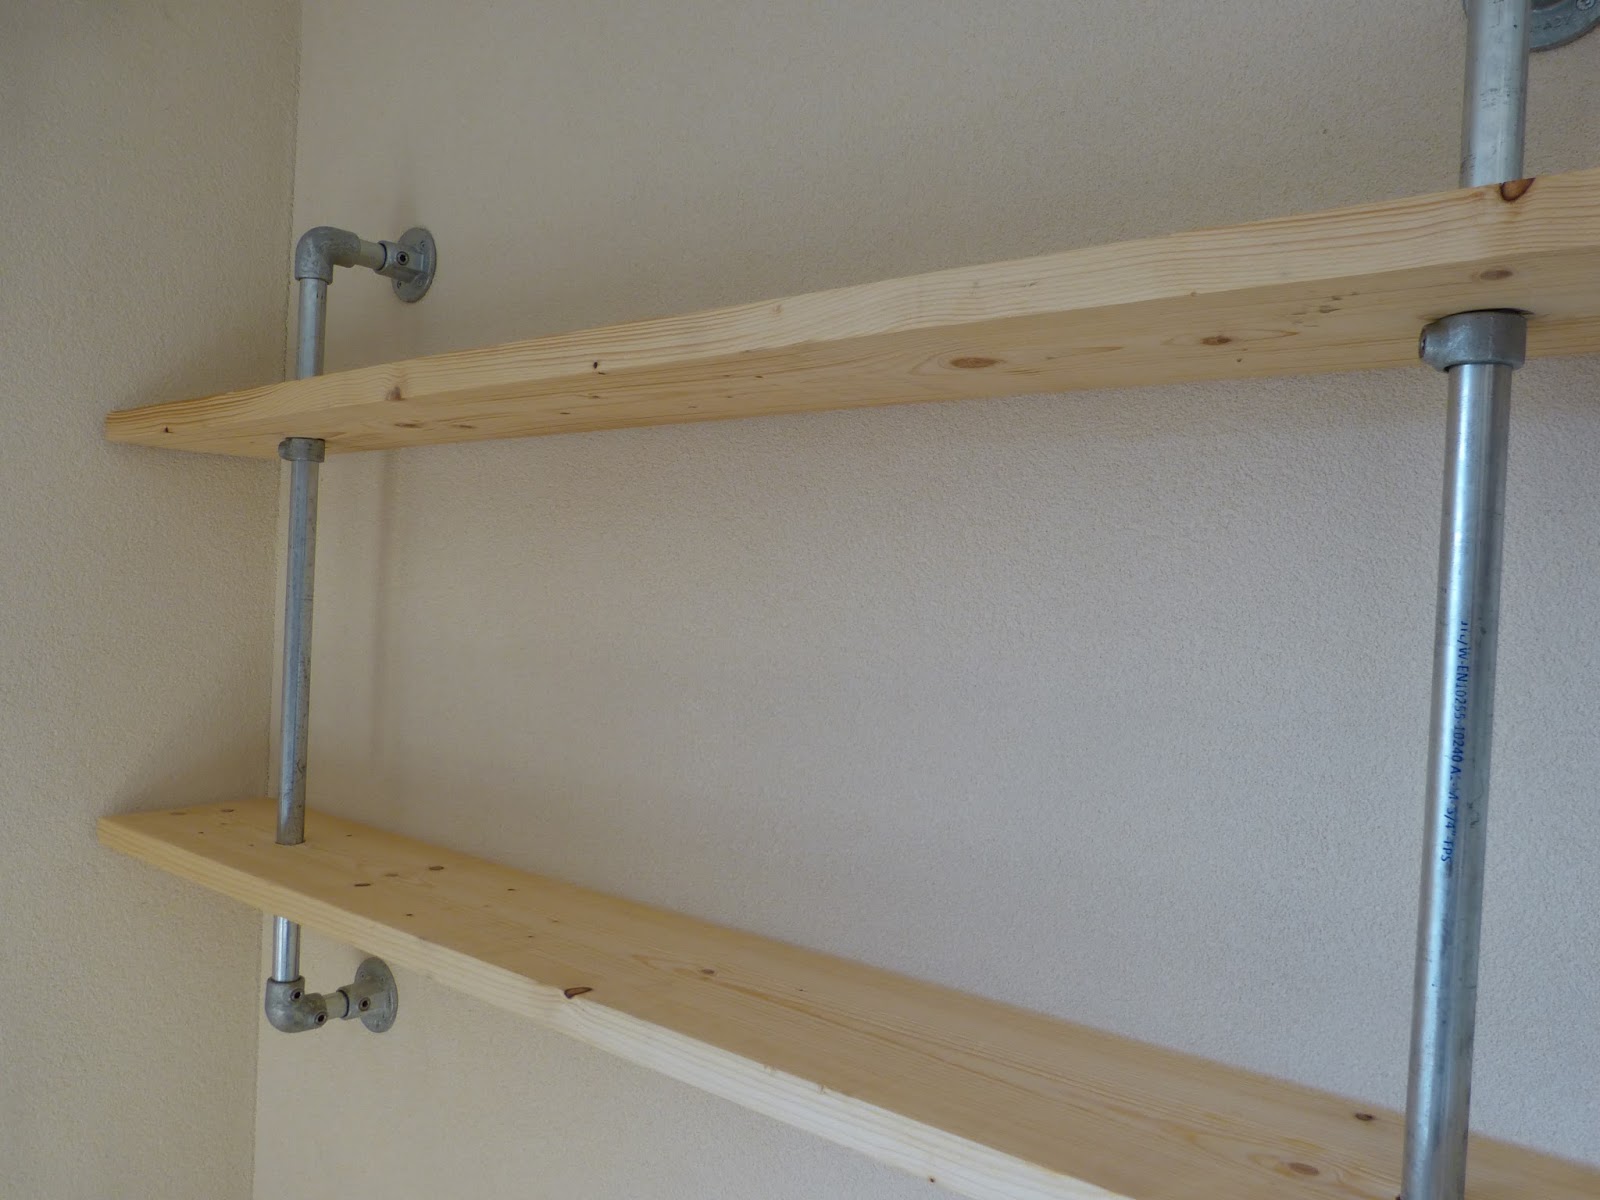
| Finished shelves fastened to the wall. |
Thanks for reading!
Post Views: 604