The first voice changer that I made had a handmade 1/2″ thick plywood case. Making it was very time-consuming and it’s a bit heavy. I felt I could do better. This year I got interested in laser cutting but until now I only read about it. The laser cutter isn’t as widespread as the 3D-printer. The laser optics combined with the CNC bring a whole range of possibilities when compared to creating by hand. First of all you can design with a computer and then send your file to the laser cutter greatly increasing the precision of the case. Second I can make casings that I never thought were feasible, e.g. it is possible to curve the wood by cutting in certain patterns, make complex wood joints normally the territory of professional carpenters or create detailed engravings in just minutes, just to name a few.
In the area where I live there is a FabLab that provides me the possibility to use their laser cutters for a modest fee. I’ve already been there to test the equipment.
To create a case I started with an online tool called Makercase. It’s an easy to use tool that, once you’ve entered the parameters on length, width, thickness etc, provides you with an svg-file. The svg-file can be opened and changed in Inkscape, a free vector drawing program. Adobe Illustrator and Corel Draw are fine too but they are expensive and proprietary programs. Inkscape has a learning curve so I have spend the better part of the week to get acquainted with the program. I nevertheless made good progress and hopefully I’ll be able to have the case ready this week.
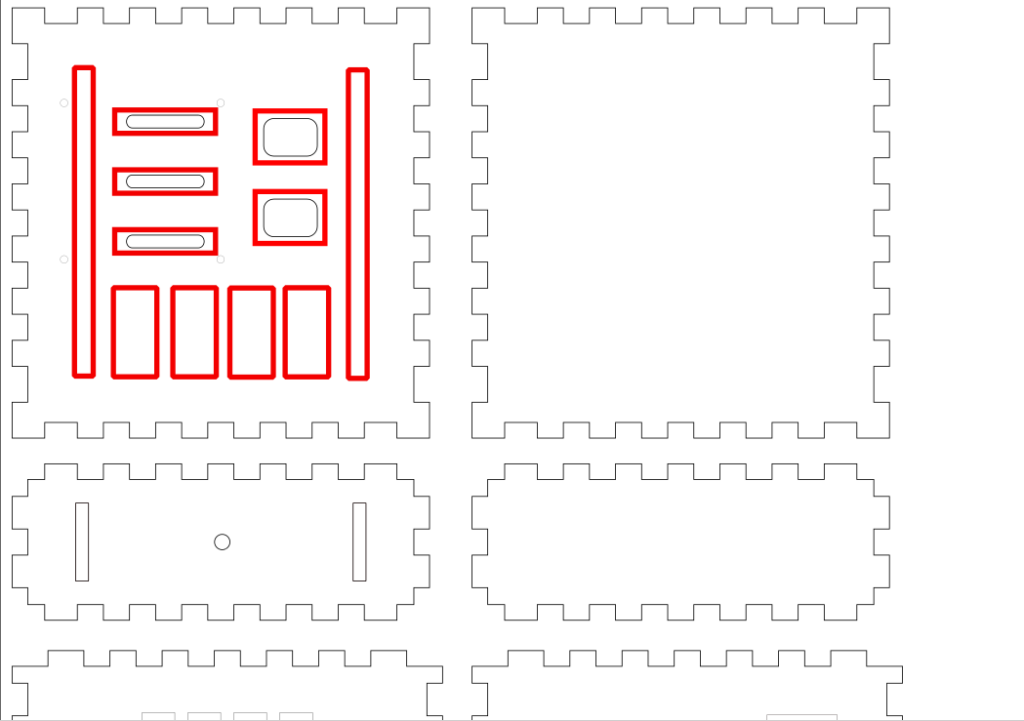
The files to laser cut the plywood can be found here. I included a .svg file and an .eps file depending on the laser cutter that you’re using.
Here are the links to all blog posts I wrote about this chest box:
- Darth Vader voice changer 2.0 (HT8950A) part 1, demonstrates the voice changer on the breadboard: https://homehack.nl/darth-vader-voice-changer-2-0-ht8950a/
- Darth Vader voice changer 2.0 part 2: designing the case: https://homehack.nl/darth-vader-voice-changer-2-0-designing-the-case/
- Homemade Darth Vader Voice Changer 2.0 (work in progress) part 3: https://homehack.nl/homemade-darth-vader-voice-changer-2-0-work-in-progress/
- The Darth Vader chest box part 4: almost finished: https://homehack.nl/the-darth-vader-chest-box-is-almost-finished
- Darth Vader voice changer 2.0 part 5: finished: https://homehack.nl/darth-vader-chest-box-finished/
Thanks for reading!