Making a woorden Lego cabinet for all this minifigs is easy and cheap. You do need a laser cutter for this project.
Categories
DIY Lego Cabinet
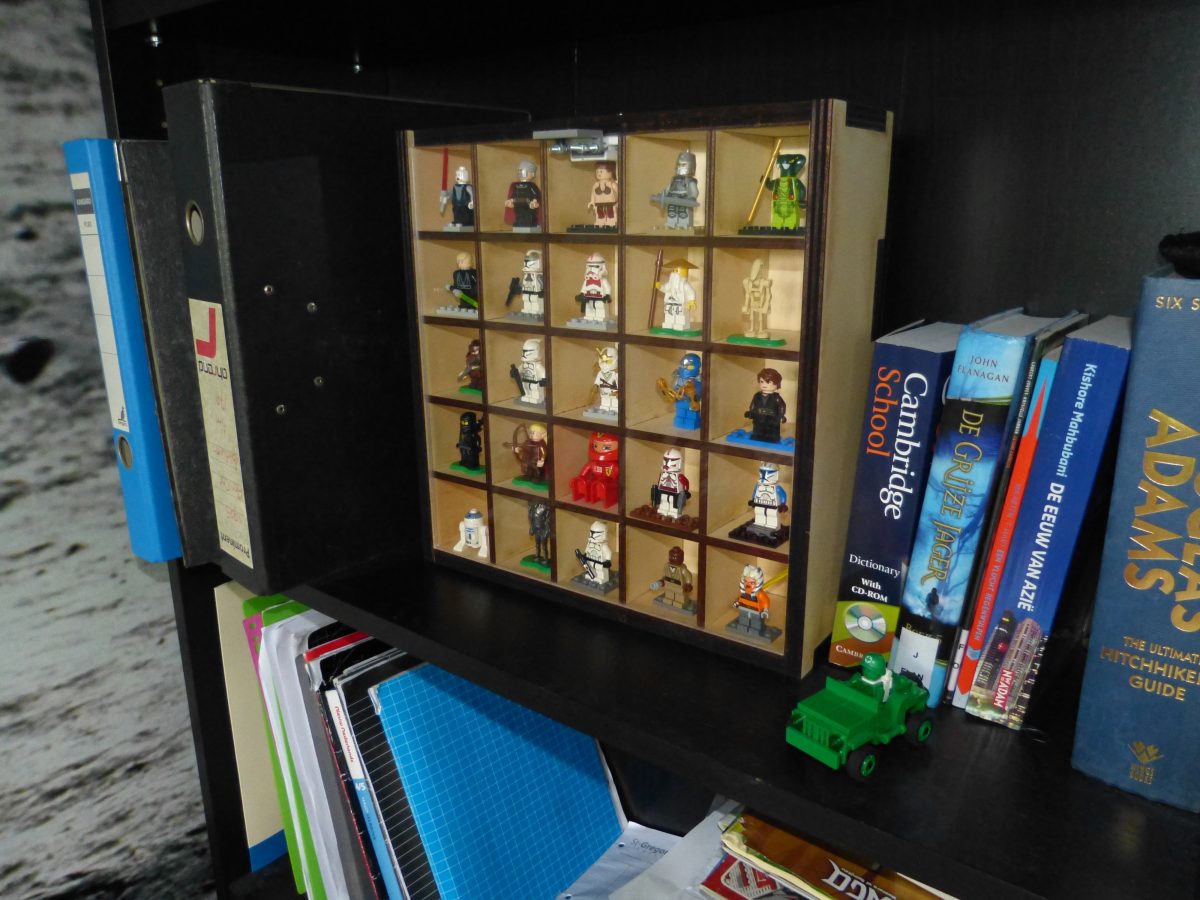
Making a woorden Lego cabinet for all this minifigs is easy and cheap. You do need a laser cutter for this project.
This is the fourth of a series of five where I design and build a Darth Vader chest box with the HT8950A chip. The series involves all the instructions for the electronics, laser cutting and a bit of 3d printing.
This is the third of a series of five where I design and build a Darth Vader chest box with the HT8950A chip. The series involves all the instructions for the electronics, laser cutting and a bit of 3d printing.
This is the second of a series of five where I design and build a Darth Vader chest box with the HT8950A chip. The series involves all the instructions for the electronics, laser cutting and a bit of 3d printing.