Introduction
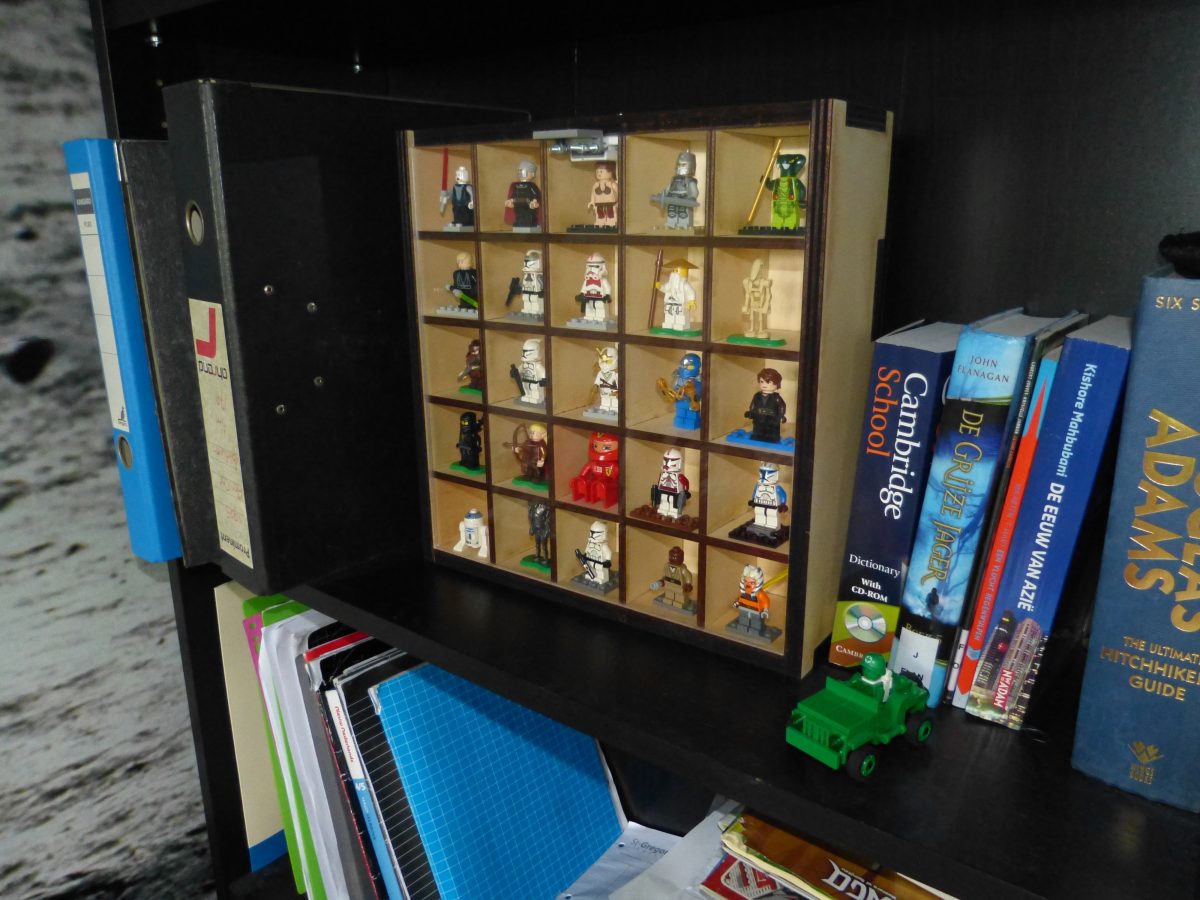
My sons have large Lego minifig collections but most of it is lying in a large box. The older son wanted a cabinet so he could display (part of) his collection better. These cabinets can be pricey so I decided to make one myself. I’ve done some laser cut projects recently, such as the Darth Vader Chest Box and the Valentine’s Heart, so I decided to use the same technique for the cabinet.
Designing the cabinet
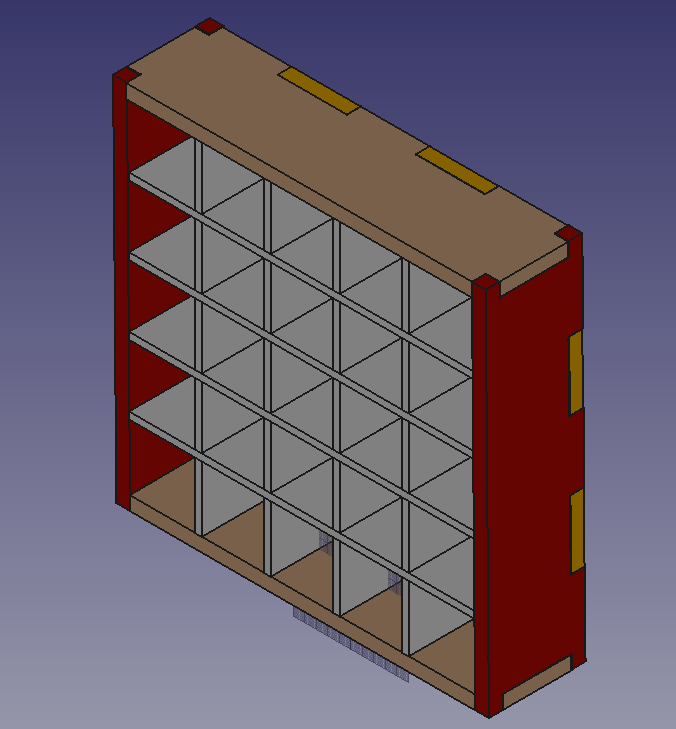
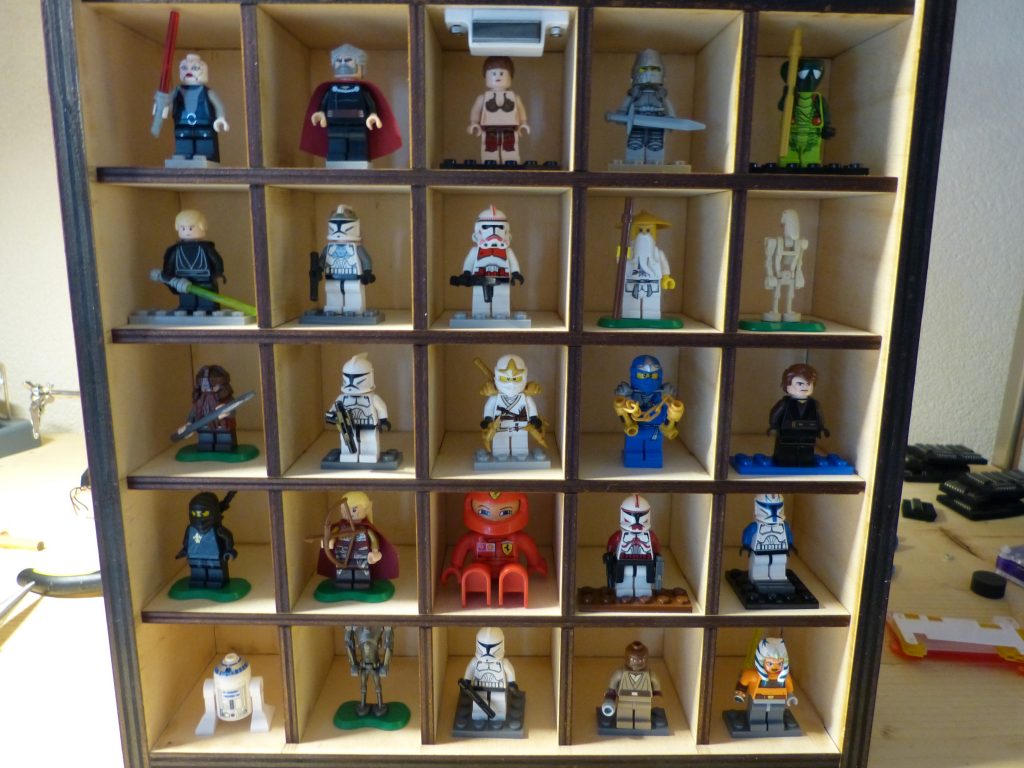
I designed the cabinet in FreeCAD, a truly amazing and free, CAD program. The inside dimensions were 30cmx30cmx5cm (12″x12″x2″). I intended to use 12mm (1/2″) plywood for the outside and 6mm (1/4″) for the frame on the inside so I designed the cabinet accordingly. All outside parts are connected with fingers. The framework has room for 25 minifigs.
Laser cutting and finishing the Cabinet
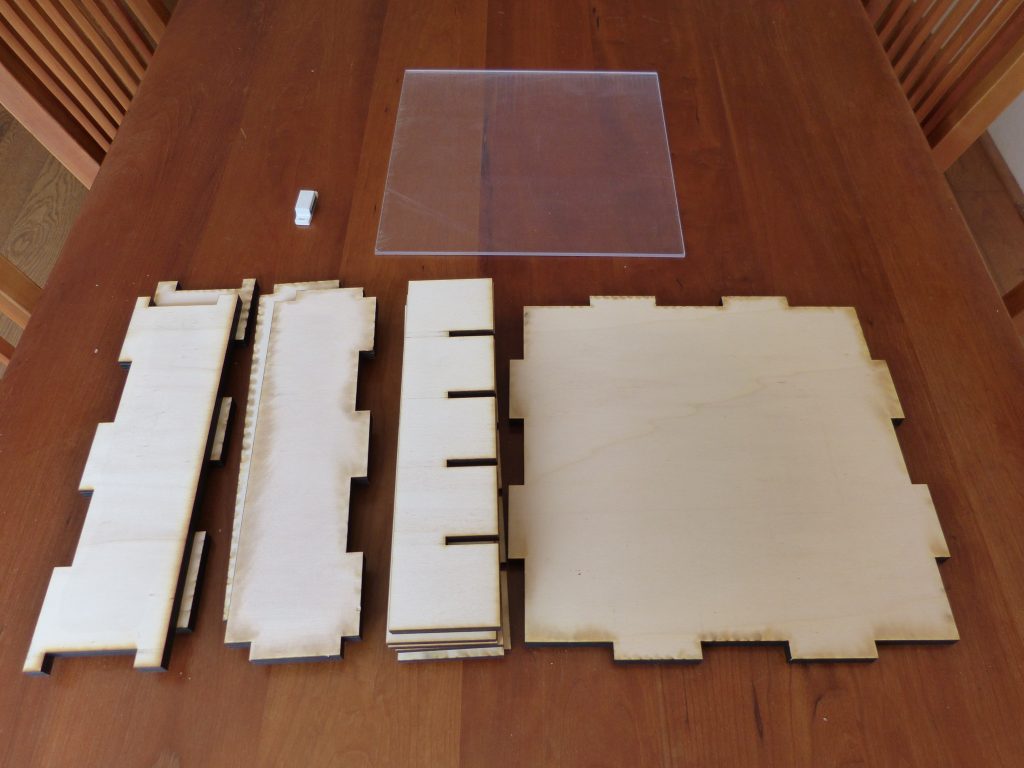
I took my design, together with 12 mm and 6 mm plywood, to the local fablab that some large laser cutters. It took only half an hour to cut all the pieces. I had some light top surface marks from the laser cutting trough the wood but that was fine because I sanded the wood afterwards. BTW: Here is an article about burn marks and how to avoid them while laser cutting.
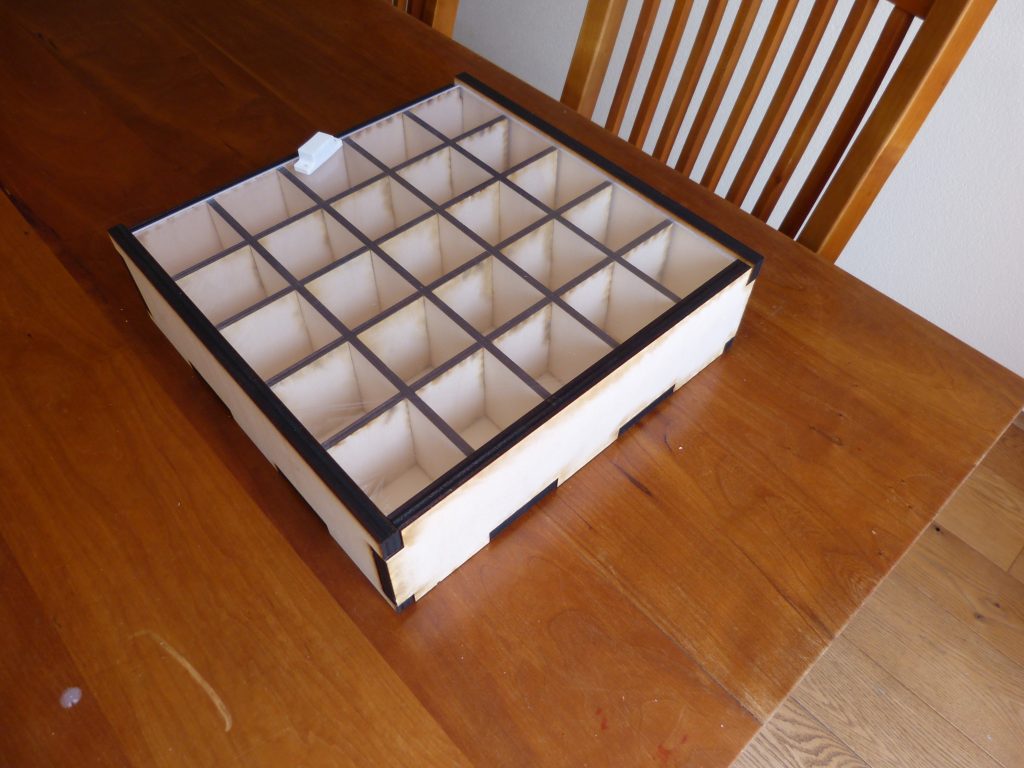
For finishing I used a light oil for garden furniture and applied it with a cloth. It gives the wood a somewhat darker color. Next I glued the outside pieces together with regular wood glue. For the inside framework no glue was needed I just shoved the pieces into each other. Next I attached the magnet to top side of the Cabinet. In the acrylic door I drilled three holes, two for a small handle and one opposite of the magnet. I inserted three machine screws and attached the small handle using nuts. The acrylic plate fits into the Cabinet and its held on it’s place by the magnet. You can the dxf files that you need for laser cutting here.
Conclusion
My son immediately placed 25 minifigs into his cabinet and gave it a nice place in his room. This is an easy way to make a cabinet thanks to CAD and the laser cutter. It is also cheap because of the low price of plywood. The most expensive part being the acrylic door.
