With a lot of people locked into their house most of the time I thought it was a good idea to publish this DIY hangboard for climbers and boulderers. It’s cheap and easy to build.
Tag: woodworking
Categories
DIY Lego Cabinet
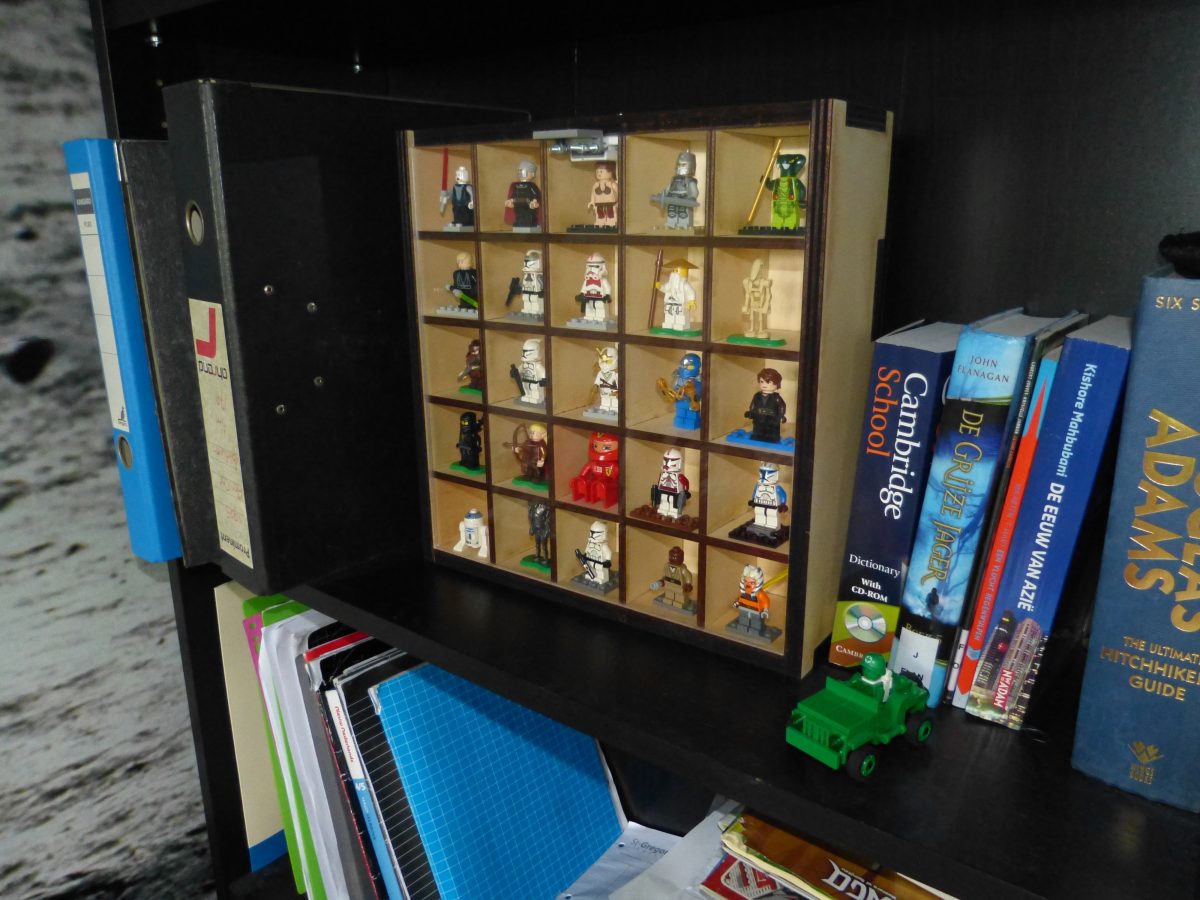
Making a woorden Lego cabinet for all this minifigs is easy and cheap. You do need a laser cutter for this project.
Categories
Homemade desk of scaffolding wood

I made a L-shape desk of scaffolding wood and galvanised pipes.