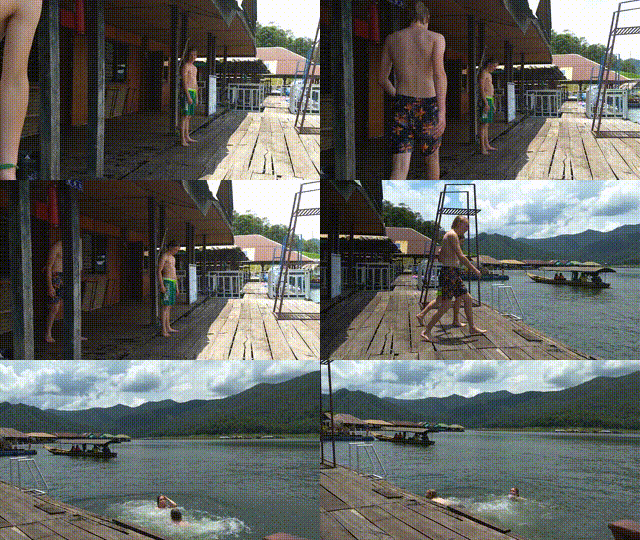
Animated GIFs are after all these years still pretty popular. FFmpeg is a good FLOSS tool to create these animated GIFs. FFmpeg is available for Windows, Linux and OSX. A word of warning FFmpeg is a command line tool that’s very versatile but it’s not for everybody. In fact suppose this post is more for users that like to tinker a lot with their animated GIFs. Below I will explain not only how to create a animated GIF from an mpeg4 movie but I also provide instructions to improve the quality.
The basic command to create an animated GIF from a mpeg4 is:
ffmpeg -i input.mp4 output.gifwhere the name of the input file is input.mp4 and output.gif is the name of the output file. Unfortunately gif images are large due to their lossless data compression. So you’ll end up with a file that’s much bigger than the original mpeg4 and probably something that exceeds the upload limit of Diaspora*, Friendica or Mastodon.
In order to reduce the size of the file we can reduce the size of the images or we can reduce the number of frames per second. To achieve this we need the following command:
ffmpeg -i input.mp4 -r 12 -s 320x180 output.gif
This command reduces the framerate to 12 per second and resizes to 320×180 pixels. For the size of the GIF make sure that the aspect ratio remains the same or the resulting GIF will be distorted.
When we look closely at the resulting GIF we clearly notice some shortcomings in the animation. This is due to the default GIF encoding in FFmpeg. Because GIFs only uses 256 colors the number of colors from the mpeg4 needs to be reduced. FFmpeg by default uses a generic palette of 256 colors that covers the widest range of content. This is in general not optimal for the specific video that you want to convert. Luckily FFmpeg allows us to create a custom palette for our specific video. To create this palette type:
ffmpeg -i input.mp4 -filter_complex "[0:v] palettegen" palette.pngWhen we look in the folder of our mpeg file well noice that a file ‘palette.png’ has been added. This is our newly created 256 color palette for our specific video which is generated by the palettegen filter. To use the new palette with our mpeg video type:
ffmpeg -i input.mp4 -i palette.png -r 12 -s 320x180 -filter_complex "[0:v][1:v] paletteuse" prettyOutput.gif
FFmpeg needs two input files (streams) in this case testing.mp4 and our newly created palette.png. The paletteuse filter takes the two streams as input specified by [0:v] and [1:v] where v stands for video and the preceding number for the number of the stream. The output file is renamed to prettyOutput.gif to differentiate it from the earlier output.gif. The resulting video should be much … prettier. If your resulting video is still too large either reduce the frame rate or resize even further (or just reduce the length of the video of course).
Further reading:
http://blog.pkh.me/p/21-high-quality-gif-with-ffmpeg.html
https://engineering.giphy.com/how-to-make-gifs-with-ffmpeg/
Thanks for reading!
