I wrote an OpenSCAD script to make it easier to create a lithophane for the 3d printer. There are a lot of lithophane models of photos to be found on Printables, a community hub for 3d printing, but none that I could find offered the possibility to easily add your own photo to the model. Luckily OpenSCAD has a Customizer. The Customizer provides an easy to use graphical user interface (GUI) to change an existing model in OpenSCAD. It is therefore not necessary for the user to change the code.
The small OpenSCAD script revolves around the Surface() command. This command reads heightmap information from text or image files. Alpha channel information of the image is ignored and the height for the pixel is determined by converting the color value to grayscale. The invert boolean parameter inverts the color value of the image if set to true. Below is the module that handles the Surface() command and determines the thickness of the model.
module place_image(img,th,inv) {
        //import the image and scale it to the desired height and width and adjust the thickness.
        scale([1, 1, th])
        surface(file = img, invert = inv, convexity=3, center=true);
}
The script, example photos and an example stl file can be found on Printables here: https://www.printables.com/model/293702-lithophane-creator.
The lithophane model can be created in five steps described below.
- Download OpenSCAD. For this your need the free and open source program OpenSCAD which is available for OSX, Windows and Linux. Start OpenSCAD and load the .scad file available here together with the sample negatives photos below. Easiest is to have the .scad file and the negatives in the same folder or map. Now use the Customizer to create you .stl file.
- Make a negative of your photo. If you start with a jpg file you need to convert it to a png file first. Before loading your png file into OpenSCAD you need to make a negative of the photo first. There are many ways to do this but I use Imagemagick, a command line tool for Linux, Windows, Mac OSX, and others. To create a negative file type: convert -negate foo.png inverted_foo.png
- Use the Customizer. The Customizer has the option to change the background. This is important to select. If the background of your original photo is mostly white or lightly coloured choose ‘light’. If it’s mostly dark choose ‘dark’. In addition enter the height and width in pixels of your photo.
- Render and save the .stl file. To create an .stl press F6 or select Design/Render in the menu. It’s important to know that rendering takes longer when the image is larger. I found that a a 200×200 pixels photo takes a few minutes to render. Since the resolution of the 3d printer is limited it’s probably needless to go beyond 40.000 pixels.
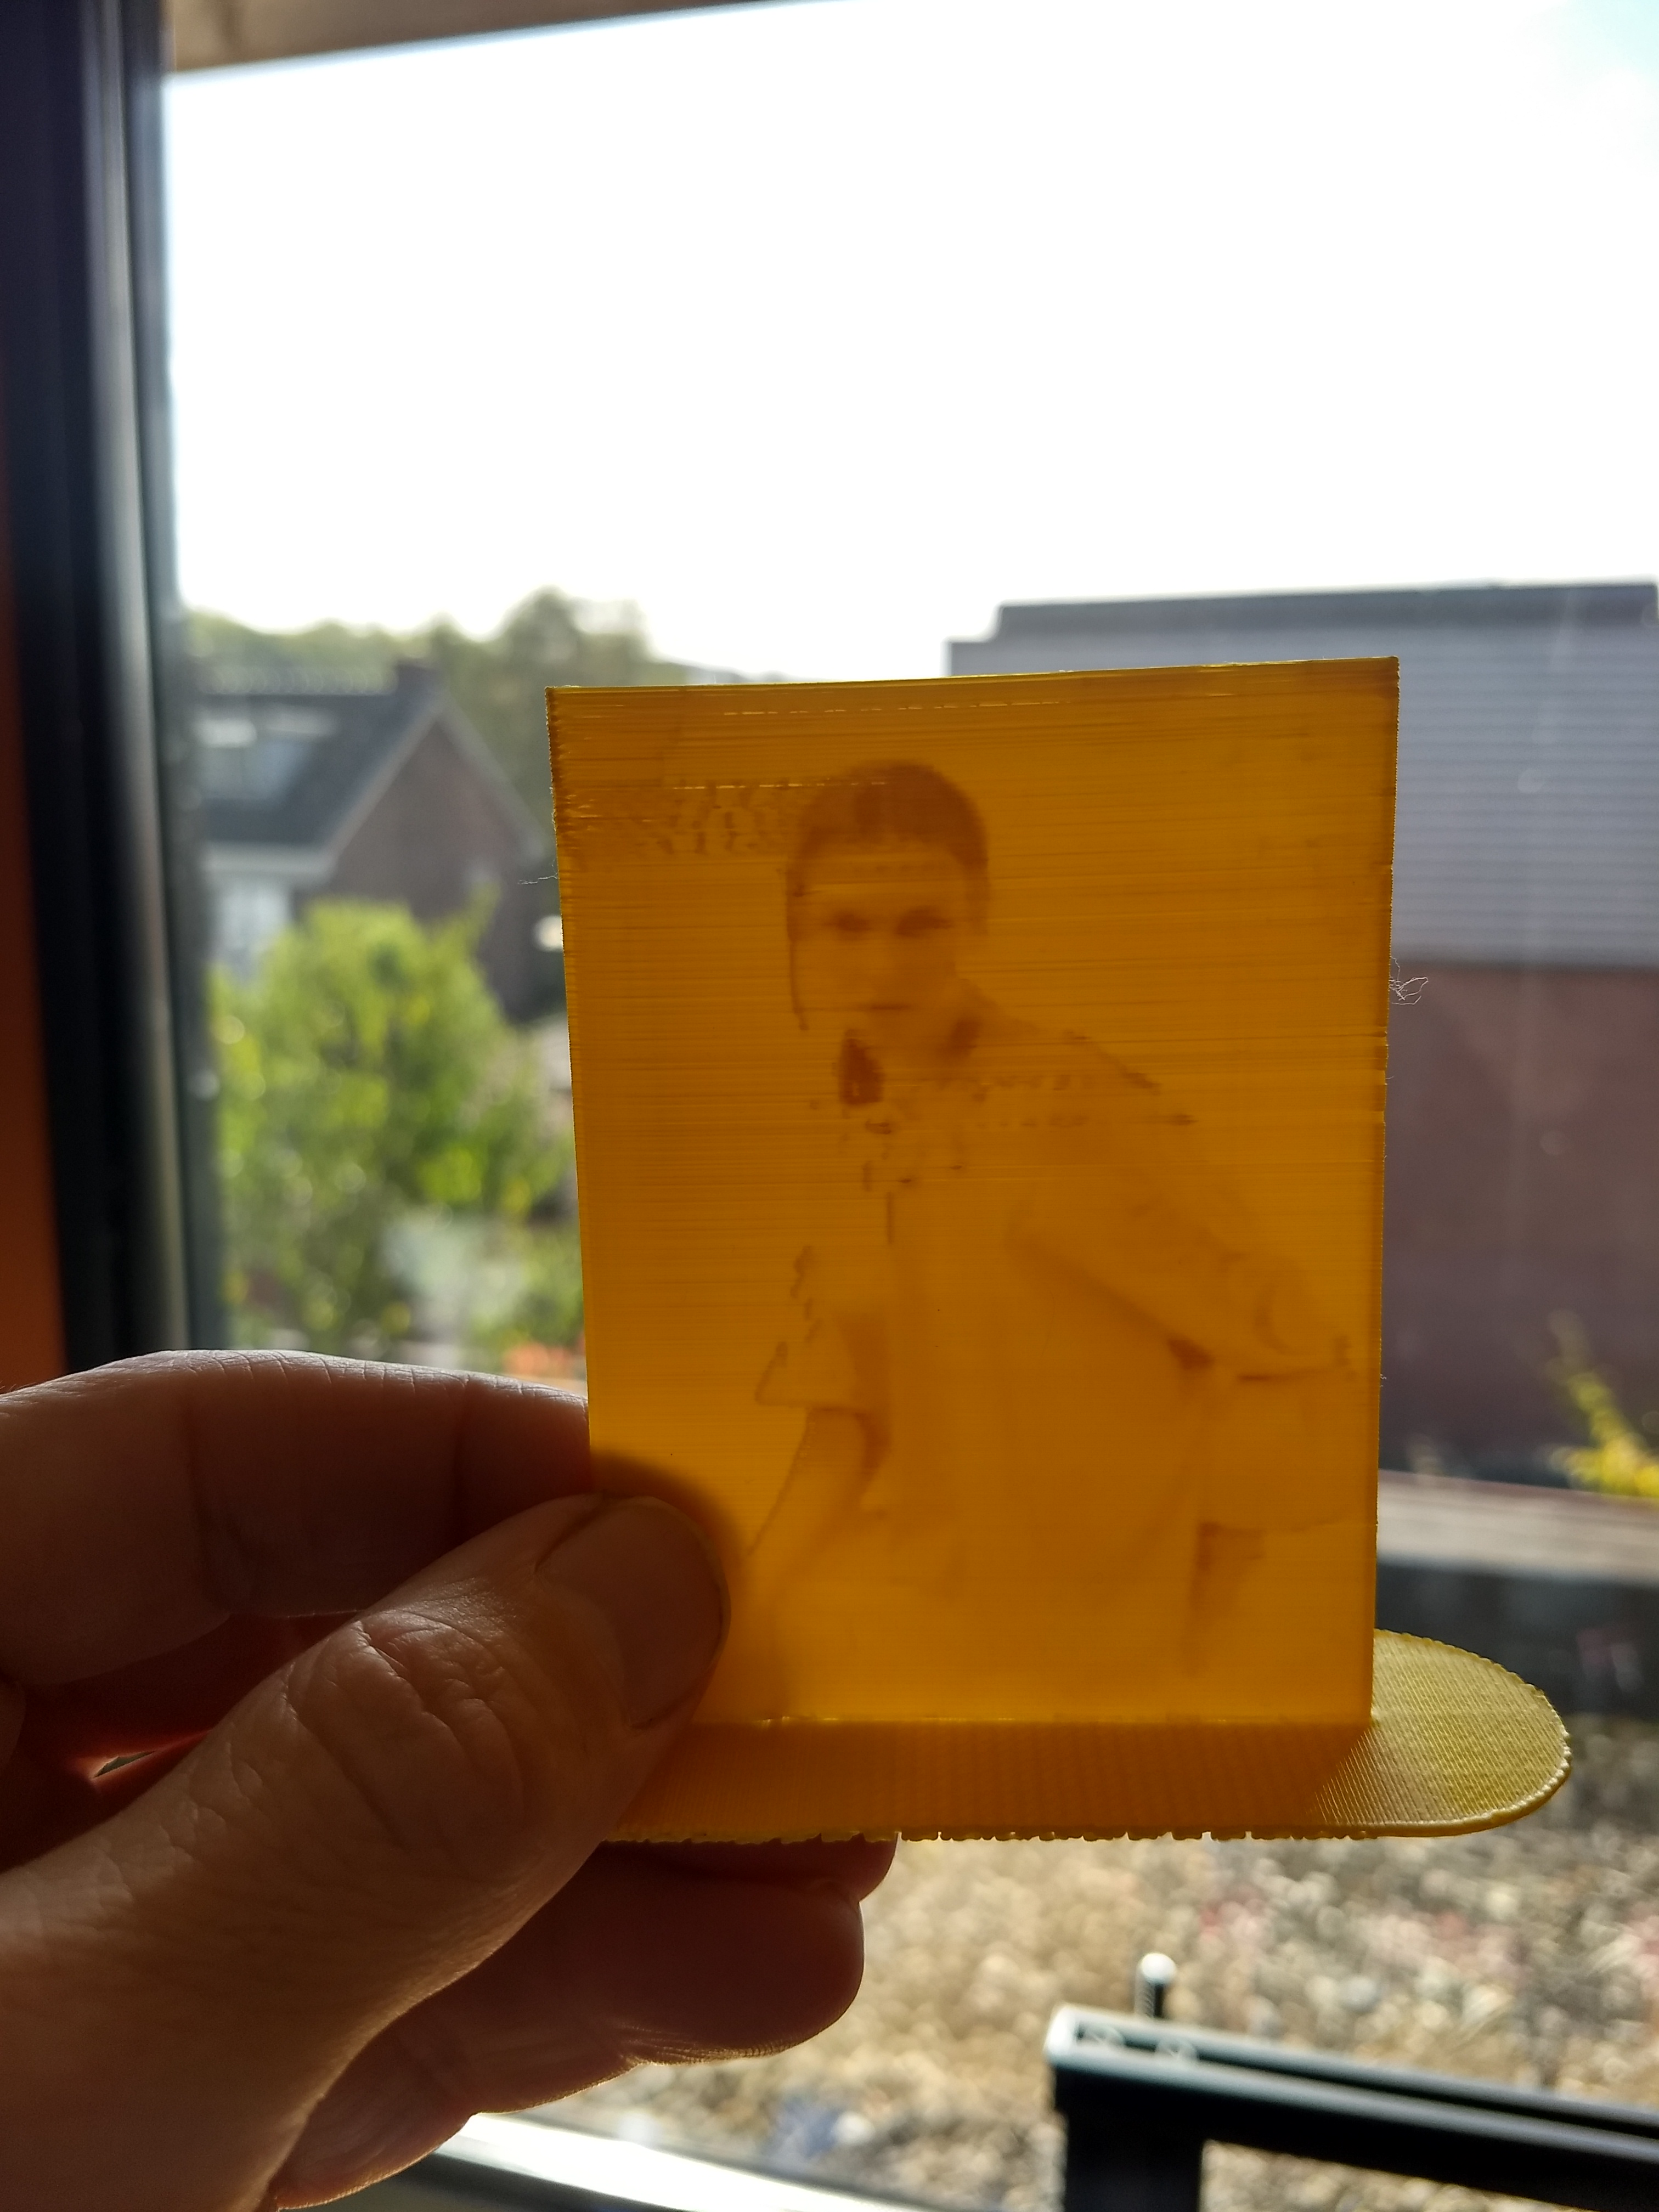
- Slice and print. Make sure that the photo is placed in the upright position as shown in one of my photos on Printables (see link above).
The script in this blog post provides a flat model of a photo. If you want to have a curved model take a look at this blog post of mine: https://homehack.nl/a-curved-3d-printed-lithophane-in-openscad/
Thanks for reading!