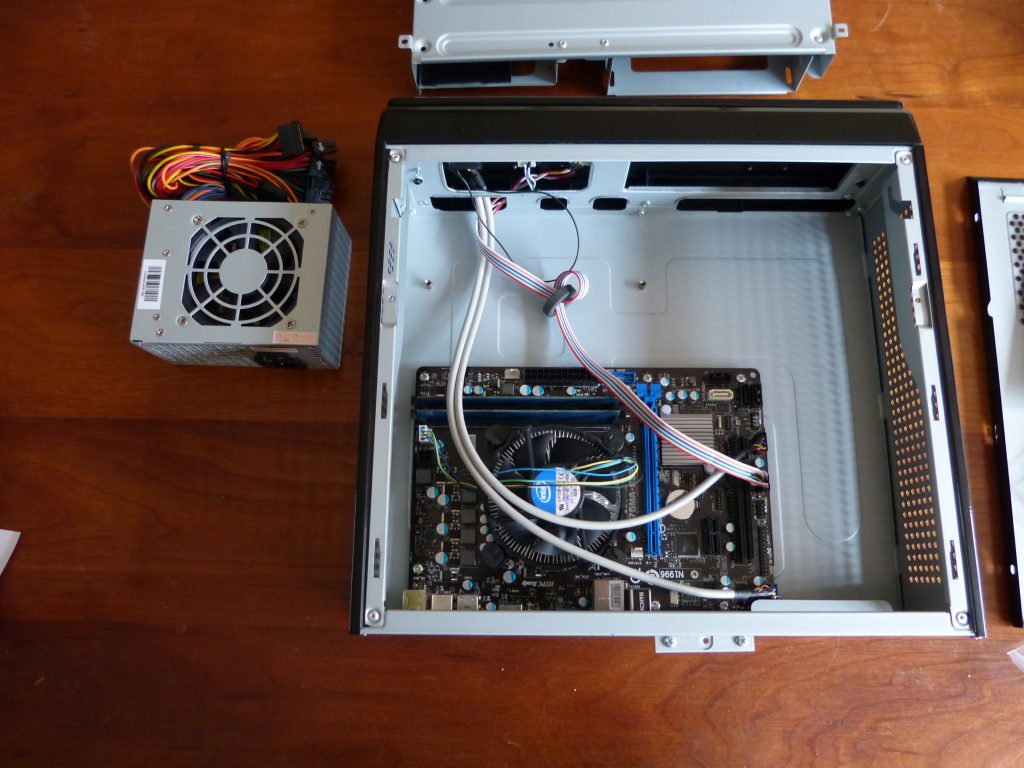
Building the streaming media box consists of a hardware and a software part. Building the hardware is relatively easy. With these modern PC components you can’t do much wrong. First I inserted the 4Gb DDR3 memory into the motherboard. In my earlier post on this topic I mentioned that I already had a MSI mini-ITX motherboard and a processor (Celeron G1610) from my sons PC that I upgraded earlier. With the motherboard ready, I removed the power supply from the LC-1410mi case. The motherboard fitted nicely over the six elevated mounting points in the LC-1410mi.
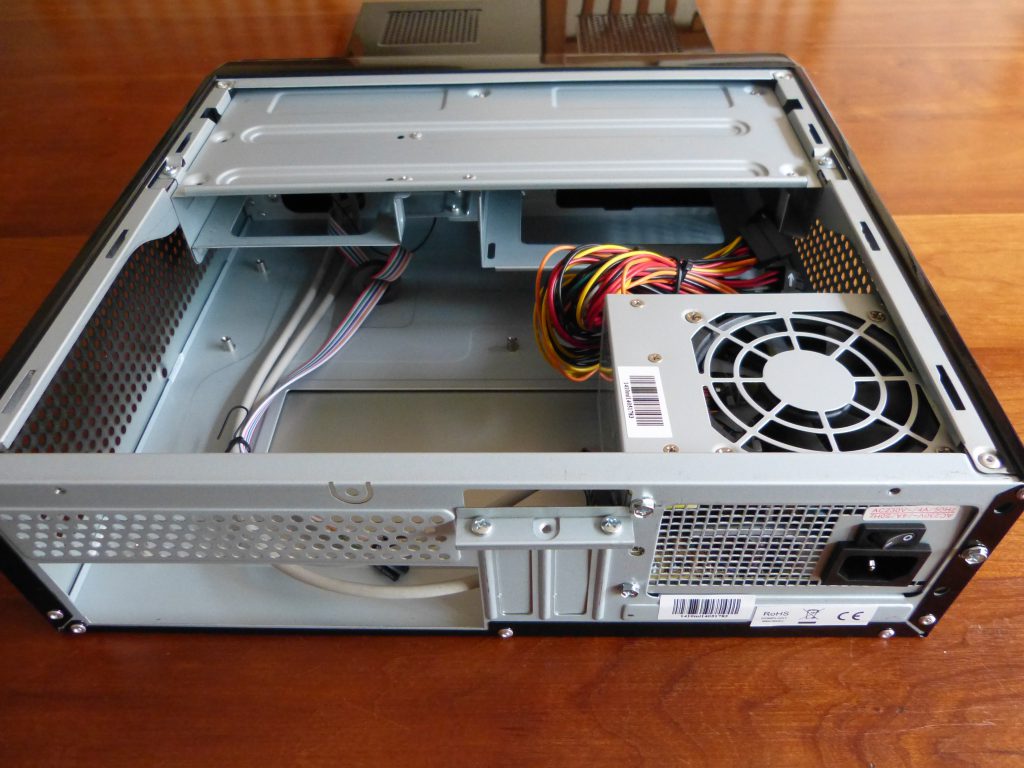
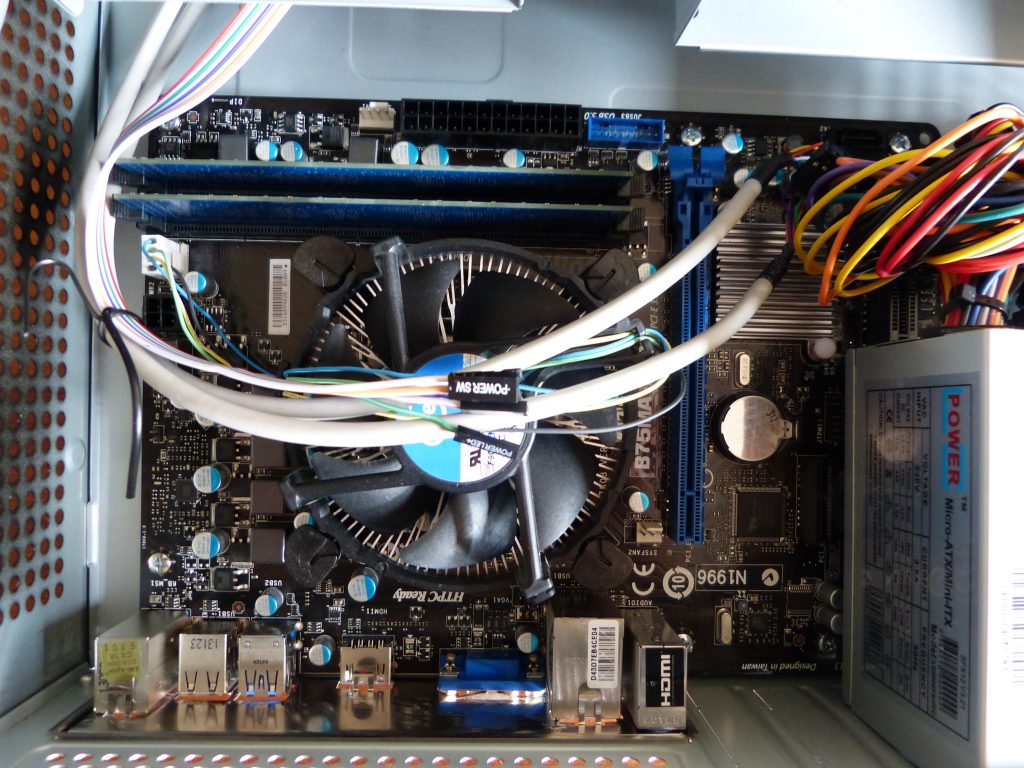
When I inserted the power supply I noticed that it blocks the PCI slot on the far side of the motherboard something I hadn’t that seen coming (see image below). I therefore was unable to use the PCI Wi-Fi card that I had. I decided to use a USB Wi-Fi stick that I already had. It is not as elegant as the card but it works.
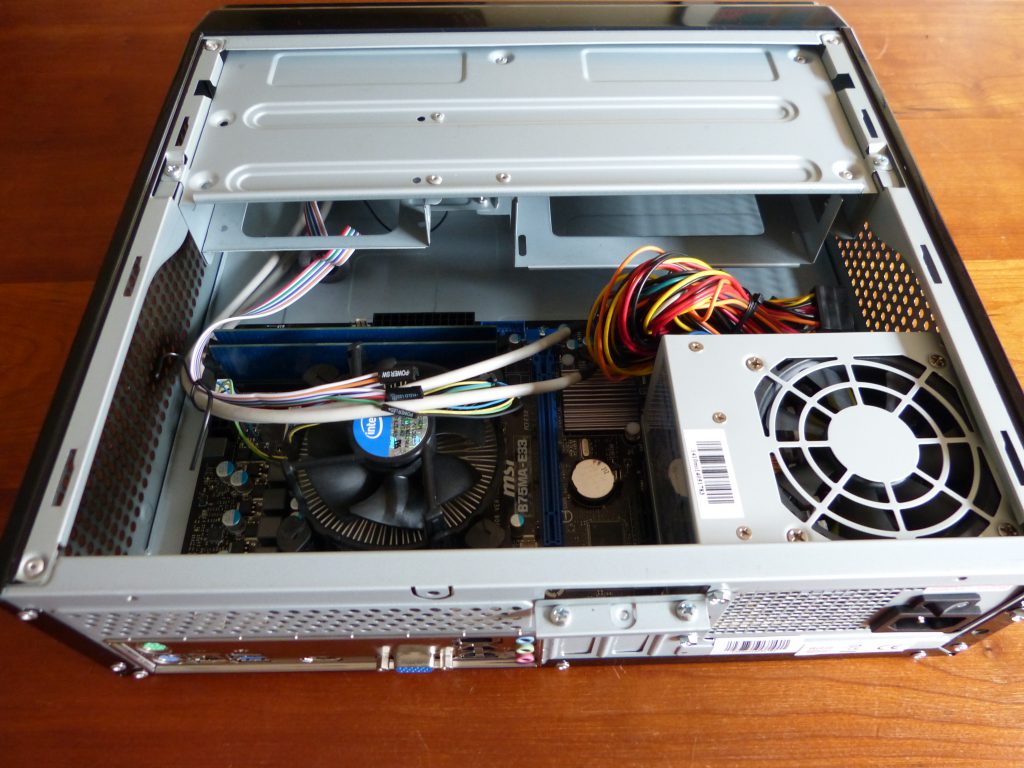
Next I connected all cables from the power supply and the case to the motherboard. When you do this for the first time it can be intimidating because of all the different connectors on the motherboard. Luckily cases and motherboard generally come with descriptions of all these different cables and connectors. I connected the 128Gb SanDisk SSD to the motherboard SATA port with SATA cable and to the power supply. The 2,5 inch SSD didn’t fit into the bracket that comes with the LC-1410mi. I had to improvise to get the SSD into the case.
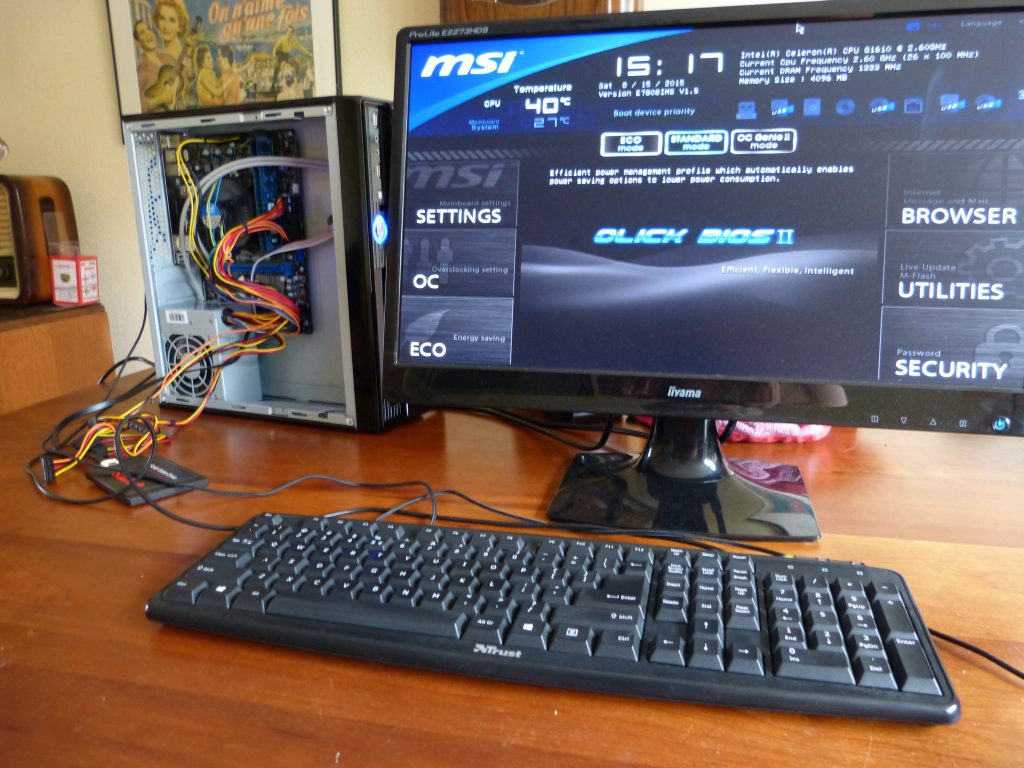
With all hardware built-in and connected I decided to test the system. I connected a monitor, keyboard and mouse and booted the streaming media box in the making. Since the SSD was still empty I was only able to enter the motherboard boot-menu (on MSI press F11 to enter the boot-menu while booting). This is sufficient to test the hardware and all the connections. The whole system appeared to be functioning okay.


Thanks for reading!