Filaflex is excellent material to improve the audio cooler that I made earlier. The material is very flexible and surprisingly strong making it perfect for sealing purposes
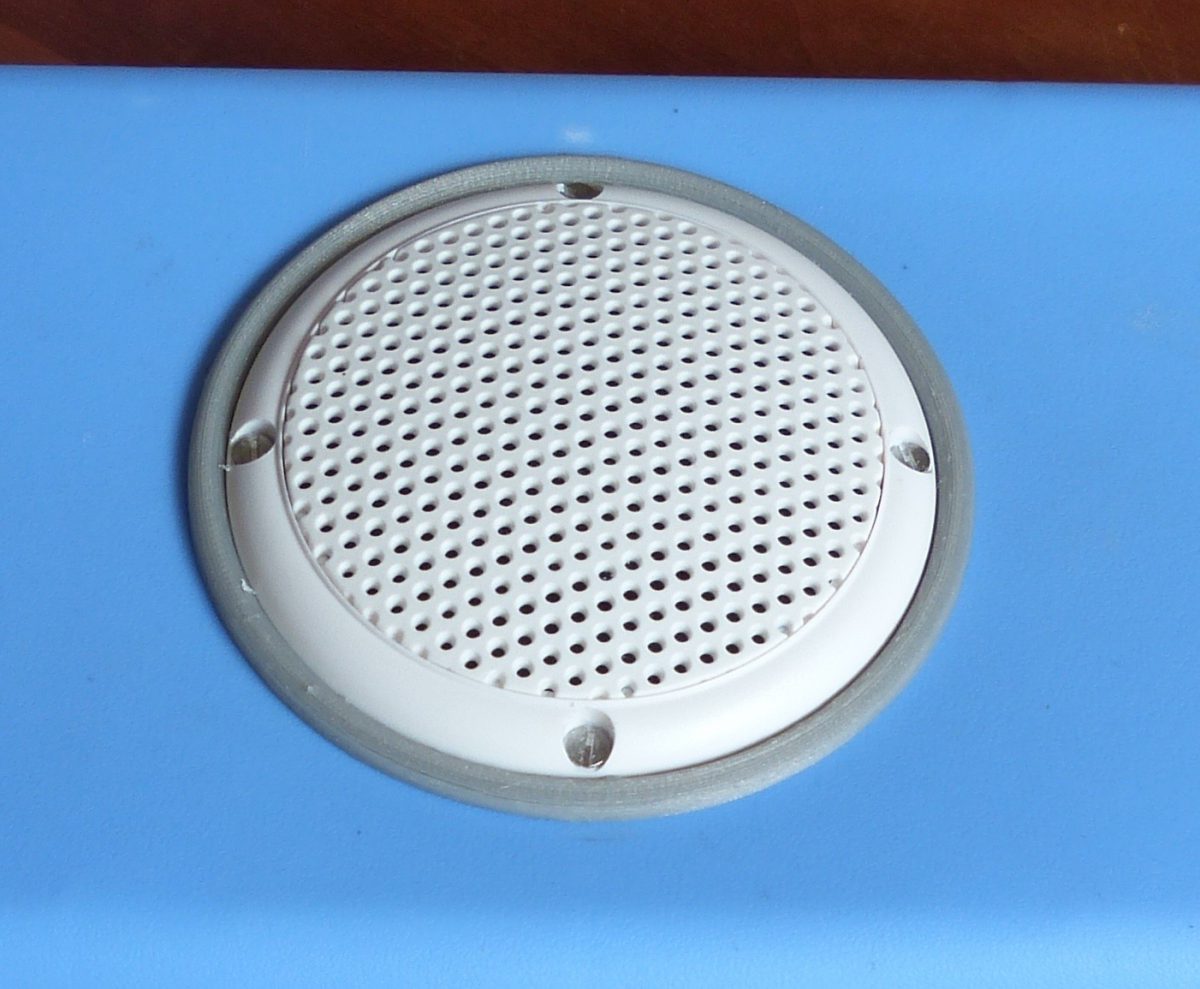
Filaflex is excellent material to improve the audio cooler that I made earlier. The material is very flexible and surprisingly strong making it perfect for sealing purposes
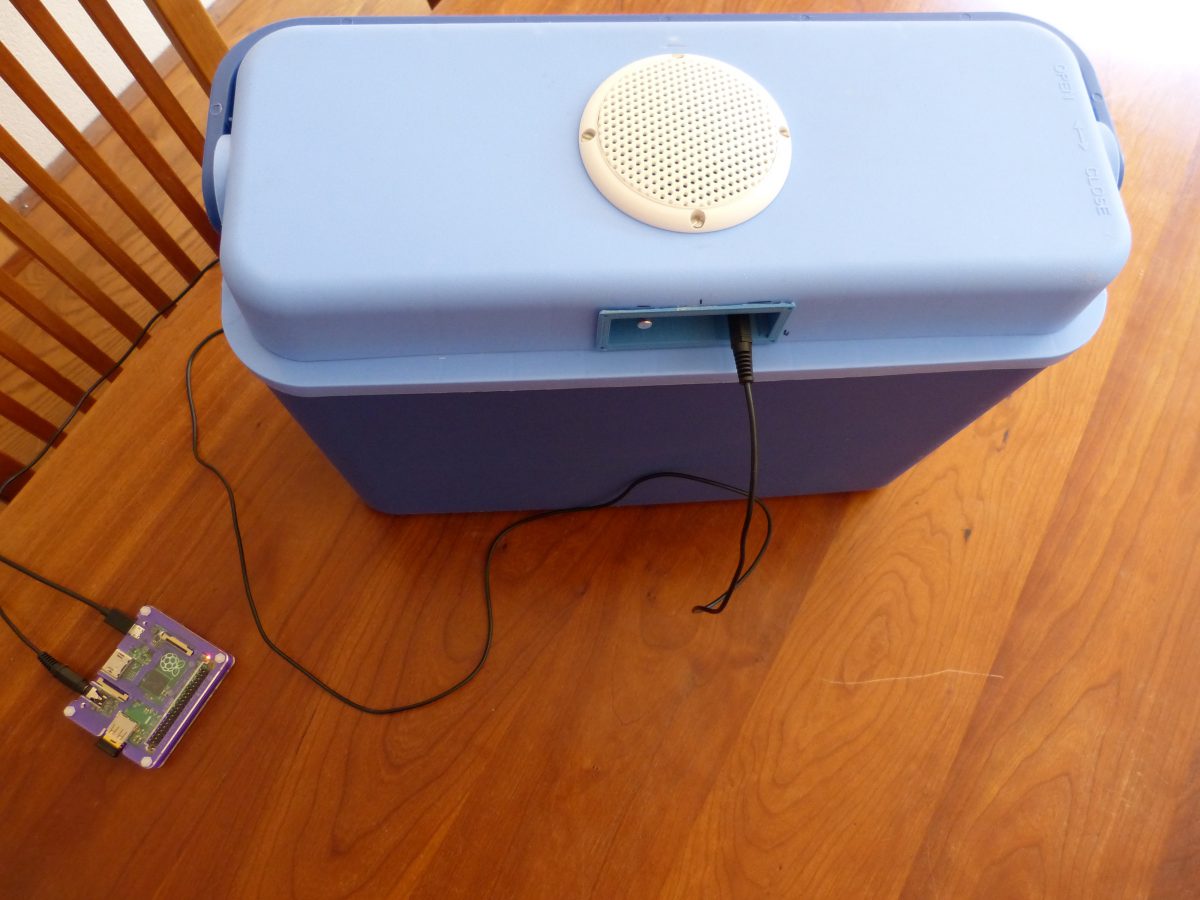
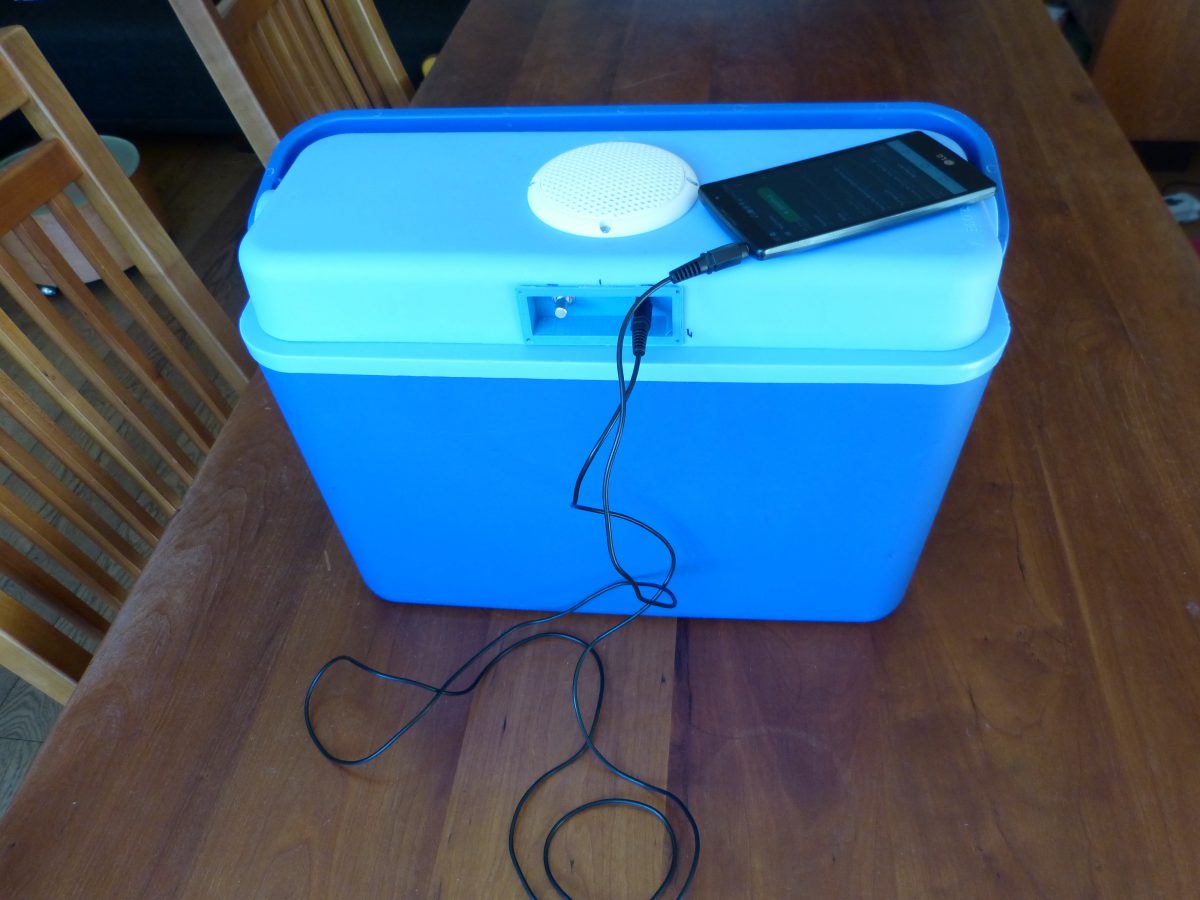
Using a Raspberry Pi and the program MPD to enhance my audio cooler
A made a 3d printed enclosure for the audio components that fits in the coolers lid together with a simple console to operate the audio
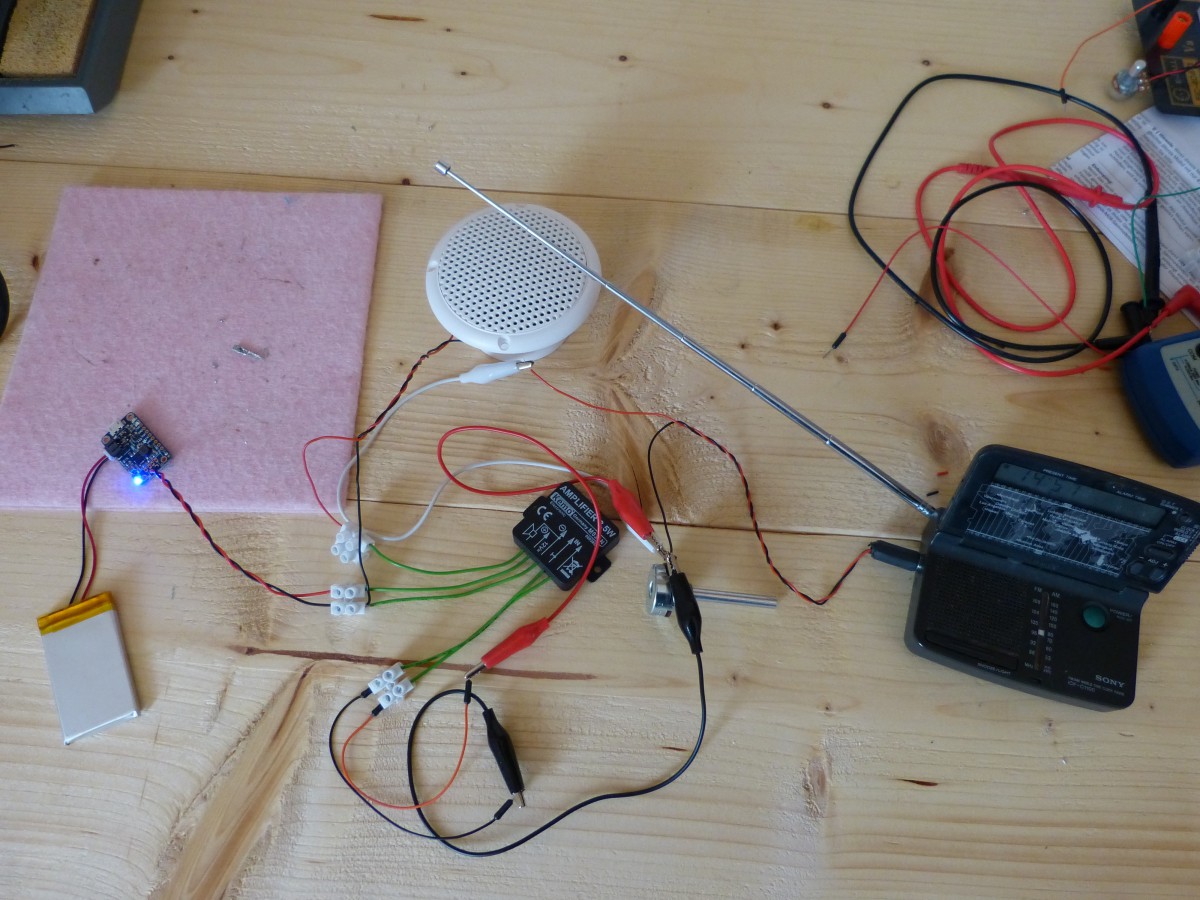
I’m selecting components for the audio cooler that I’m going to build. The components need to be tiny to fit in the coolers lid