Introduction
For pick nicks we use a small cooler and with the upcoming spring and summer it seems like a great idea to add an audio system to it. Most DIY coolers with audio that I found on the internet are huge. Not only do they have large speakers and amplifiers but they also have a huge lead battery hardly leaving any space for the pick nick gear. I want a tiny, one speaker system that sounds nice but is lightweight and leaves plenty of room for the other stuff. I also wanted it nicely integrated in the cooler without too many wires. I therefore started to design and build one.
Choosing the audio components
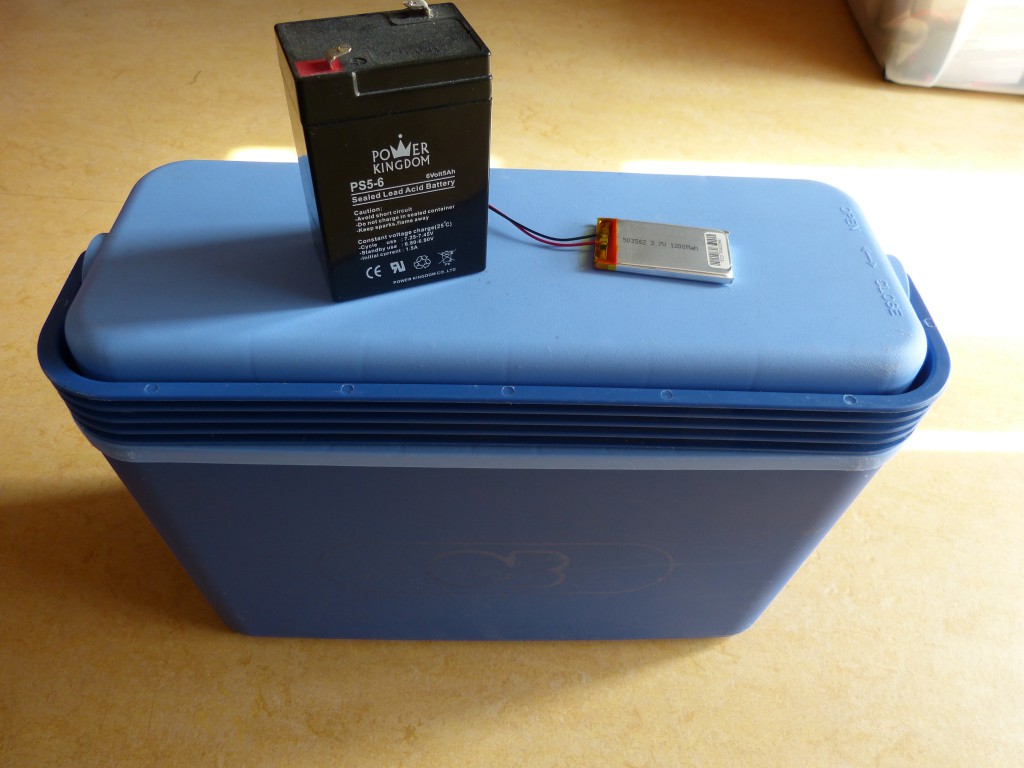
I started this project by choosing a suitable battery. As stated above lead batteries are relatively large due to their low energy density. Lithium polymer batteries on the other hand have large energy density, four to five times higher than lead according to this source. Prices of polymer batteries are also very reasonable nowadays.

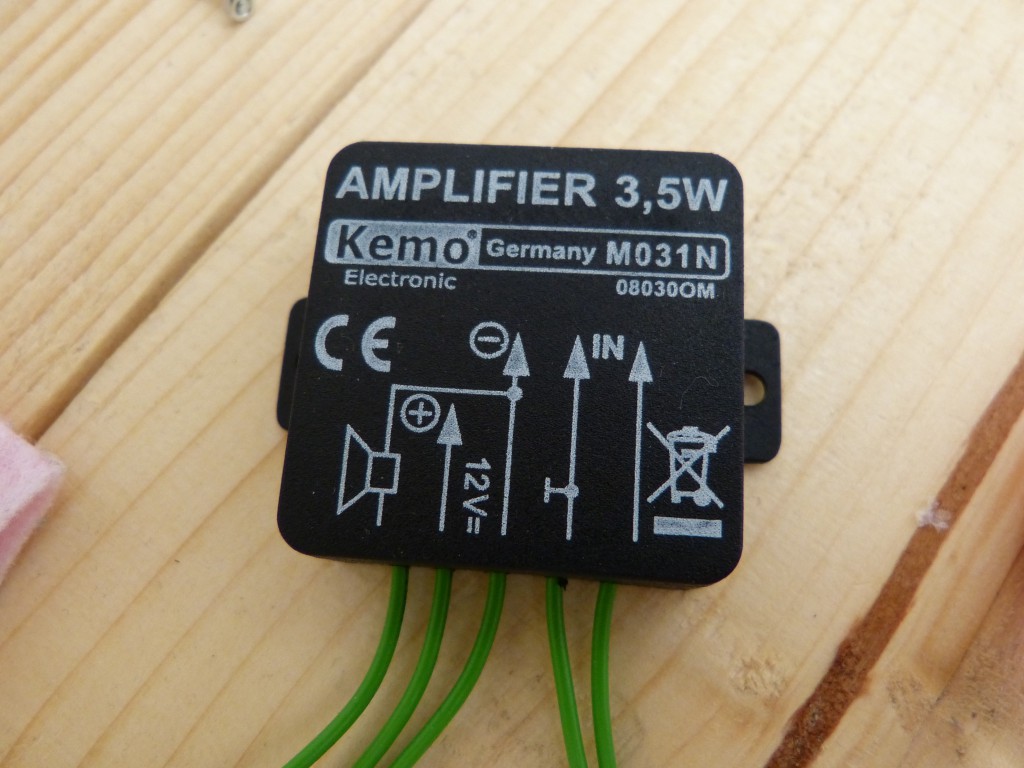
Next I chose the amplifier. I was looking for a small one with just enough power to provide a good sound with a proper speaker. There is plenty of choice but I chose the Kemo 3,5W (M031N) since it’s small but also humidity and shake proof. It also comes in a nice package and has a broad operating voltage range from 4.5-12V/DC.

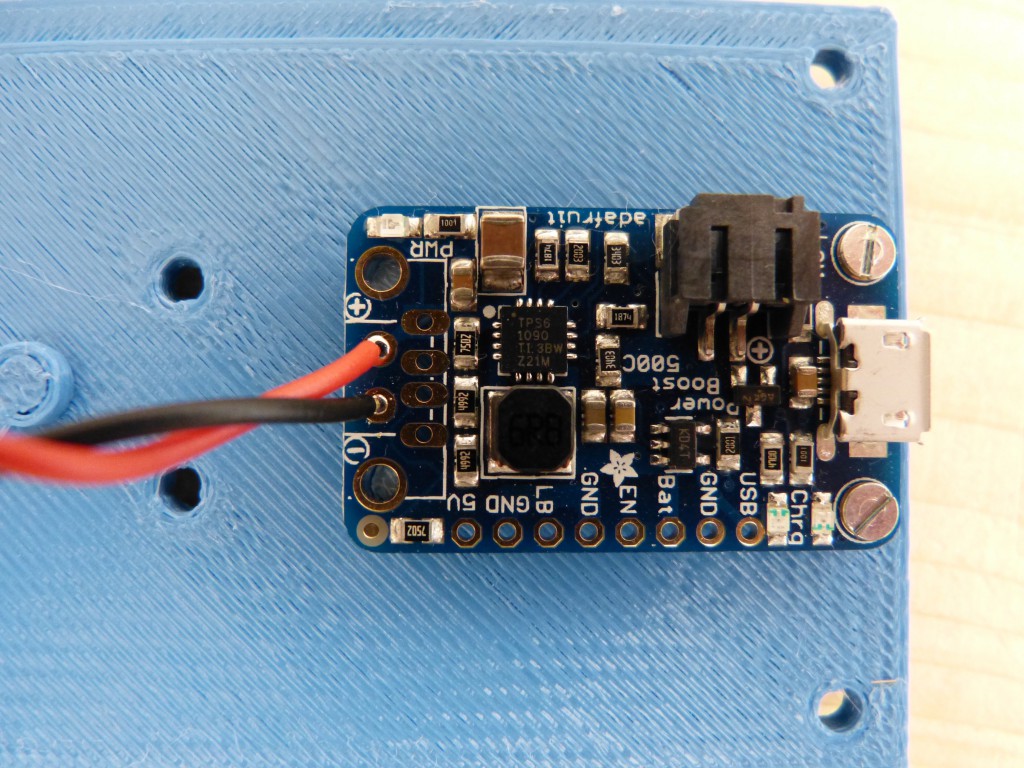
The 3.7V of the polymer battery isn’t enough for the Kemo amplifier. I therefore needed a DC-DC power converter that increased the voltage over 4.5V (a boost converter). Adafruit has boost converters with the additional advantage that they’ll integrated a circuit to charge the lithium battery. I chose the Adafruit Powerboost 500C. This boost converter is placed on a tiny PCB and it charges through a micro-USB connector which is very convenient.

Last I chose the speaker. It had to fit in the lid of the cooler, had to have a good sound with the amplifier and had to be water resistant. I quickly settled for the Visaton brand, since they have great range of reasonably priced quality speakers (I used them for several projects in the past). Within the range is the FR8 WP, a 3.3 inch, 8 Ω, water and shock resistant speaker. The white color goes nice with the blue lid of the speaker.
Audio components summery
Here is a list of the components and their price.
| Kemo 3,5W amplifier | $11,49 |
| Adafruit Powerboost 500C | $14,95 |
| Visaton FR 8 WP speaker | $23,78 |
| 1200mAh lithium polymer battery | $18,99 |
| 10kΩ potentiometer (volume control) | $1,00 |
| 3.5mm audio-input (to connect the audio source) | $0,30 |
| Total | $70,51 |
Does it sound good?
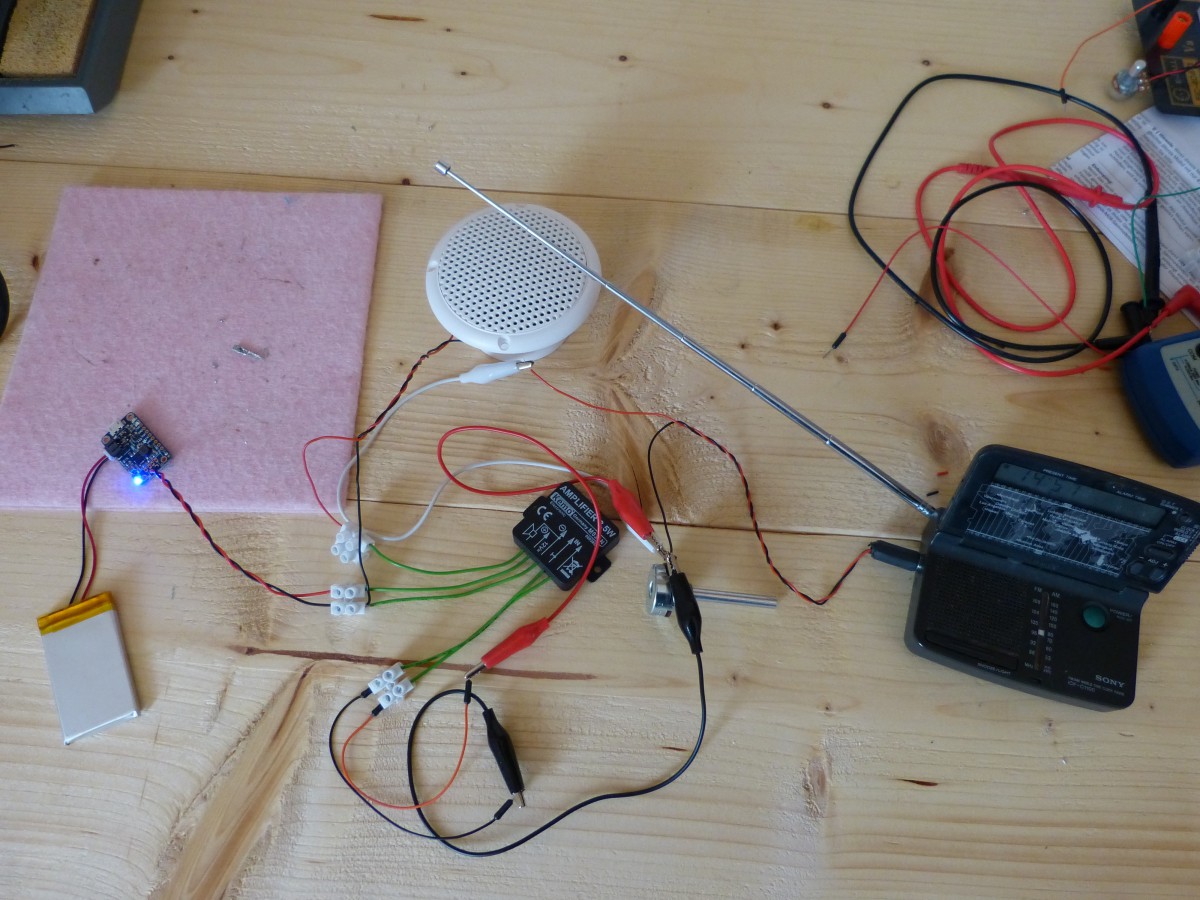
The Kemo amplifier comes with an easy instruction to connect the speaker and input signal. I assembled the components, connecting them with screw terminals for now. As input I used a simple clock radio. The sound certainly does not disappoint for such a tiny package. In the next phase of the project I’ll create console to operate the audio system and a box to fit the battery, powerbooster and amplifier.
link to the next post about this project: https://homehack.nl/audio-system-for-cooler-almost-finished/
