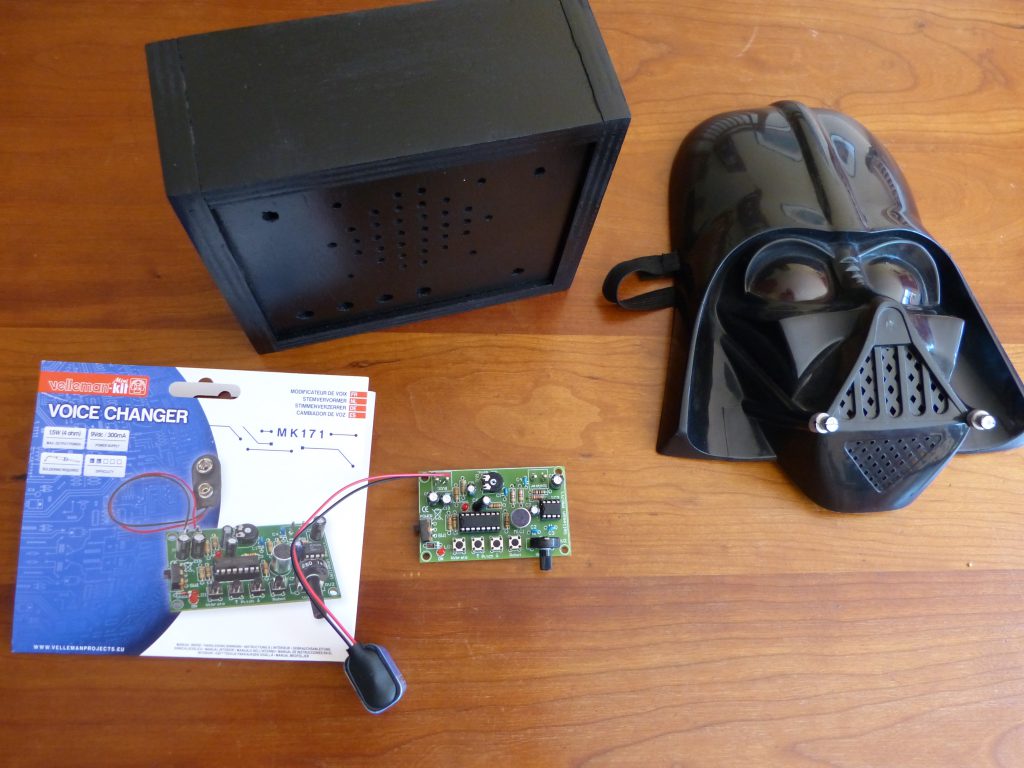
To be able to mimic Darth Vader during a party or any other occasion is a lot of fun. Unfortunately commercial solutions are costly. The Hasbro Star Wars Darth Vader Voice Changer costs $145 on Amazon. So why not make one myself. My voice changer will consist of the following parts: a cheap Velleman kit (MK171), a wooden enclosure for this kit and a simple plastic Darth Vader mask that we already have.
The MK171 kit consist of a PCB and all necessary electronic components. The most important component in the kit is the HT8950 chip. This 16 pin chip (from Holtek) is designed for voice modulation. The frequency of the input audio signal can be shifted up or down by the chip. Changing the output can be accomplished by four push buttons for: shifting frequency up, shifting frequency down, vibrato effect and robotic effect. For my purpose I’m interested in the frequency down function since this invokes a lower pitch to the listener, exactly what is needed for this Darth Vader type of voice. This way even a kids voice can be changed to Darth Vader’s.
A small microphone is included in the kit to supply the input signal. I intend to integrate the microphone into the simple Darth Vader mask (possibly with velcro), close to the mouth. The sensitivity of the microphone is controlled by a trimmer. The output of the HT8950 is amplified by a LM386 OpAmp chip. With enough amplification and a proper speaker (not included in the kit) the sound effect can be overwhelming even when one speaks softly into the mic. Amplification is controlled by a yet another trimmer that is included in the kit.
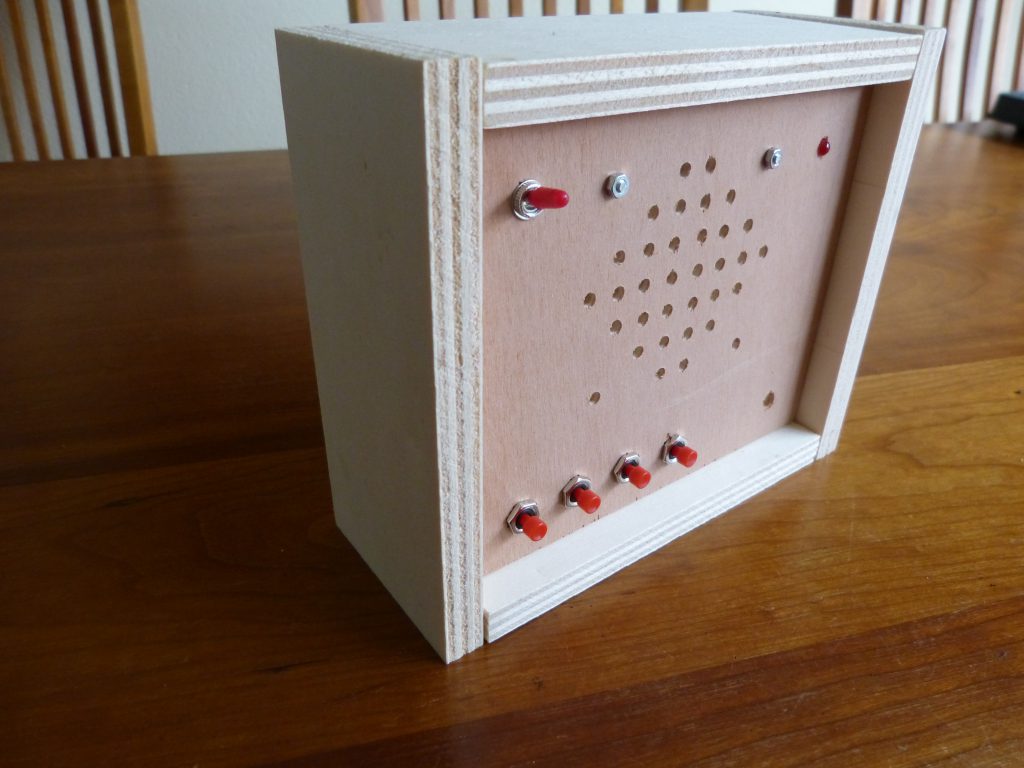
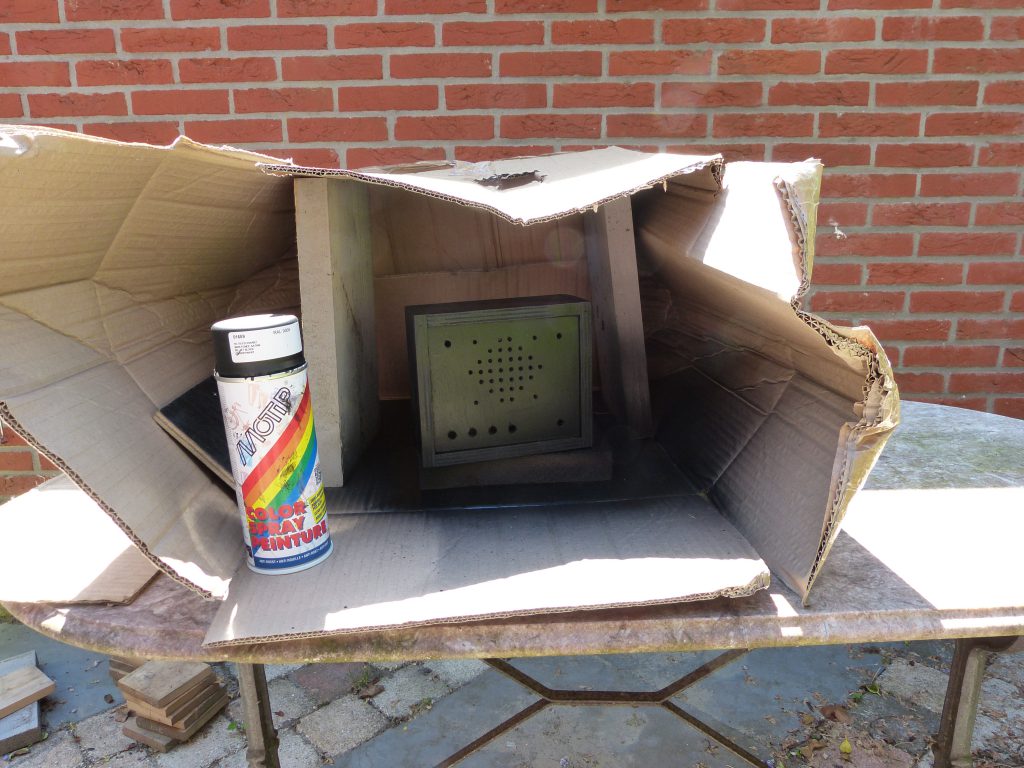
The wooden enclosure is made of plywood. Four equal pieces of 15 x 7 x 1.2cm. The front and the back are made of 6mm thick plywood. Besides MK171 kit the enclosure needs to accommodate: control buttons for the HT8950 chip, speaker, potentiometer to control the volume and an on/off switch.
Next step is to finish the enclosure and fit all external components. Then I need to test the MK171 kit with the external components before fitting it into the enclosure. Lastly complete the set with the mic integrated in the Darth Vader mask.
Here is a link to part 2: https://homehack.nl/making-a-darth-vader-voice-changer-part-2/
If you want to build a more sophisticated and arguably better looking Darth Vader voice changer. Here is a link to version 2.0.


2 replies on “Making a Darth Vader voice changer, part 1”
Can you take a good picture of entire board and post? having trouble reading instructions. Not and engineer just want to put one together and use
Peter, I'm not exactly sure what you mean. I you're looking for the back an inside of the housing maybe this can help: http://eribuijs.blogspot.nl/2015/06/making-darth-vader-voice-changer-part-2.html. It contains images from the back and the inside. If you're referring to the board with the electronics this is a Mk171 kit from Velleman that can be bought e.g. at Amazon.
At this moment I'm working on a 2.0 version of this project. You'll find a link with schematics here: http://eribuijs.blogspot.nl/2015/12/darth-vader-voice-changer-20-ht8950a.html.