One week ago we’ve had a burglar in our house. Of course I immediately started improving the security of our home. After improving the usual stuff I felt the need for some kind of security camera. This camera could provide me a good view of the backyard which is a very quiet place and therefore preferred by burglars. Because I like to make things myself I thought it was a good idea to use a Raspberry Pi and it’s camera module. I used them in the past for time-lapse video’s of scenery but I hadn’t used it much lately.
The goal that I had set was a camera that detects and records motion and that I could access through our local network preferably a browser. I also wanted the camera to give decent images by day and night.
Hardware.
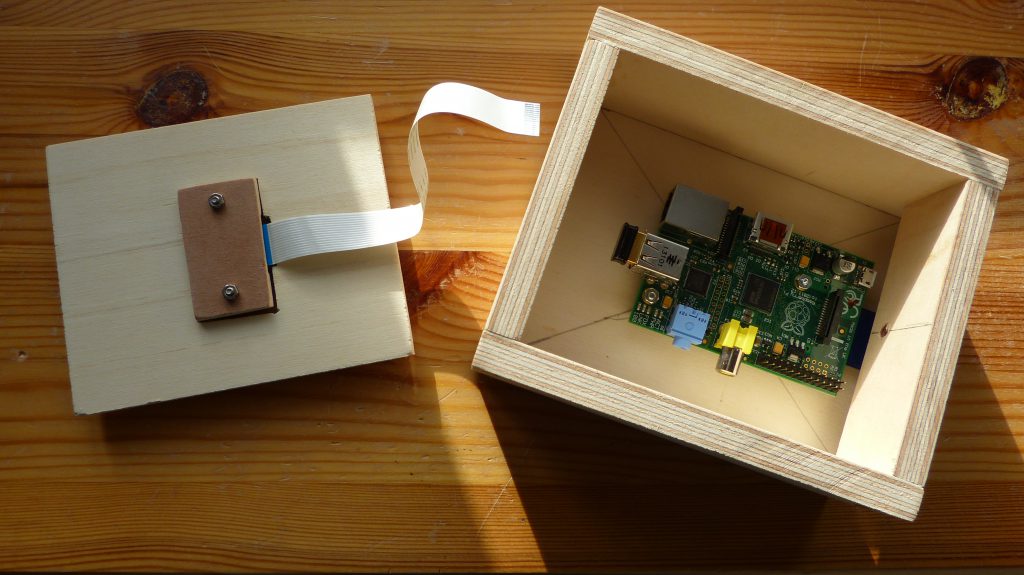
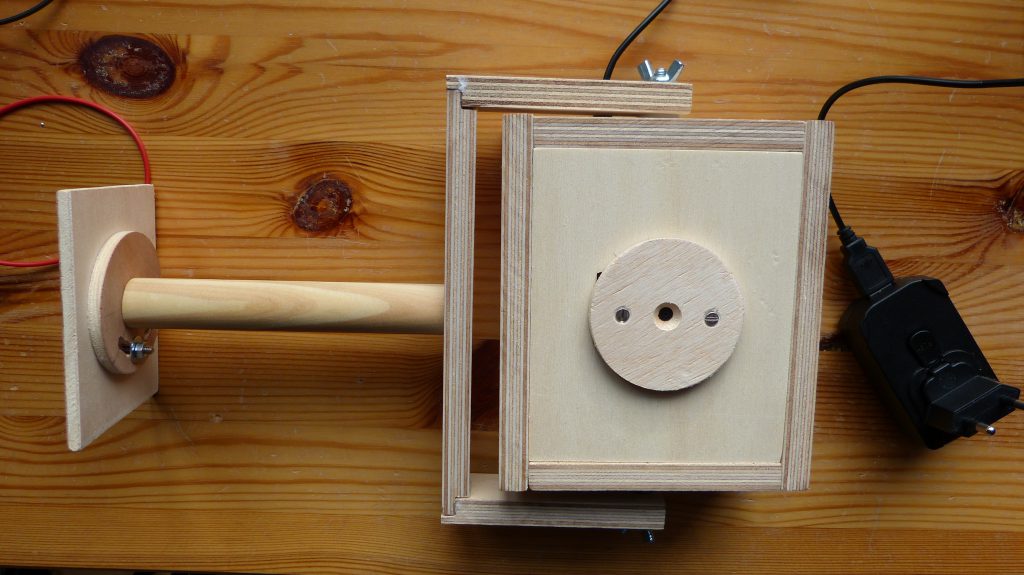
The heart of the system is a Raspberry Pi B with the Raspberry camera module. Furthermore I use an Edimax dongle for my Wi-Fi connection and a micro-USB power supply (1A). Initially I use an MDF case that I made to fit the camera and the Pi. It isn’t pretty but it protects both the camera and the Pi. If everything works as planned I probably built it into a dummy camera such as this one or may make a wooden enclosure myself.
Initially I had some problems connecting to the Pi through SSH. I discovered that this was caused by the Edimax dongle (8192cu Wi-Fi chip) that apparently goes into sleep mode after a period of inactivity. This was solved with a command line fix that disables power saving (see here on page 17 how to fix this).

Software.
On top of Raspbian (nowadays called Raspberry Pi OS) I installed Motion. Motion is a Linux program that monitors the video signal from camera’s and, very important to me, is able to detect motion. Motion is widely used and there is plenty of good information on it on the internet. A simple tutorial how to install Motion specifically on the Raspberry Pi and get it to work with the Raspberry camera module can be found on here (go to step 7 for software installation). However Motion has far more possibilities and it is worthwhile to explore these once you start using it.
Configuring and testing the system.
Motion can support multiple camera’s but I’ll stick to one camera for now. Configuration of Motion for the Raspberry Pi and it’s camera module is done in the /etc/motion.conf file (not in the /etc/motion/motion.conf file). There is a very good YouTube tutorial on configuring Motion for Linux here and here. At this point I made only a few changes to the motion.conf file such as camera width and height, directory where the video is stored on the Pi and some camera specific variables.
The camera works great. The image quality is good and the system appears to be stable. I can open a stream of the security camera in my browser by entering the URL of the Raspberry Pi and the selected port (default 8081). My motion files are stored as avi’s on the Raspberry Pi. I can play them with VLC media player on my iMac. Next I’ll experiment with the settings of Motion (e.g. sensitivity of motion detection, resolution of the camera), test in under different circumstances (indoor, outdoor, night and day) and build a proper housing for the security camera.

Thanks for reading!
7 replies on “Homemade security camera with a Raspberry Pi”
Hi, great post! A question: can you save avi files in a circular buffer manner, for instance to keep always the last 8 files while overwriting older ones? Do you see a possibility to make that work?
Thanks!
Eric, this is excellent! Also nice to make something useful…you're very good at that.
This comment has been removed by the author.
Sorry to hear about the break-in…I hope you're okay
Sorry to hear about the break-in…I hope you're okay
Thanks Virgil. Luckily we are all fine. Just left with the uncomfortable idea that someone was in our house and peekd into our stuff.
I came across an FAQ of the author of Motion. He provides a solution using cron to delete files. Since cron is a task scheduler you can delete files based on date. Although this isn't do exactly what you ask maybe this is a solution for you too. You can find the link here: http://www.lavrsen.dk/foswiki/bin/view/Motion/FrequentlyAskedQuestions#How_do_I_delete_mpeg_files_older_than_x_days_63