Previously I wrote about a shoe rack that I’m making for my wife. The initial design had two flaws. First some shoes tended to slide of the shelf. Secondly there was a space between the stands and some shelfs. As a consequence the whole structure was unstable. Yesterday I disassembled the rack. Then I cut strips out of the same plywood that I used for the shoe rack. I glued the strips on the end of a shelf (see image below) and sanded the edges of the strips to align them with the shelf. Next I marked the points on the stands where I wanted to insert a screw and drilled them with a 3mm (3/32 inch) drill bit. Next I assembled the shoe rack using the dowels and drilled with the same drill bit in the shelfs using the stands as a mock up. I inserted 4x35mm (1/8×1-1/4 inch) screws and sanded the shoe rack. The result is a very stable rack. Gone are the spaces between the stands and the shelfs and shoes no longer slide of the shelfs. Next I’m going to finish the shoe rack with a transparant varnish.
 |
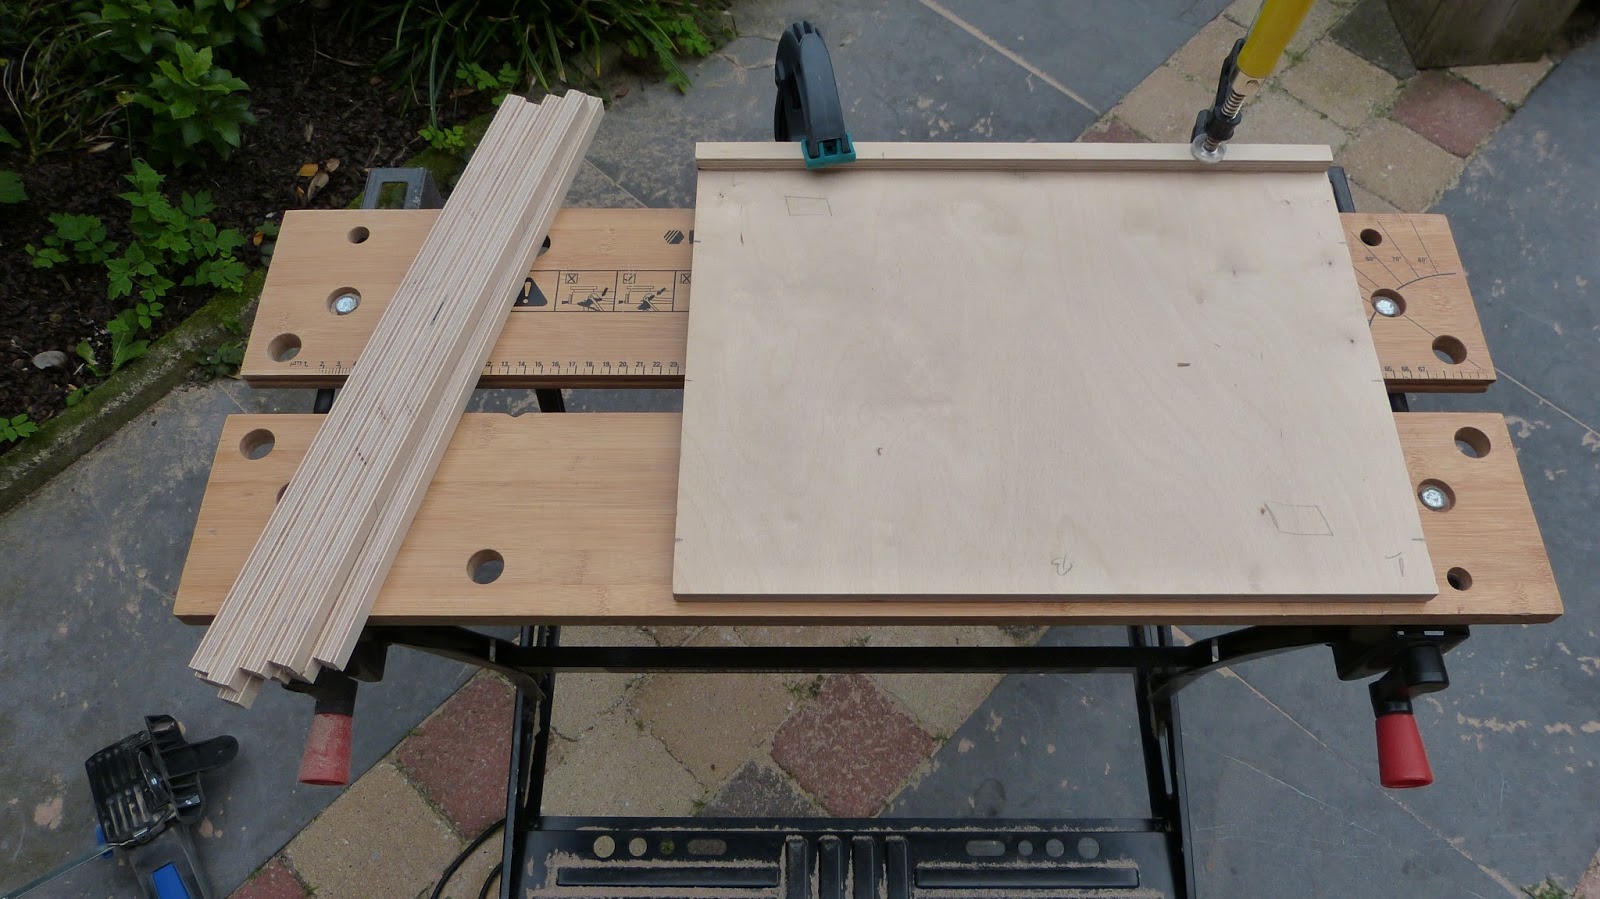
| I cut strips (left) and glued one to each shelf. |
 |
| Inserting screws into the assembled shoe rack eliminates the spaces between the stands and the shelfs. |
 |
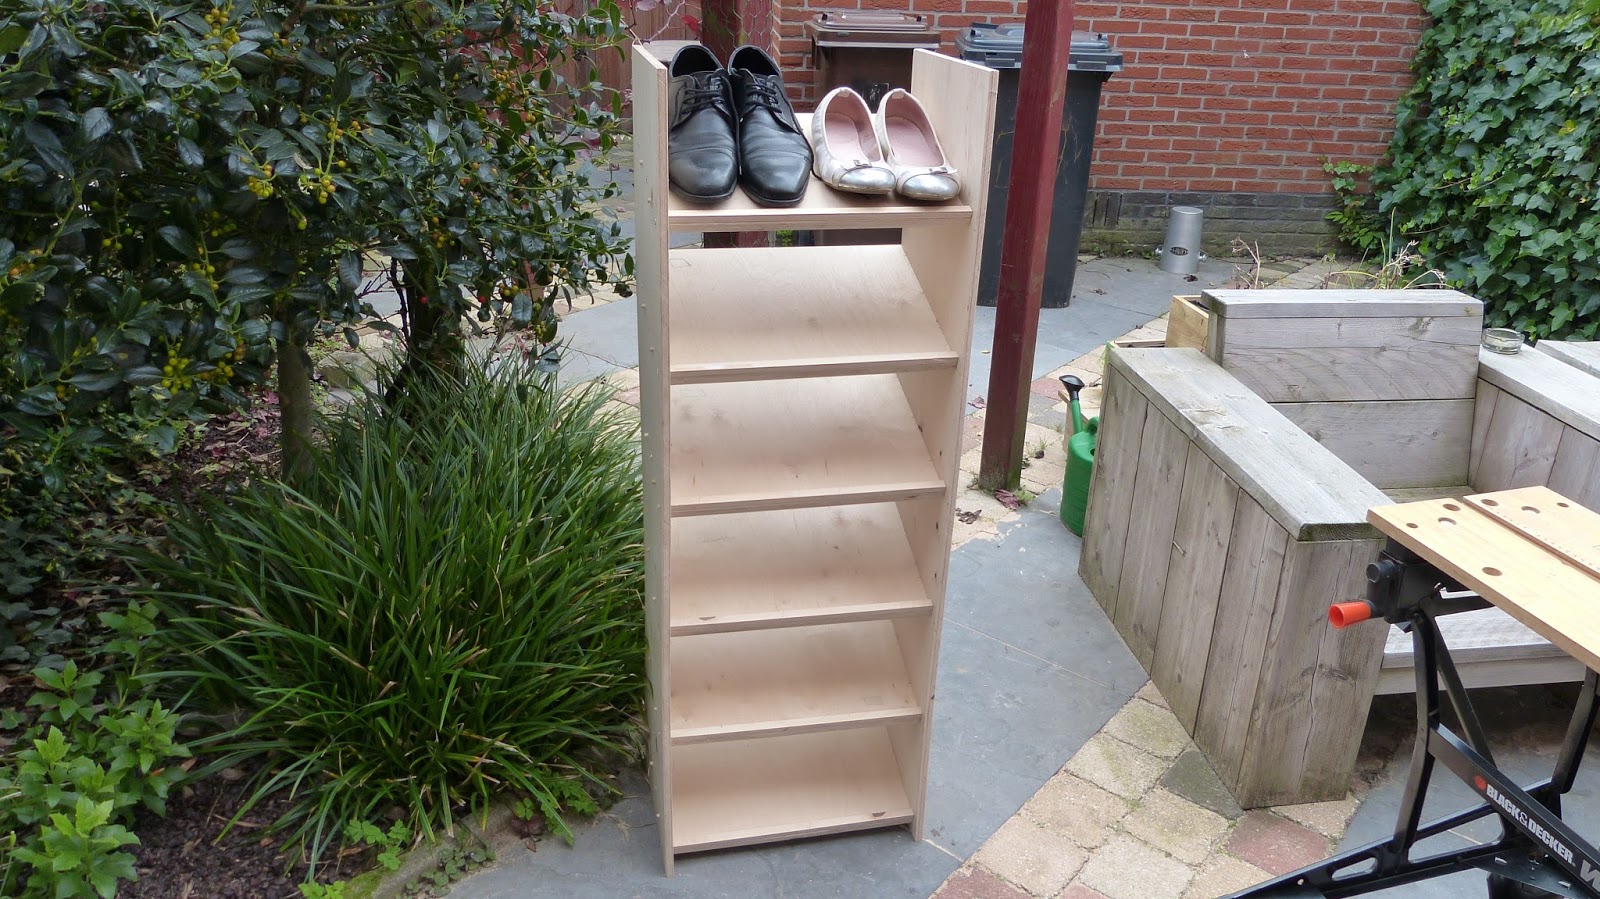
| The nearly finish shoe rack is stable and the shoe won’t slide of the shelf. It only needs a nice varnish. |
Thanks for reading!
Post Views: 671

2 replies on “DIY wooden shoe rack (part 2)”
This DIY shoe rack will help keep shoes from piling up in your entryway closet or mudroom floor. It's a bench, too, so you can sit down as you change shoes.
Jenny, actually it is very uncomfortable to sit on 🙂