Introduction
A new year, a new beginning. Last year I took a fair interest in technologies like laser cutting and 3D printing but I still relied on my old 20th century skills for my projects. Investment in time to master these new technologies was holding me back to advance in both laser cutting and 3D printing. In the very last month of 2015 I took the decision to produce a case with a laser cutter. It was a revelation. A job that would normally take me a day or so was done in a matter of minutes with a precision that I can never achieve with the old saw and chisel. From that point on I decided to invest heavily, in both time and money, in these new technologies.
OpenSCAD
First I learned to work with Inkscape, a free 2D vector drawing program for laser cutting. I discovered that it is a good tool for illustration (e.g for web design) too. Next I needed a 3D design tool to create parts with a 3D printer. I looked at different programs such as Sketchup, 123D Design but I increasing dislike the proprietary character of these programs. Echoing the words of Richard Stallmann “the proprietary program is a system of unjust power”. On the non-proprietary side there is FreeCAD and Blender but I found the learning curve of these programs too steep. Then I discovered OpenSCAD when reading an article on Hackaday. It’s a free (as in free beer and free speech) program running on Windows, Linux and OSX that has a great community. Instead of using a point and click interface the user has to script his models with a descriptive programming language. This seems strange and cumbersome at first but it actually works for me. I found it very easy to get into. OpenSCAD is very lightweight. Other CAD programs tend to be a burden on a PC but OpenSCAD runs even on low spec machines. Because of the script that OpenSCAD uses it is very apparent what is in the 3D model and what the dimensions are. The comparison with HTML comes to mind. Therefore it is possible for anyone else to see how a model is made, learn from it and make changes to it.

Parts for the voice changer
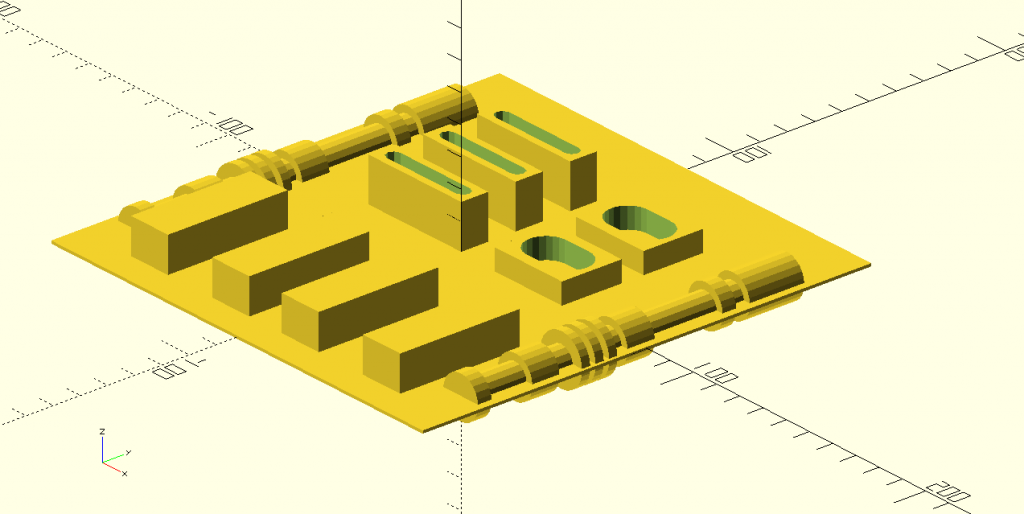
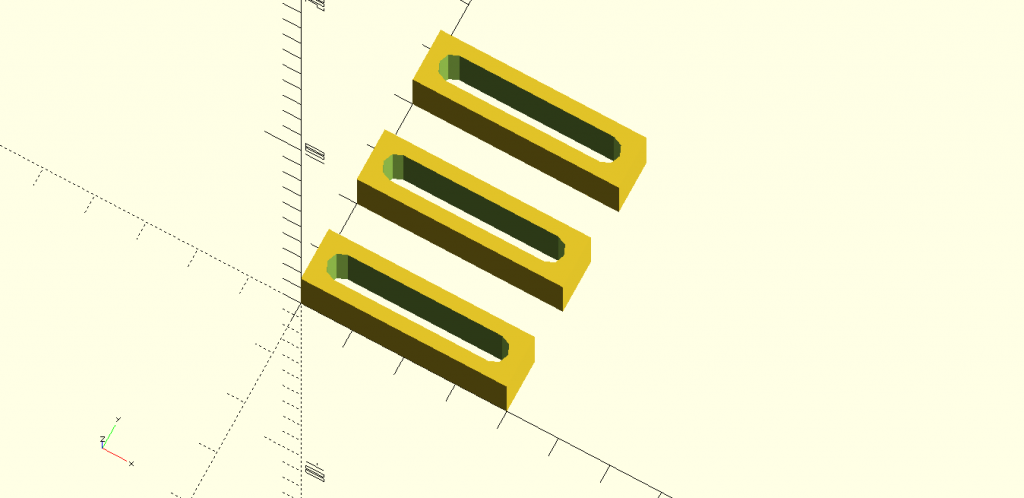
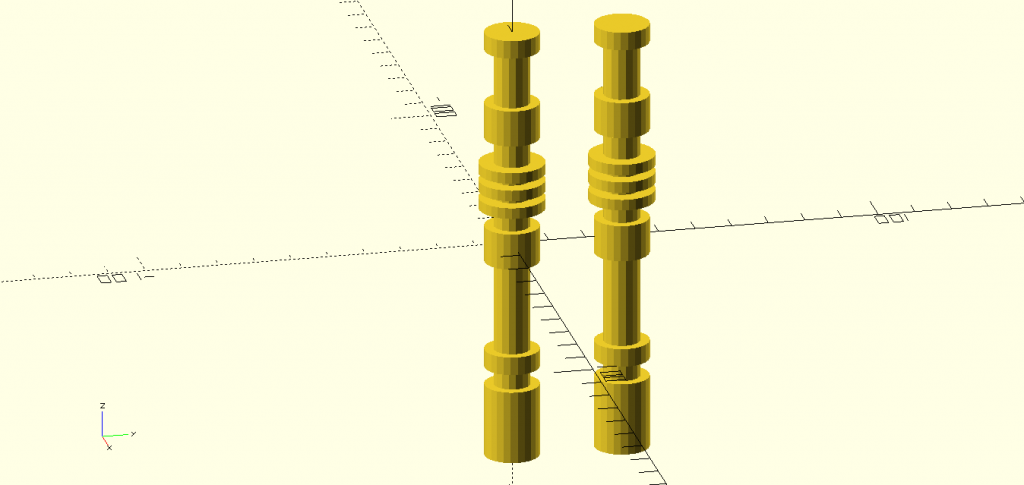
The Darth Vader chest box has a very distinctive look with lots of distinctive buttons and other parts (see images below). I modeled these parts with OpenSCAD beginning with the simple buttons working my way up via the coin slots to the complex rods. I’m satisfied with the result thus far. Next I’ll 3D print the parts and glue them to the plywood chest box I made earlier.


