Is it worth upgrading the Hephestos 2 with the heated bed that BQ offers for 160 euro? Read on and find out.

Is it worth upgrading the Hephestos 2 with the heated bed that BQ offers for 160 euro? Read on and find out.
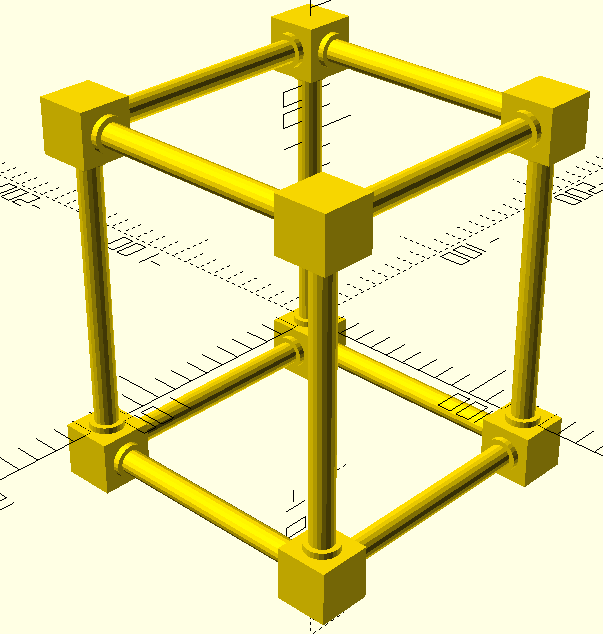
DIY frame for a Photography Light Box. I designed a 3d printed three way connector to assemble the curtain rods for the box.
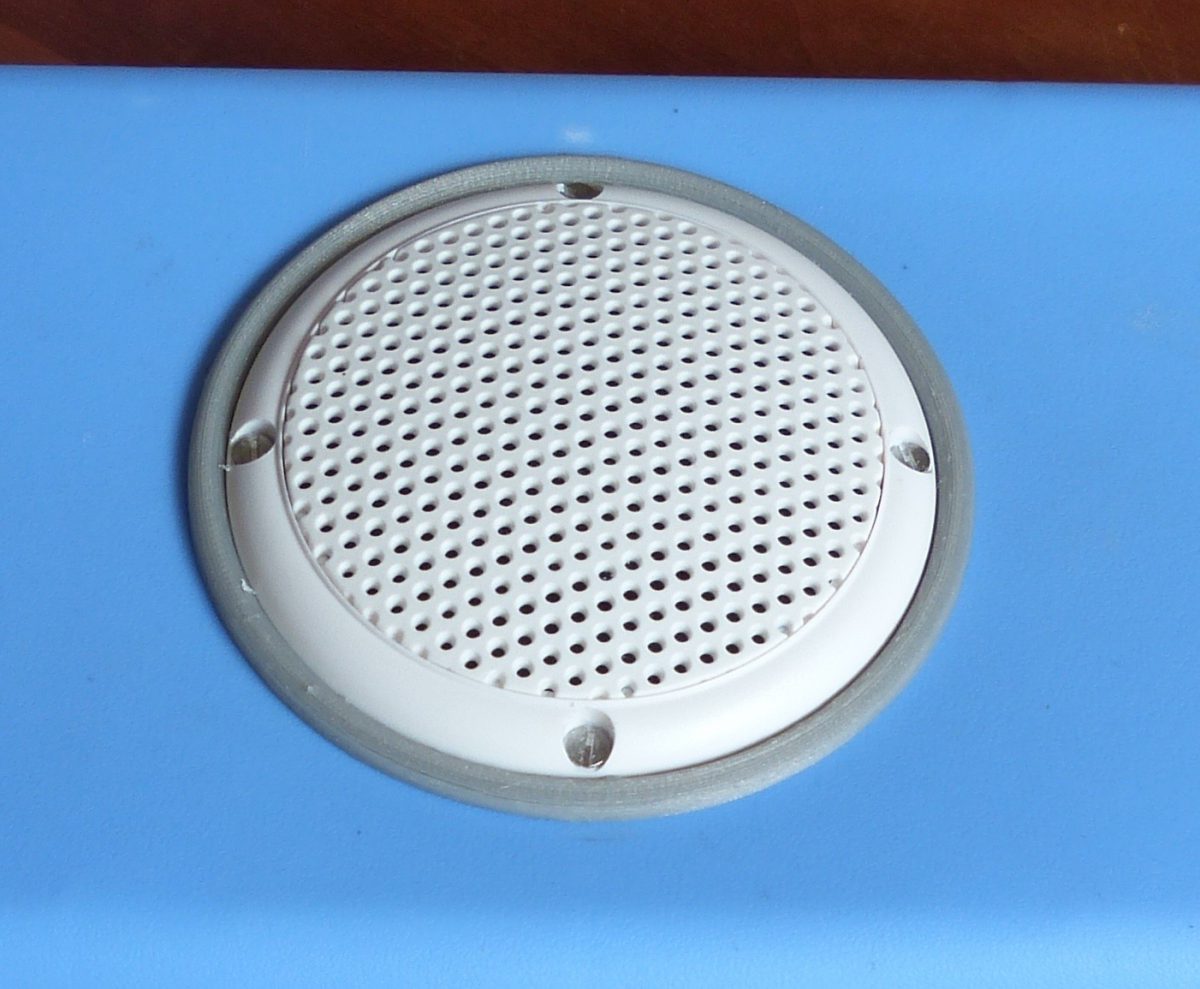
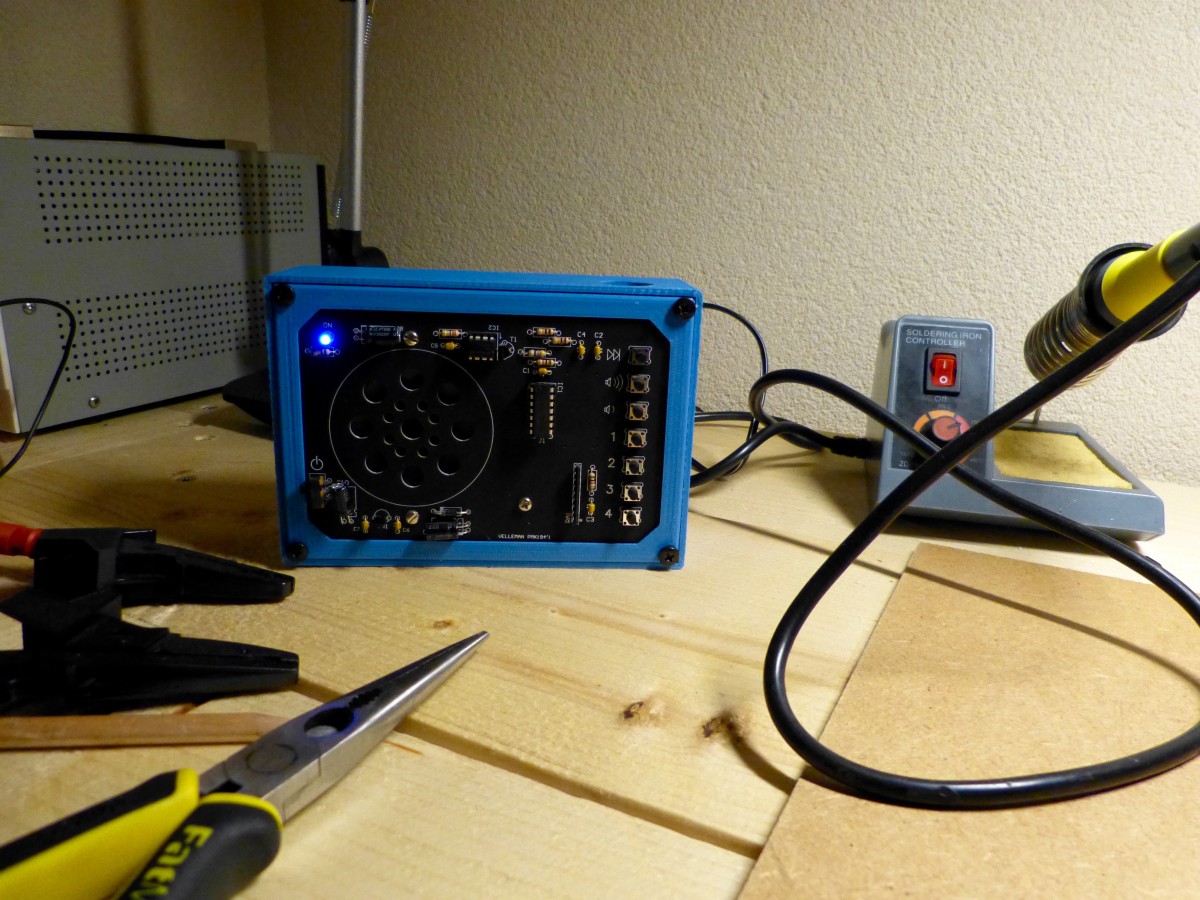
Filaflex is excellent material to improve the audio cooler that I made earlier. The material is very flexible and surprisingly strong making it perfect for sealing purposes
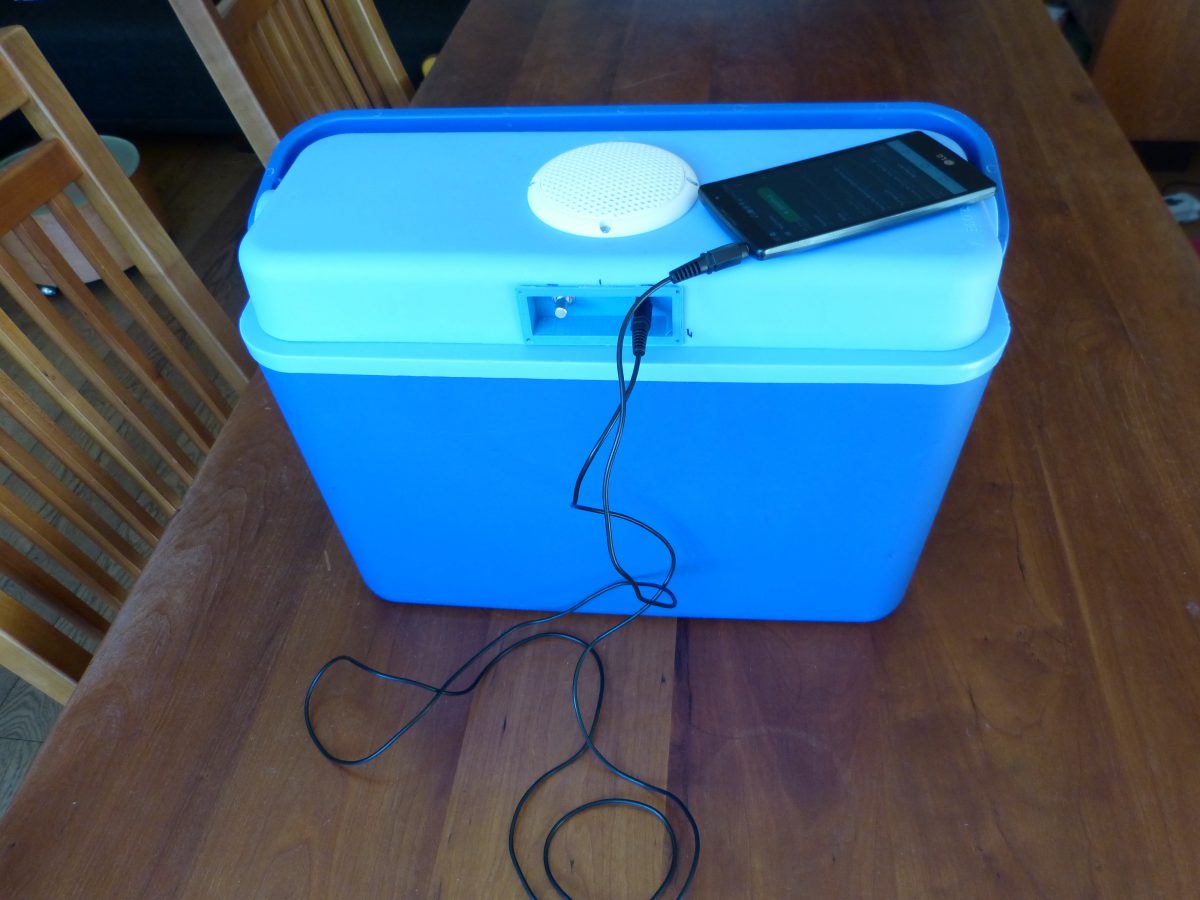
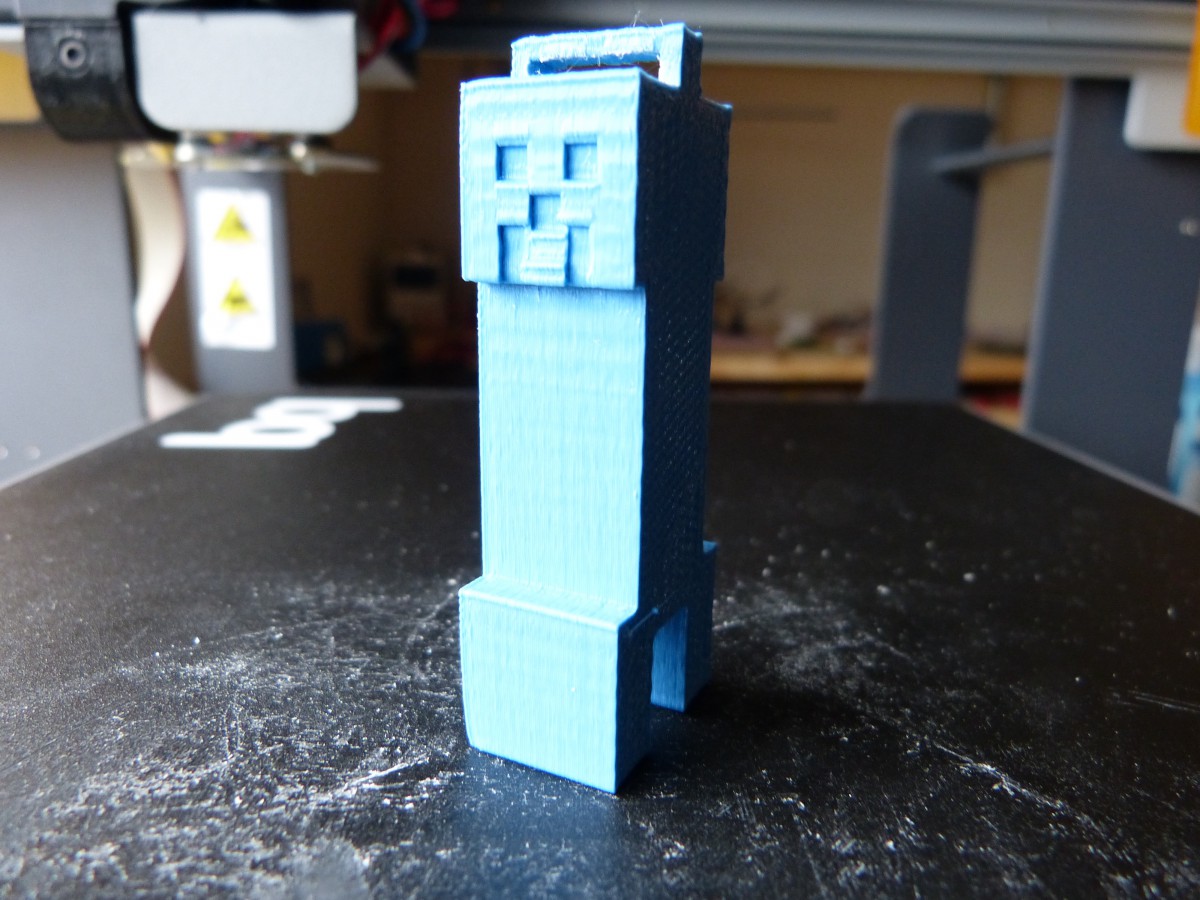
A made a 3d printed enclosure for the audio components that fits in the coolers lid together with a simple console to operate the audio
putting my 3D printer to use
Making good use of a 3d printer
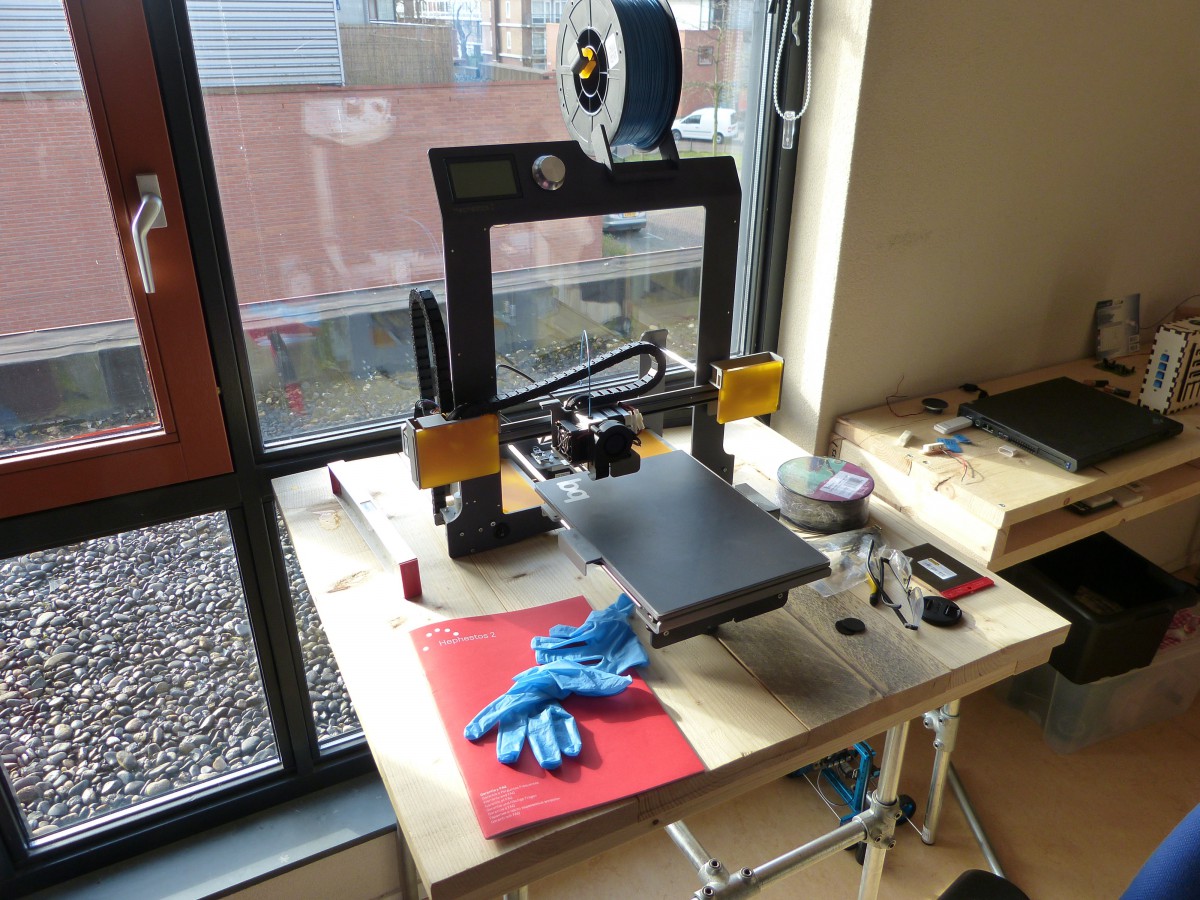
Is this 3d printer a good choice for a beginner?