While waiting for some components for Experiment 23 of Make: Electronics I decided to create a simple Audio Amplifier. I had a LM386 chip lying around which is more than adequate for this purpose. My first goal was to create an amplifier circuit with it on the breadboard and do some experimenting with it. Maybe I can use this set-up later as a simple amplifier for my sons iPods or Android phones.
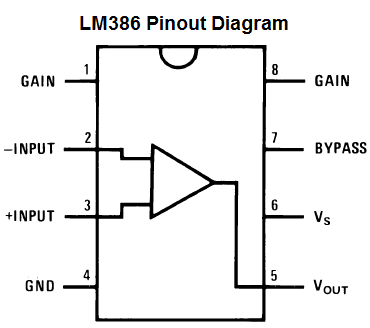
The LM386 is a low voltage chip making it ideal for a battery operated device. It has a OpAmp built in. See the image below for the pin layout. When pin 1 and pin 8 are not connected the gain is 20 but this can be increased to 200 if a 10uF capacitor is placed between these pins. Pin 4 and 6 provide supply voltage for the chip. Pin 3 is the input and a potentiometer connected to it will act as a volume control. Pin 5 is the output and can be connected to a speaker.
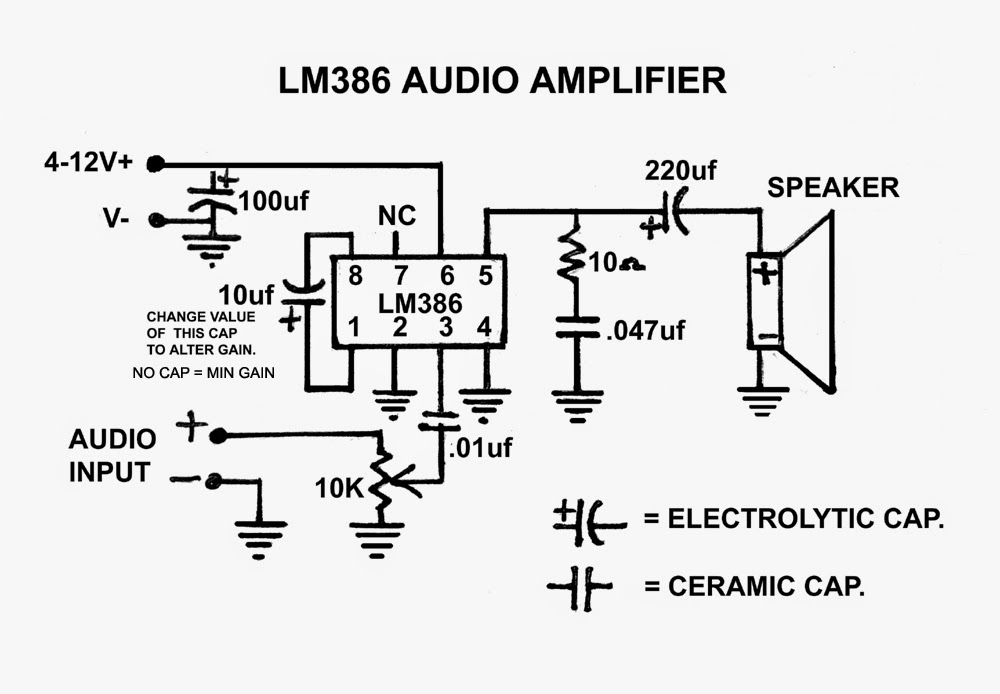
There is plenty of literature and schematics on the LM386 on the internet. For now I choose the one used by HackaweekTV on YouTube (https://www.youtube.com/watch?v=3KyBrAoHMX8). It uses a 10K potentiometer for volume control and a 10uF capacitor to increase gain.
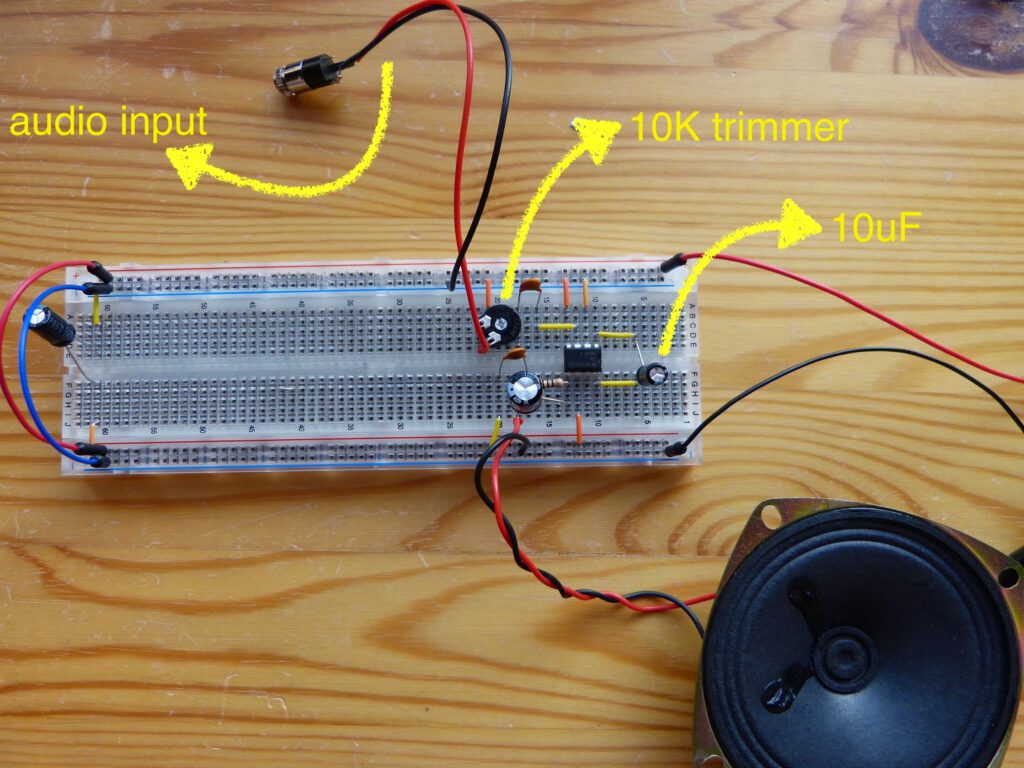
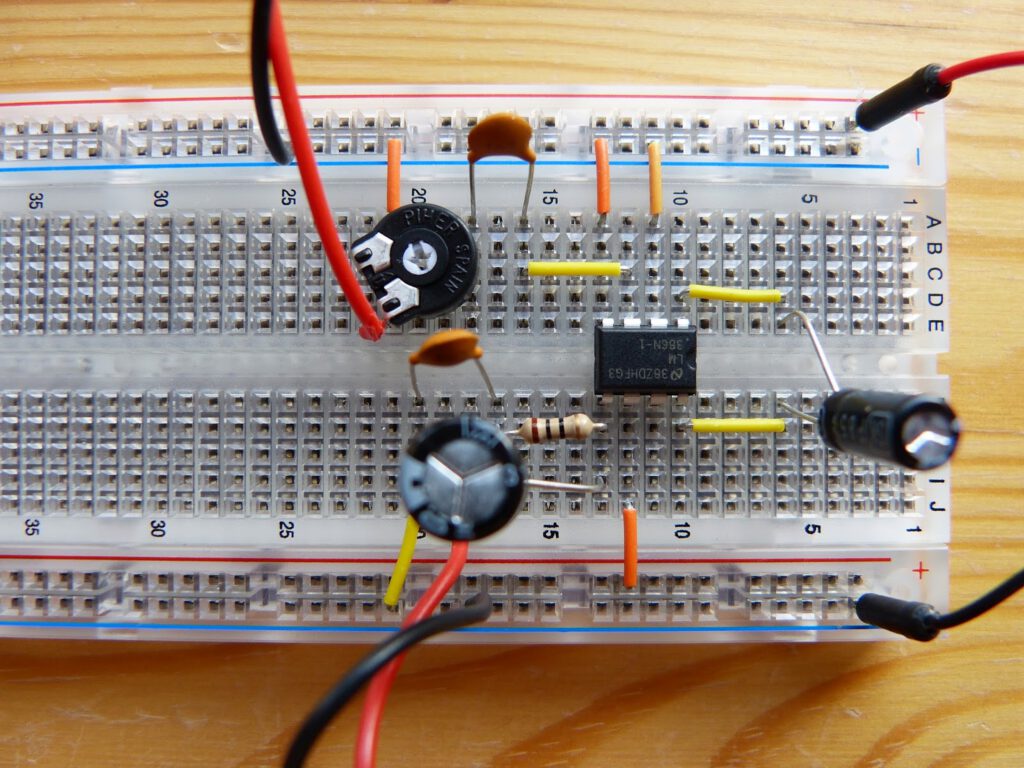
Only a few components were needed so building it on a breadboard was straight forward. While testing it the amplification is excellent and the music sounds okay. Next time I will try to improve the circuit.


Thanks for reading!