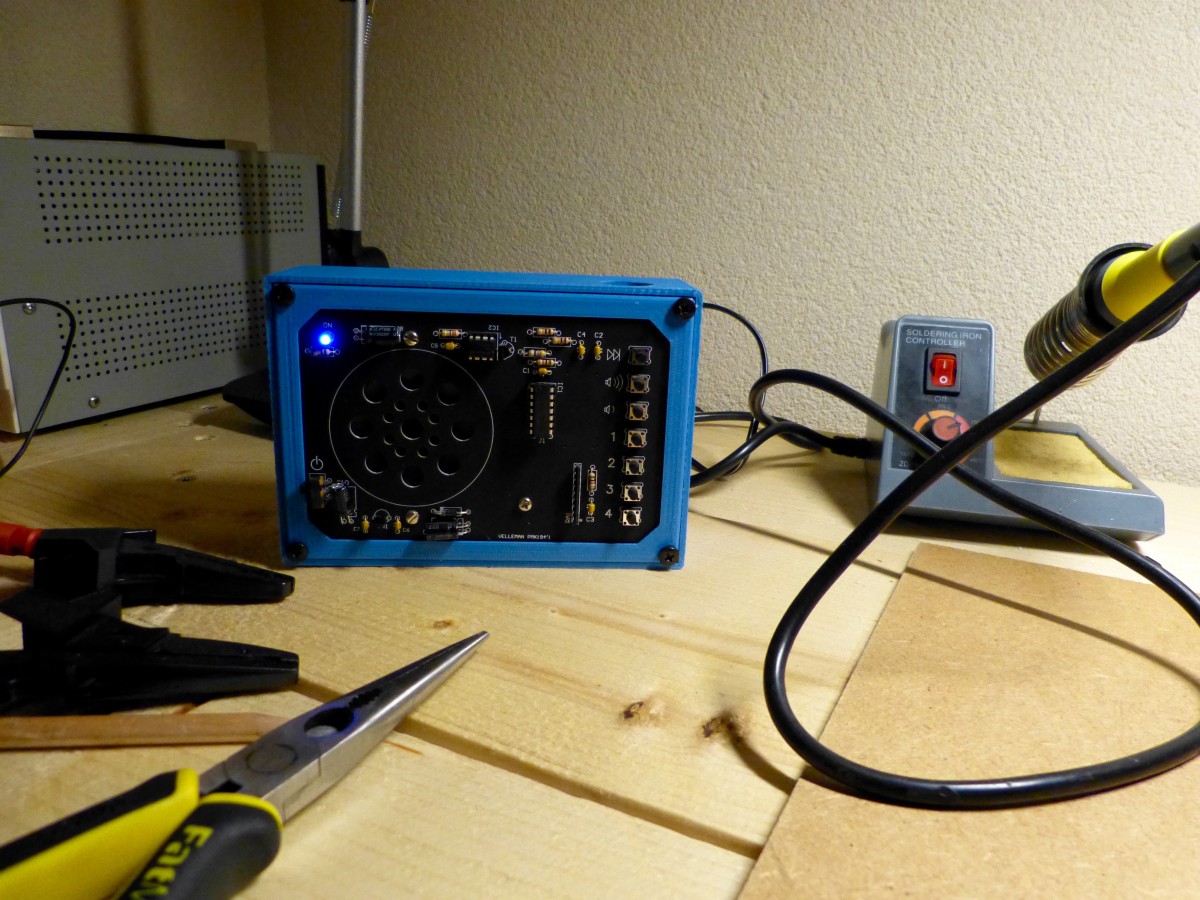
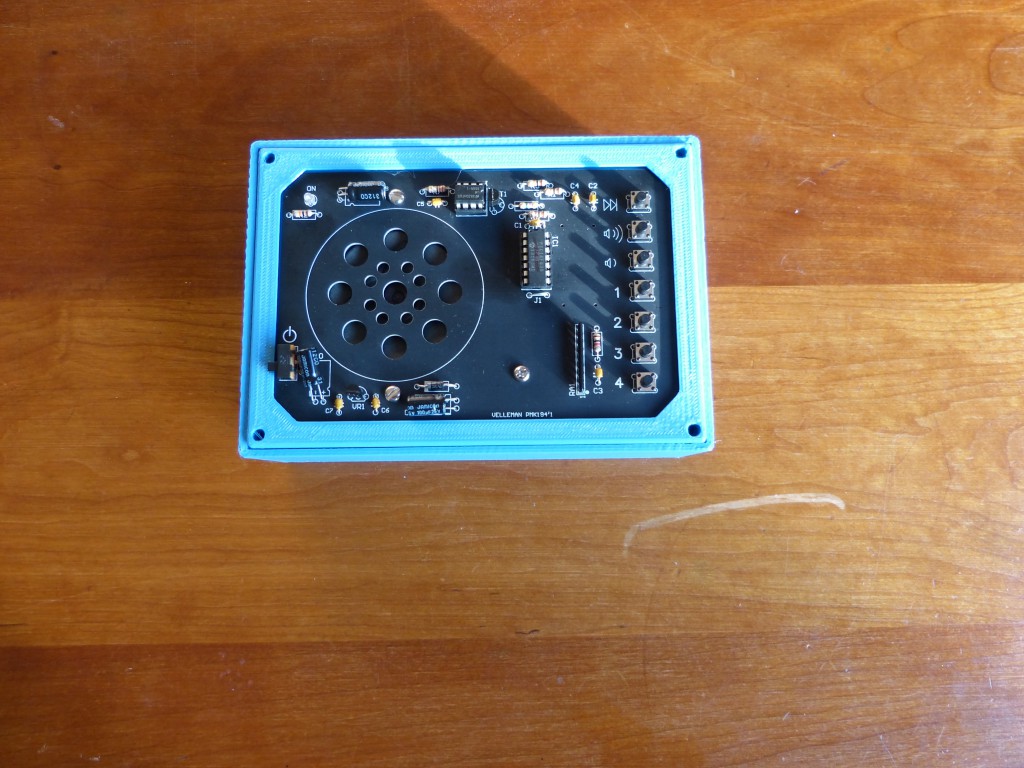
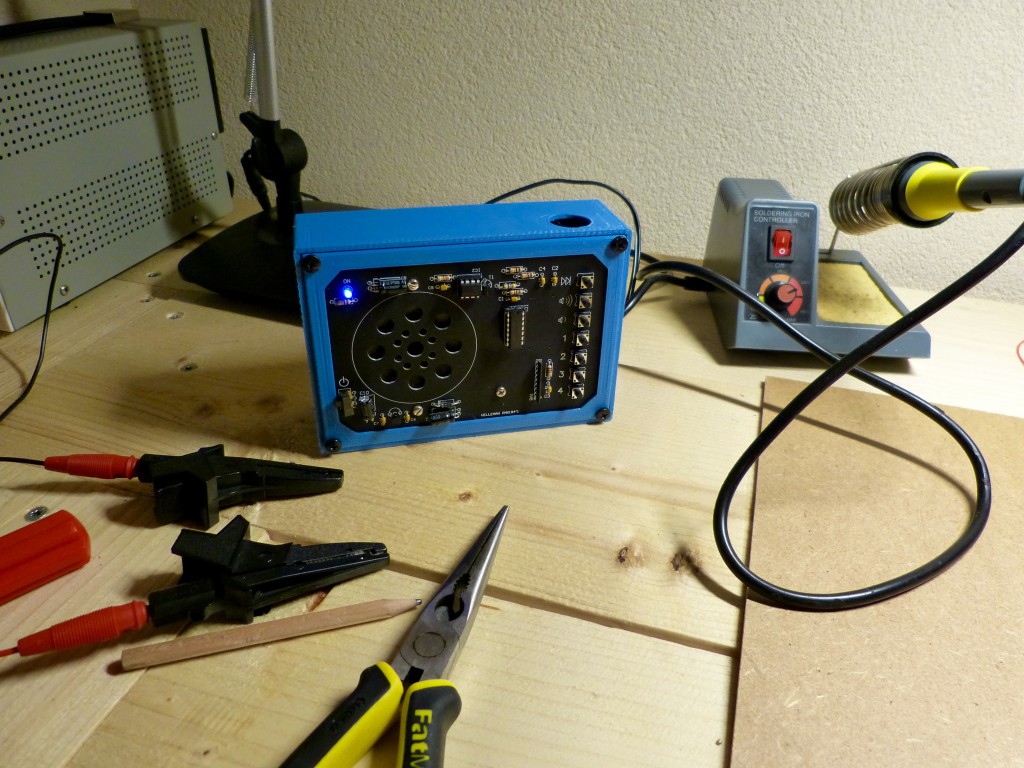
I have a MK194 radio kit from Velleman and turned it into a radio some time ago. The radio looks pretty cool with all the electronic components visible but the wooden case was awful. I therefore decided to build a new case for it. Of course I want to use my Hephestos 2 printer from BQ to make this case.
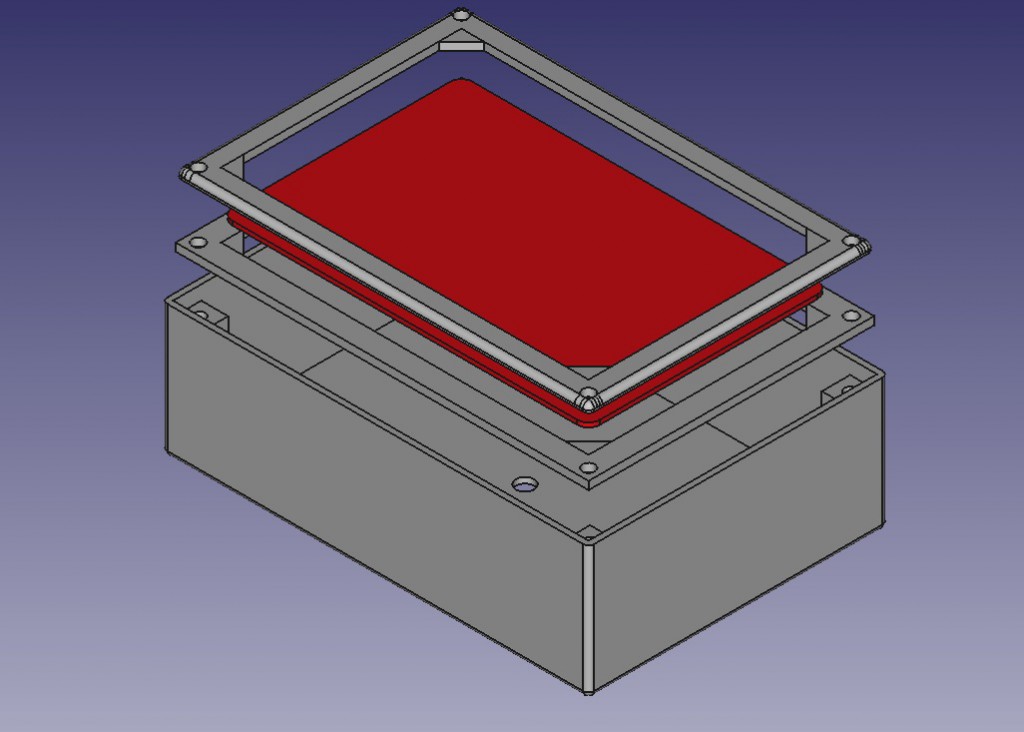
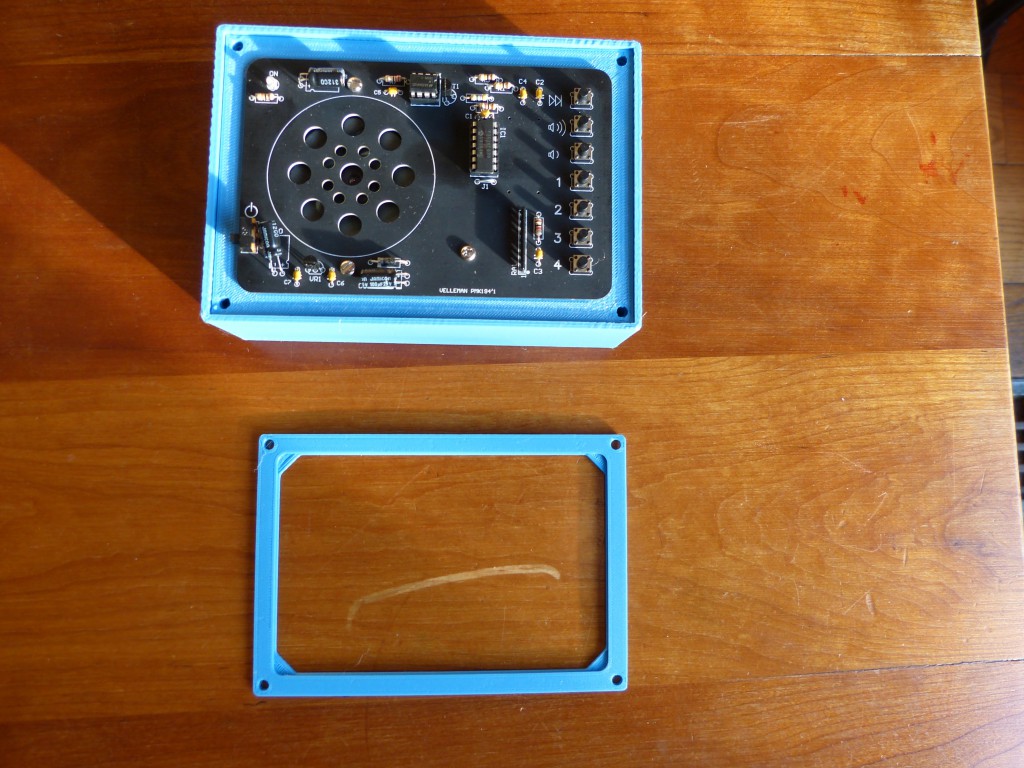
First I designed a case in FreeCAD. I use FreeCAD for a couple of weeks now, together with OpenSCAD, but this is the first design with multiple parts that I create with it. After several iterations I finally decided to have a design consisting of three parts. A box, a support plate for the radio PCB and a lid. The radio fits into the support and the lid which are then screwed onto the box.
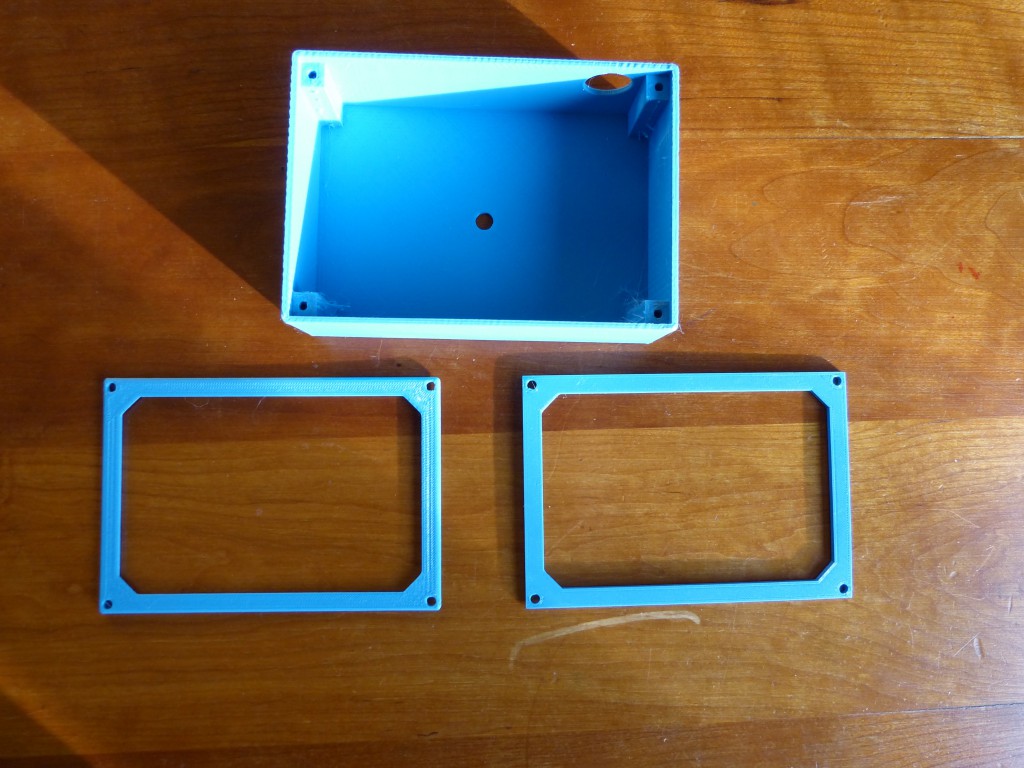
The box is by far the biggest 3D print that I made with the Hephestos. It took the printer almost seven! hours to print it. Luckily it came of fine the first time. Both the lid and the support plate were printed in less than an hour each.
I think the radio looks really nice now much better than the wooden case at least. I’m getting the hang of FreeCAD. The learning curve is steeper than OpenSCADs but it is worth it. Creating a more complex design is just faster with FreeCAD than with OpenSCAD (at least for me).
Here are the .stl files:
Thanks for reading!
