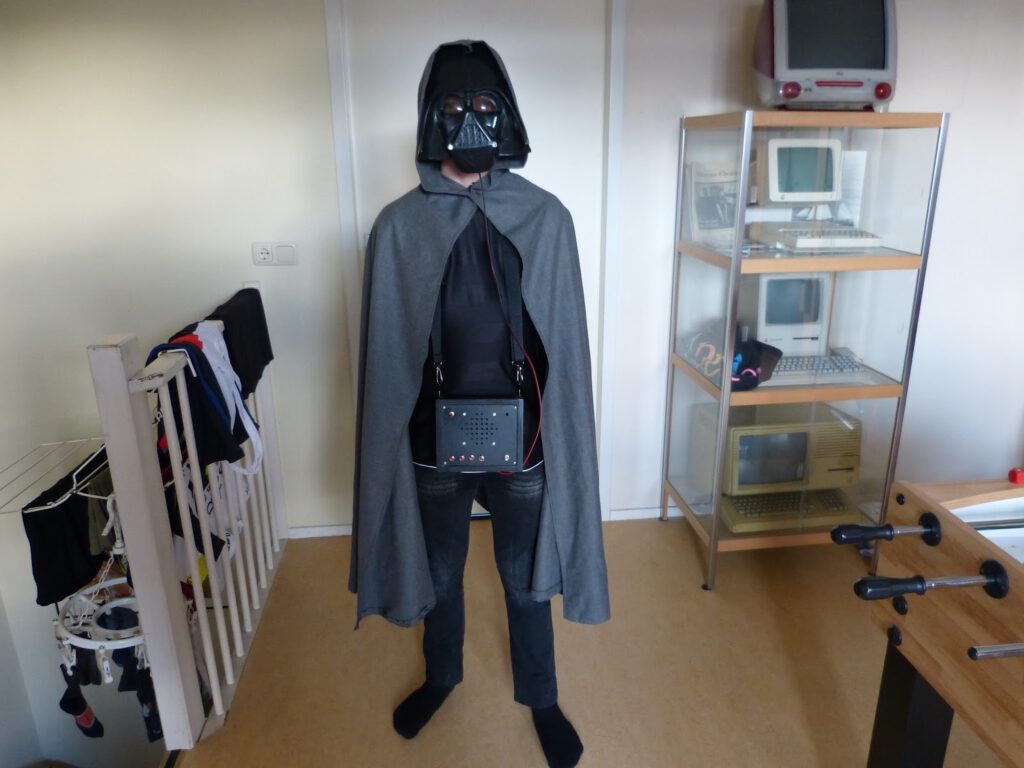
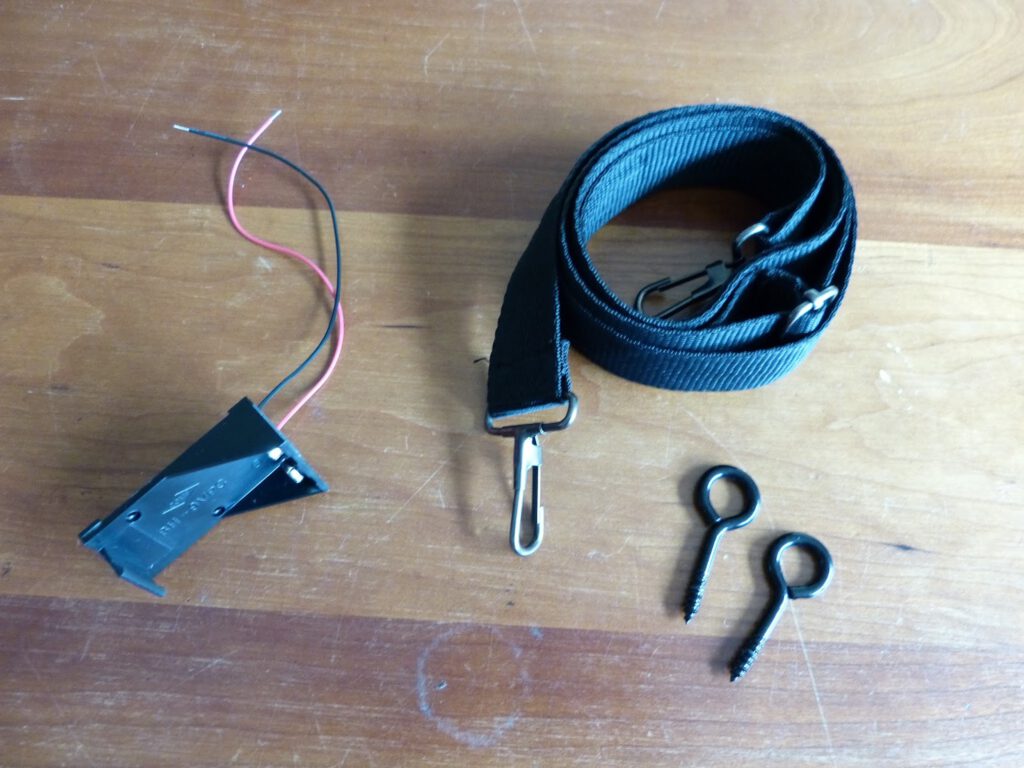
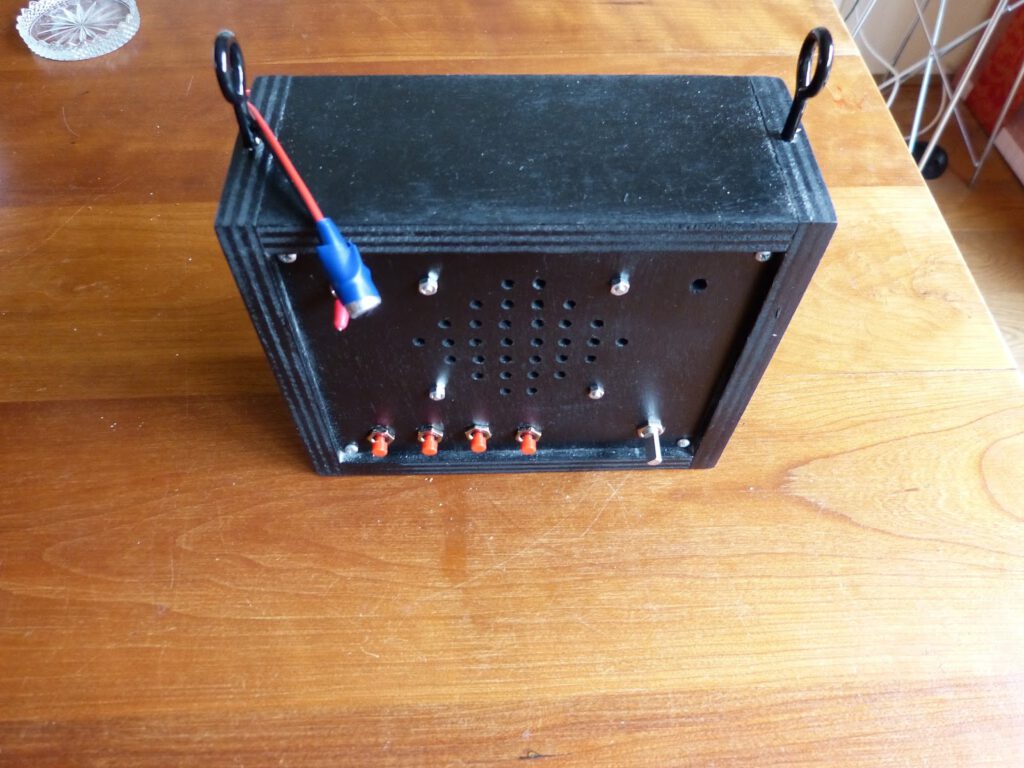
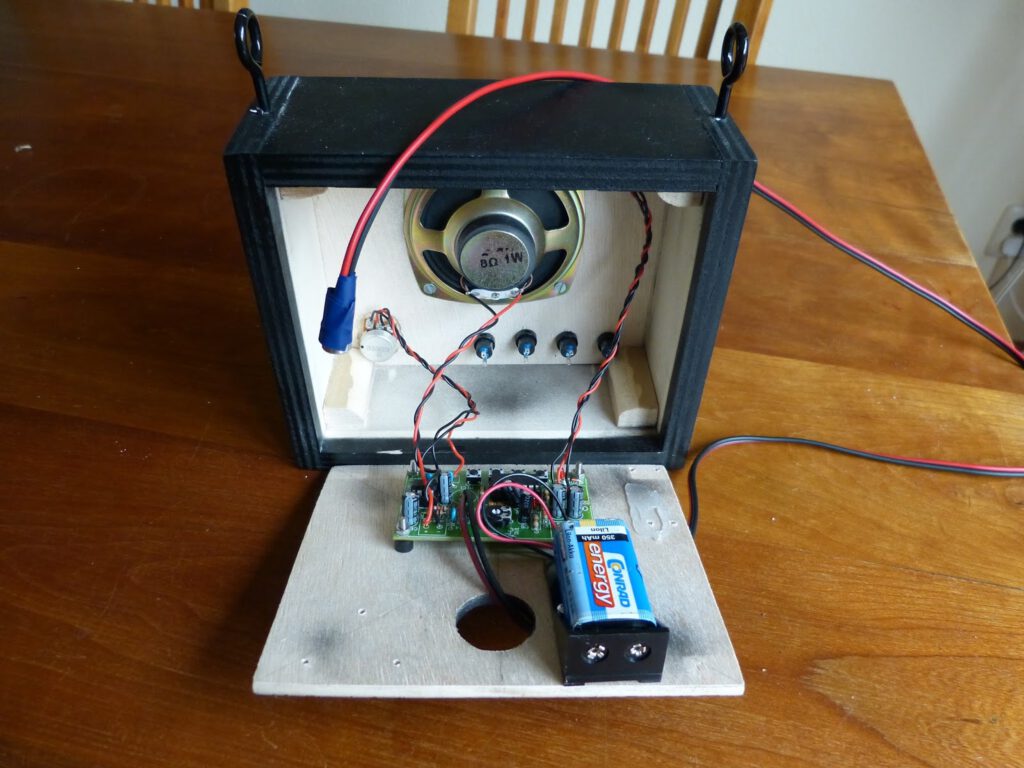
I finally finished the Darth Vader voice changer this weekend. I took a belt with two snap hooks from an old bag. Next I fitted the box with the voice changer with two black screw eyes that were large enough for the snap hooks. The enclosure is now comfortable around the neck of a child. In a local electronics shop I bought a case for a 9V battery that fitted nicely in the box. Finally I taped the mic into the Darth Vader mask and the fun could begin.
My two boys both volunteered and got dressed as Darth Vader. We still have a dark cloak that goes well with the mask. Unfortunately we sold the light-sabres a couple of years ago. The Darth Vader voice is surprisingly convincing but only if you play around with the settings. Even funnier, you can make Darth Vader sound like a robot or as someone that has just inhaled helium (a very high pitched voice). I can imagine children having a lot of fun with the voice changer at a party or at Halloween.
Is there something left to be desired? Yes, the voice changer has four buttons for robot voice, vibrato, higher or lower pitch. As mentioned before I somehow couldn’t get the external red push buttons functioning that were placed on the enclosure. So I used the push-buttons on the MK171 board instead. To access the four push-buttons on the MK171 board I need to open the enclosure. This is far from ideal and something that needs to be fixed in my next version of the voice changer.
One reply on “Making a Darth Vader voice changer, part 3”
[…] a week ago I wrote about a Darth Vader voice changer that I am making. I finally have finished a prototype but not without problem. I soldered all the […]