After mysqueezebox.com has shut down, Squeezebox audio player and its server software are still very much alive. Instead of relying on mysqueezebox one has to setup their own media server (which can be done on cheap low end hardware and isn’t as hard a it may seem). Previously the software was called Logitech Media Server […]
Category: Linux

I’m currently playing a lot of Rusted Warfare, an RTS game from a small Indie developer named Luke. Since the nineties I’ve always been a great fan of real time strategy games. Back then I played Command & Conquer (1995), Seven Kingdoms (1997) and Warcraft 2 (1995) with it’s clean graphics but what really blew […]
A list of my favorite FLOSS programs for the PC (mostly) divided into several categories.
Moving to Free and Open Source on the PC can be a very daunting task for someone that is used to a proprietary system. This is how I did it.
A few years ago I wrote about my IBM Thinkpad happily running Puppy Linux. The laptop is still running fine but now with AntiX.
This article describes how to maintain a Squeezebox server (or Logitech Media Server). All software used for this project is free and open source.
Create your own Squeezebox server (aka Logitech Media Server, aka Slimserver) with a Raspberry Pi and a HDD in six steps.
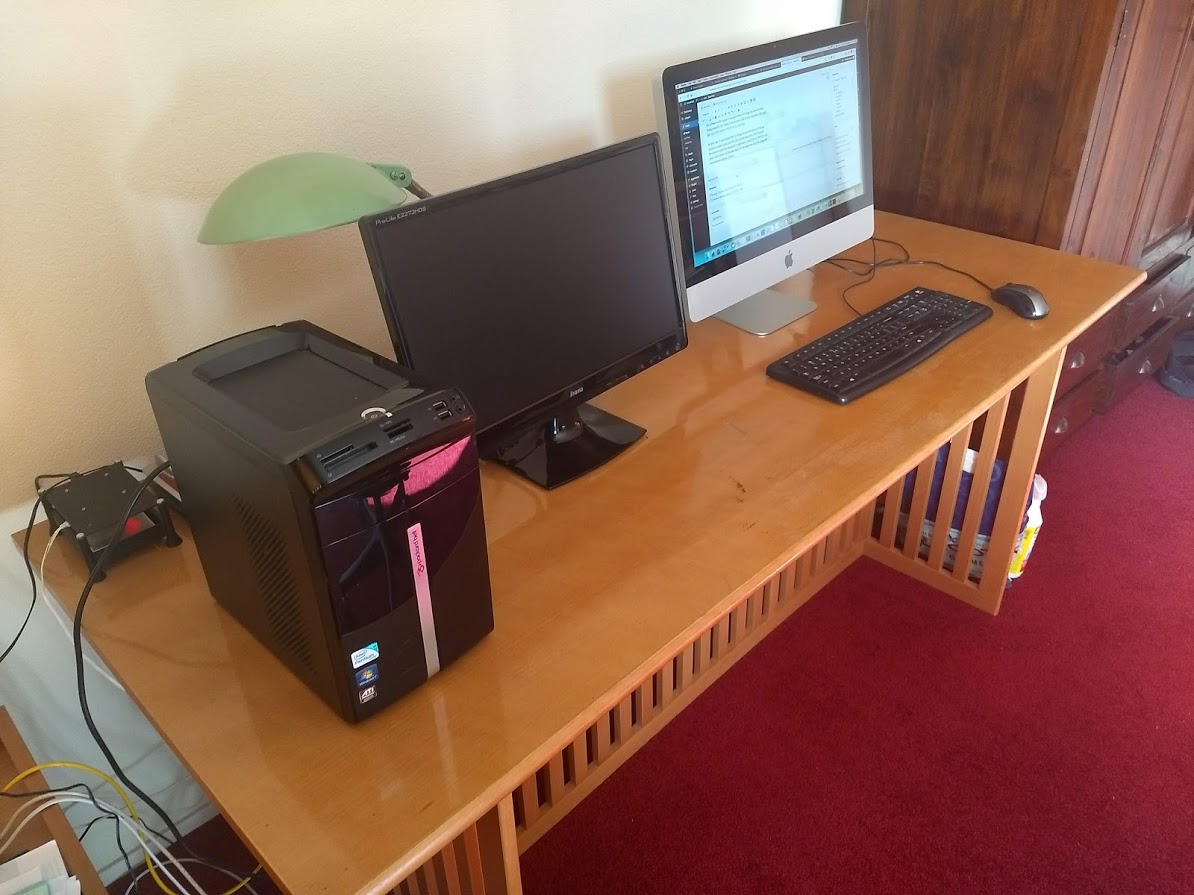
My neighbors wanted to throw away a perfectly good PC with Windows 10. But instead I installed Ubuntu MATE giving the PC a new life and didn’t let it become ewaste.
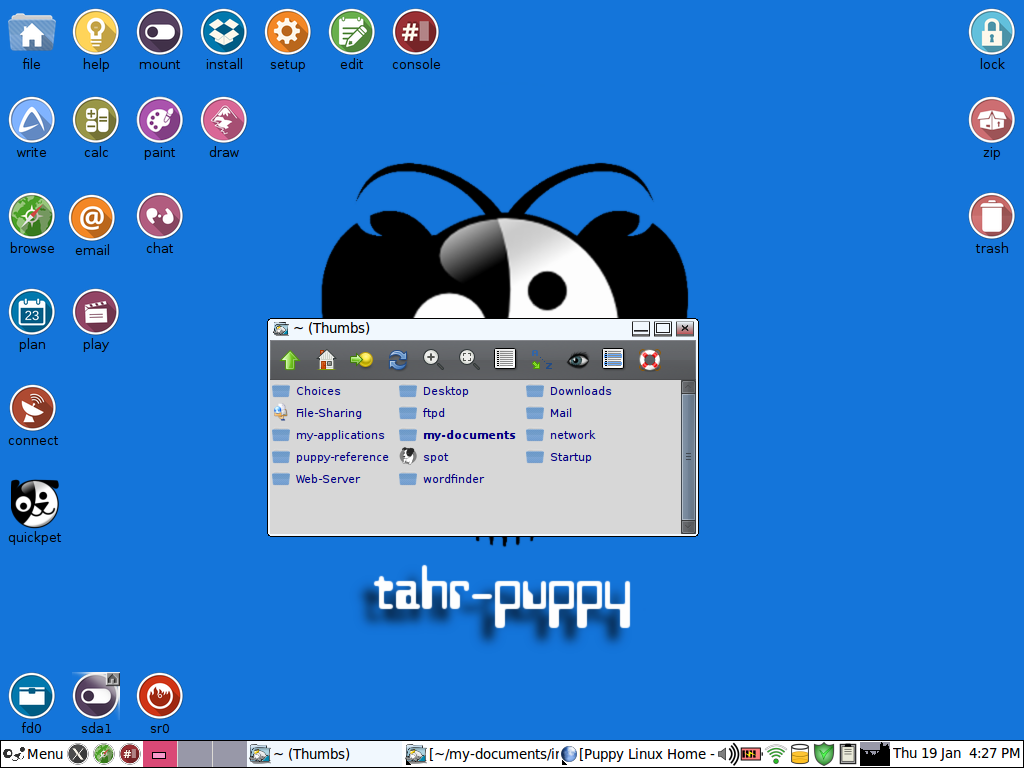
In November last year I decided to revive my very old (2003) Thinkpad T40 with Puppy Linux. Now eight months later I’ll give an update on Puppy Linux on my PC. Am I still happy with Puppy Linux?
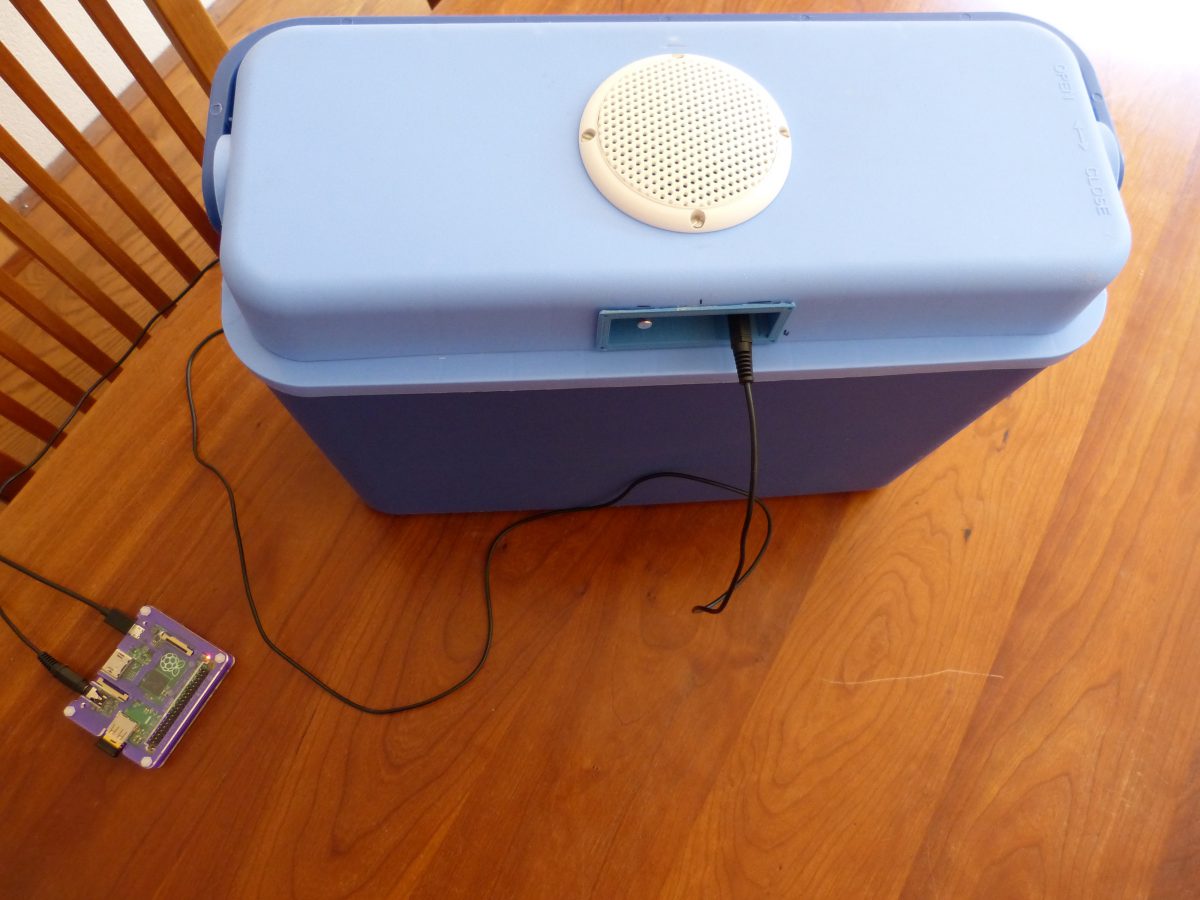
Using a Raspberry Pi and the program MPD to enhance my audio cooler